What are you looking for?
Get help straight from the team at The Big Challenge...
Getting started
Quick Start Guide
This article provides a step-by-step guide for teachers to quickly get started with their Teacher Account. Learn how to set up your school, add colleagues, organize classes, and register students in just a few simple steps.
Updated 6 days ago
Table of Contents
1. Set Up Your Teacher Account
Welcome to The Big Challenge! This step-by-step guide will help you set up your Teacher Account and get your dashboard ready for action.
🔐 Step 1: Log In
Go to thebigchallenge.com and log in using your teacher credentials.
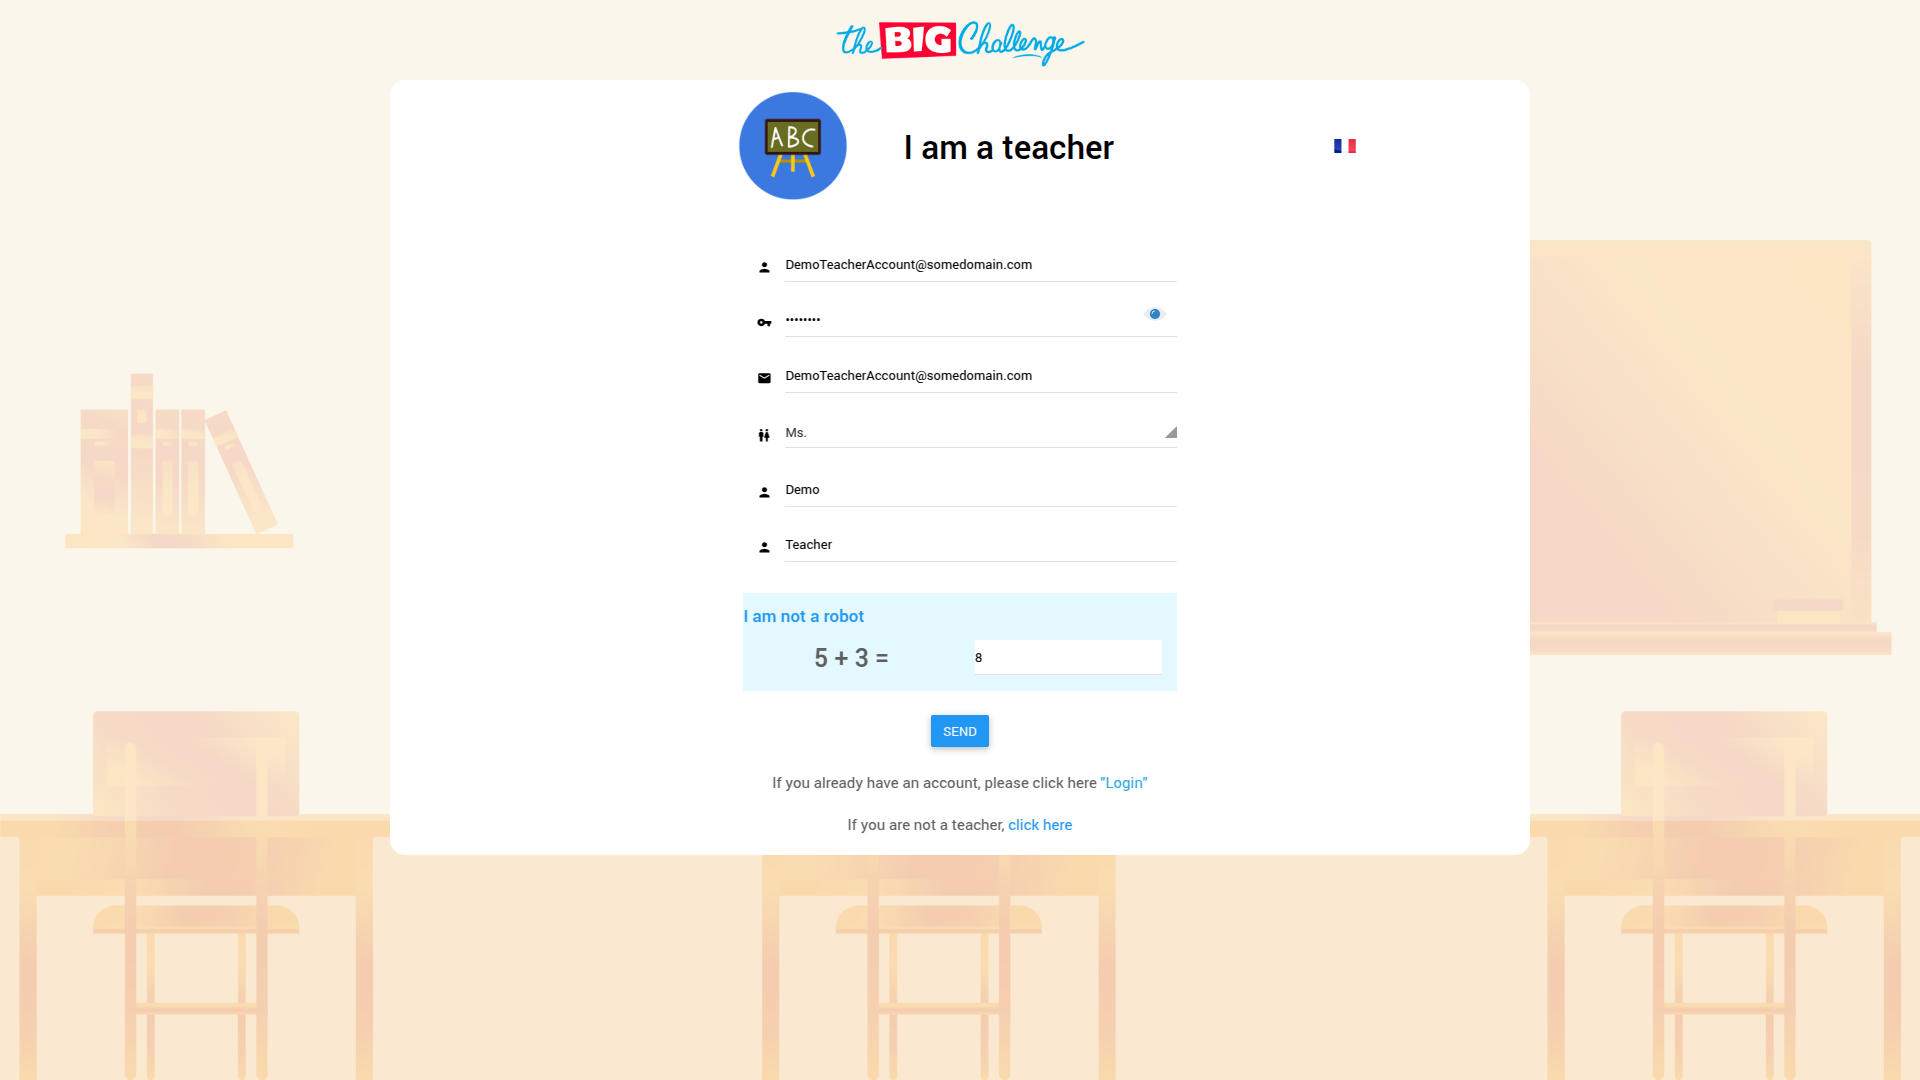
📝 Step 2: Complete Your Profile
After logging in, you'll be asked to complete your teacher profile. Use the dropdown menus to:
Select your Country
Select your Region
Select your City
Select your School
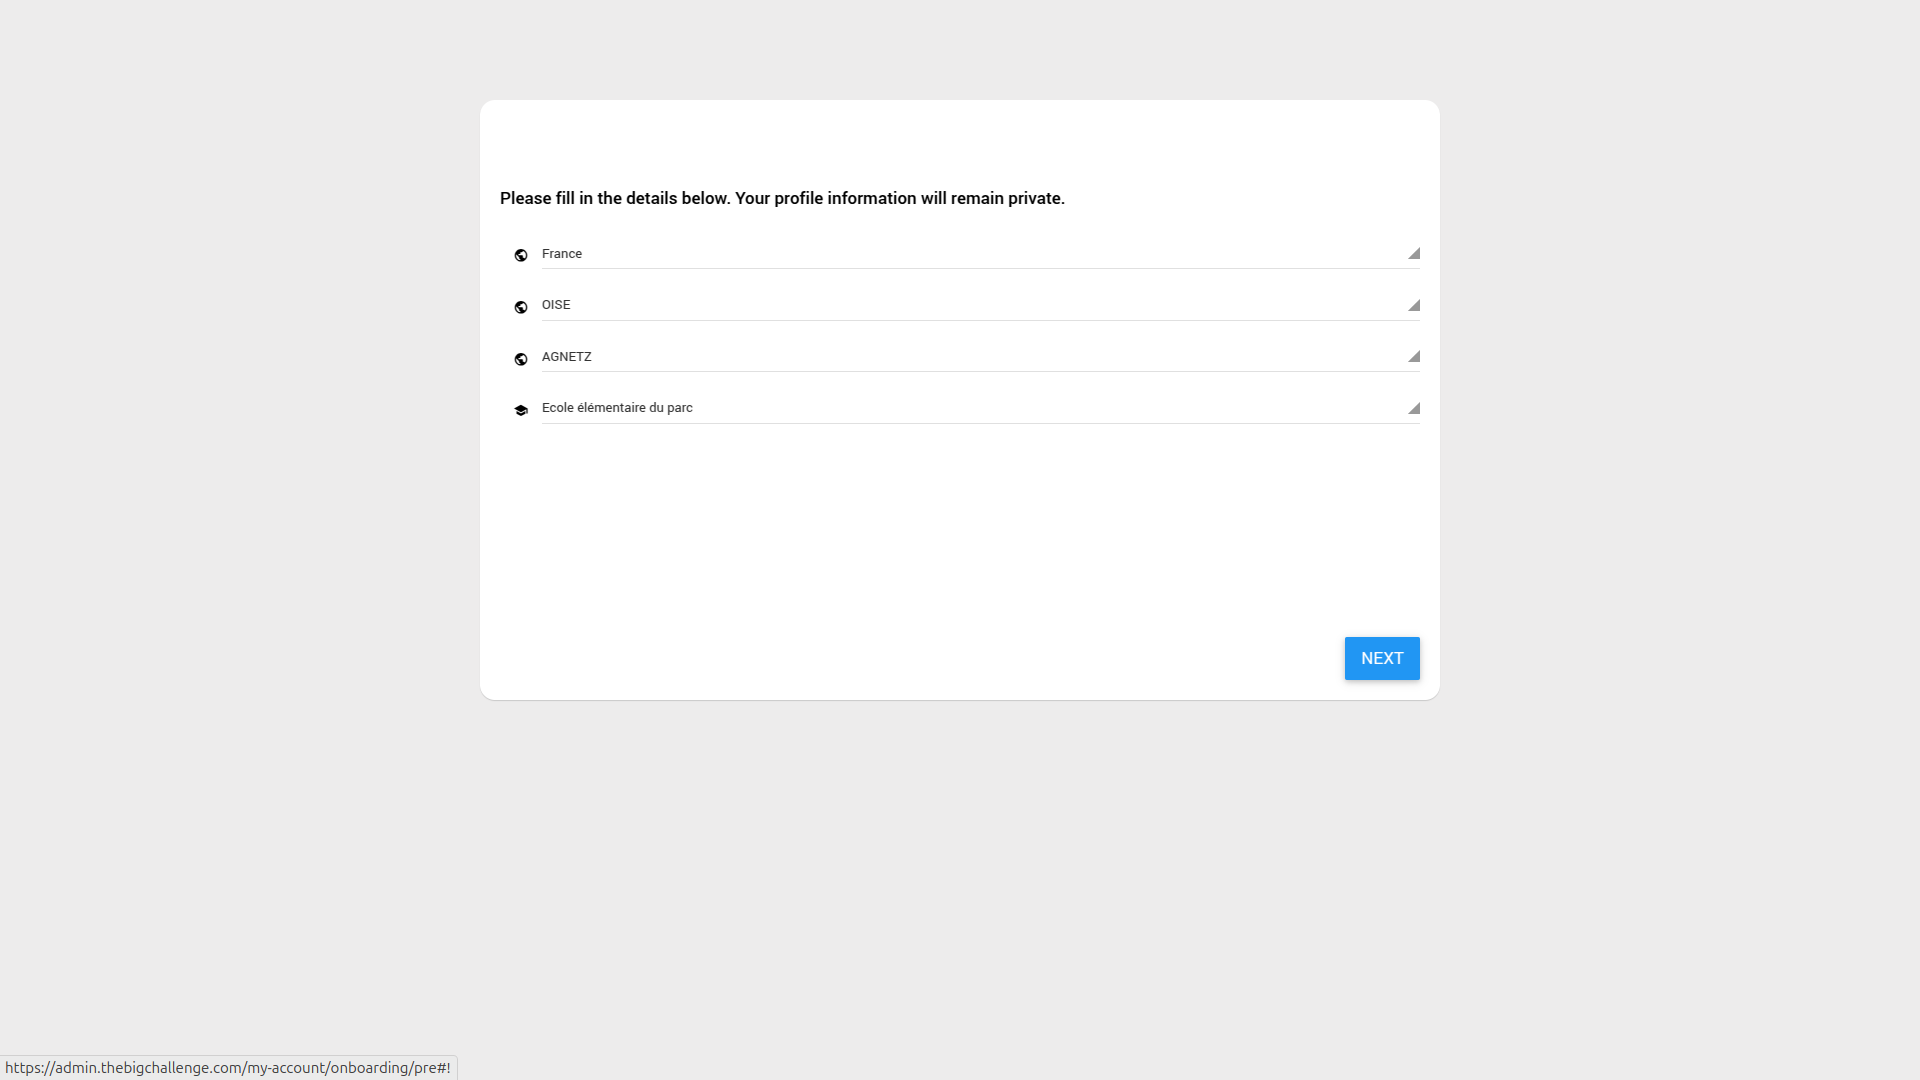
Click Next, then confirm or update your First and Last Name, and click Next again to continue.
🏫 Step 3: Verify Your School’s Details
Once on your Dashboard, navigate to the My School section. Check that your school’s location and shipping details are accurate.
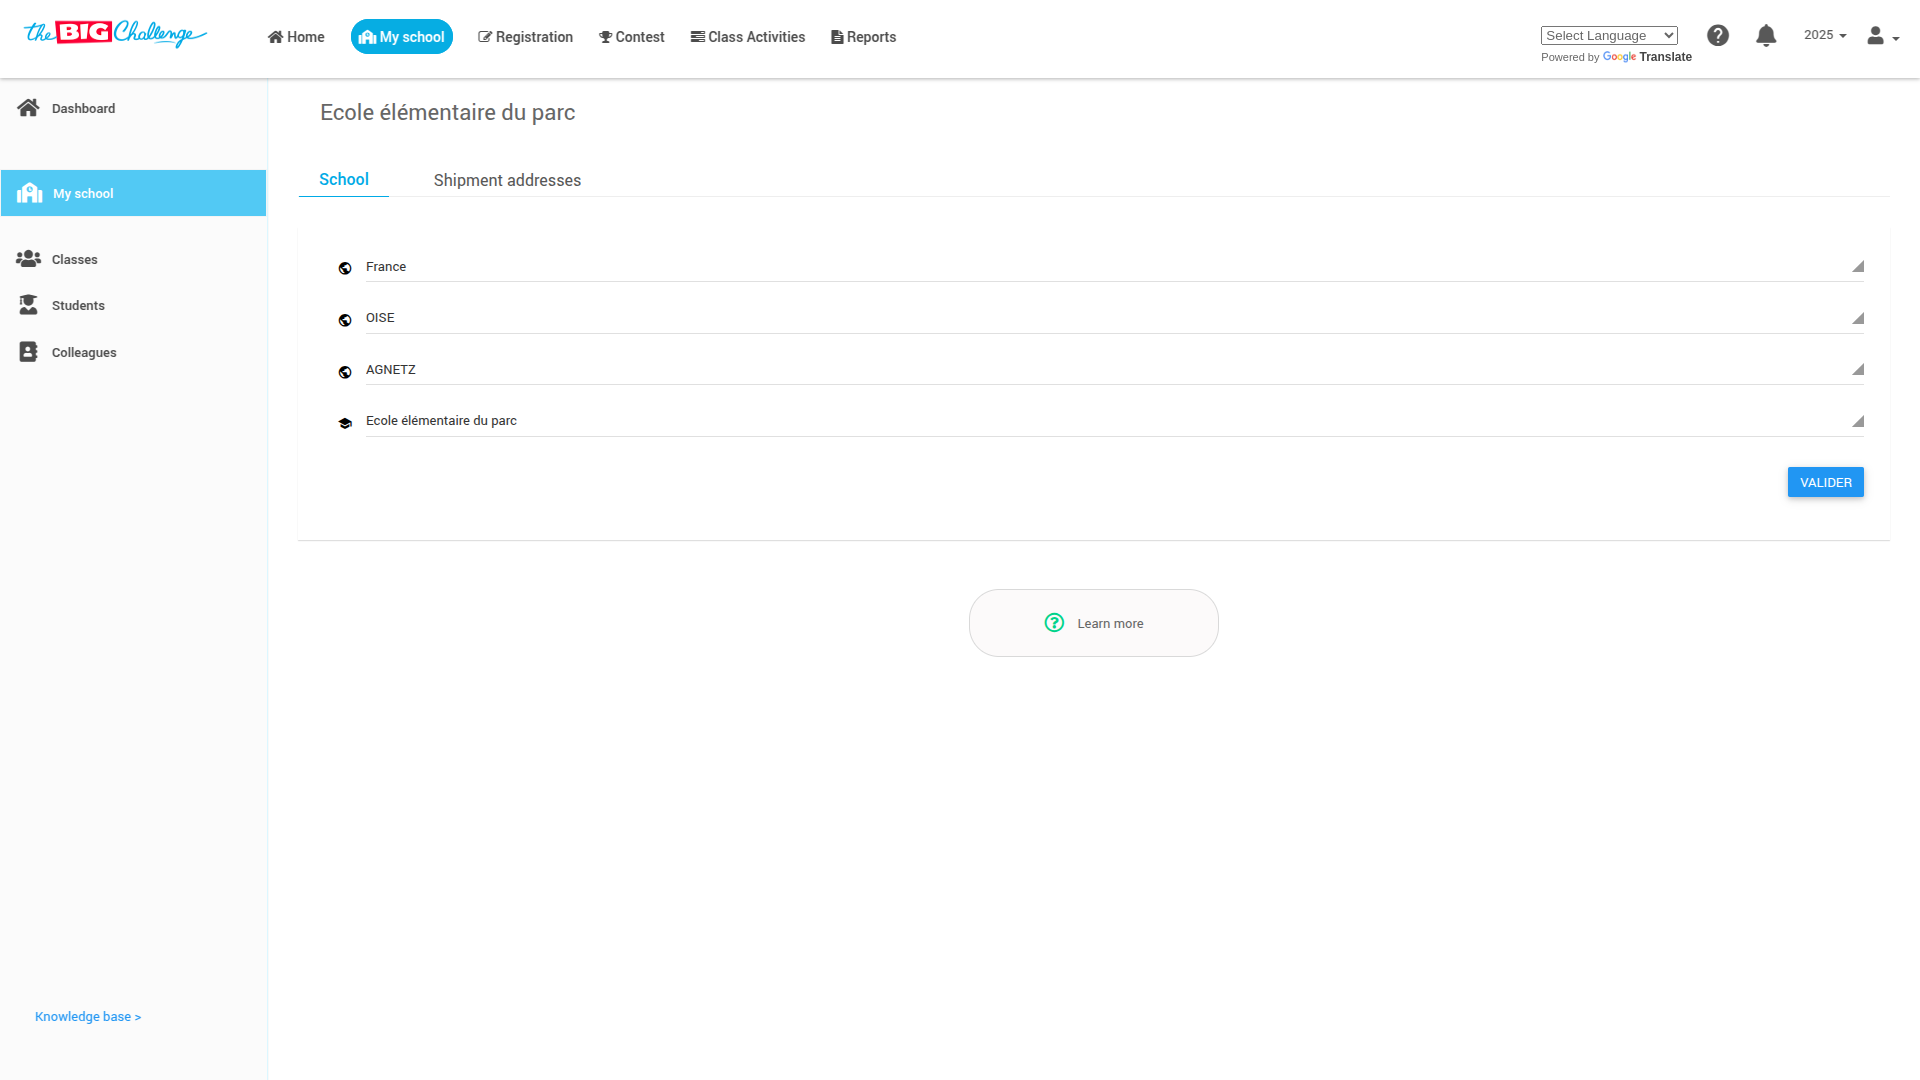
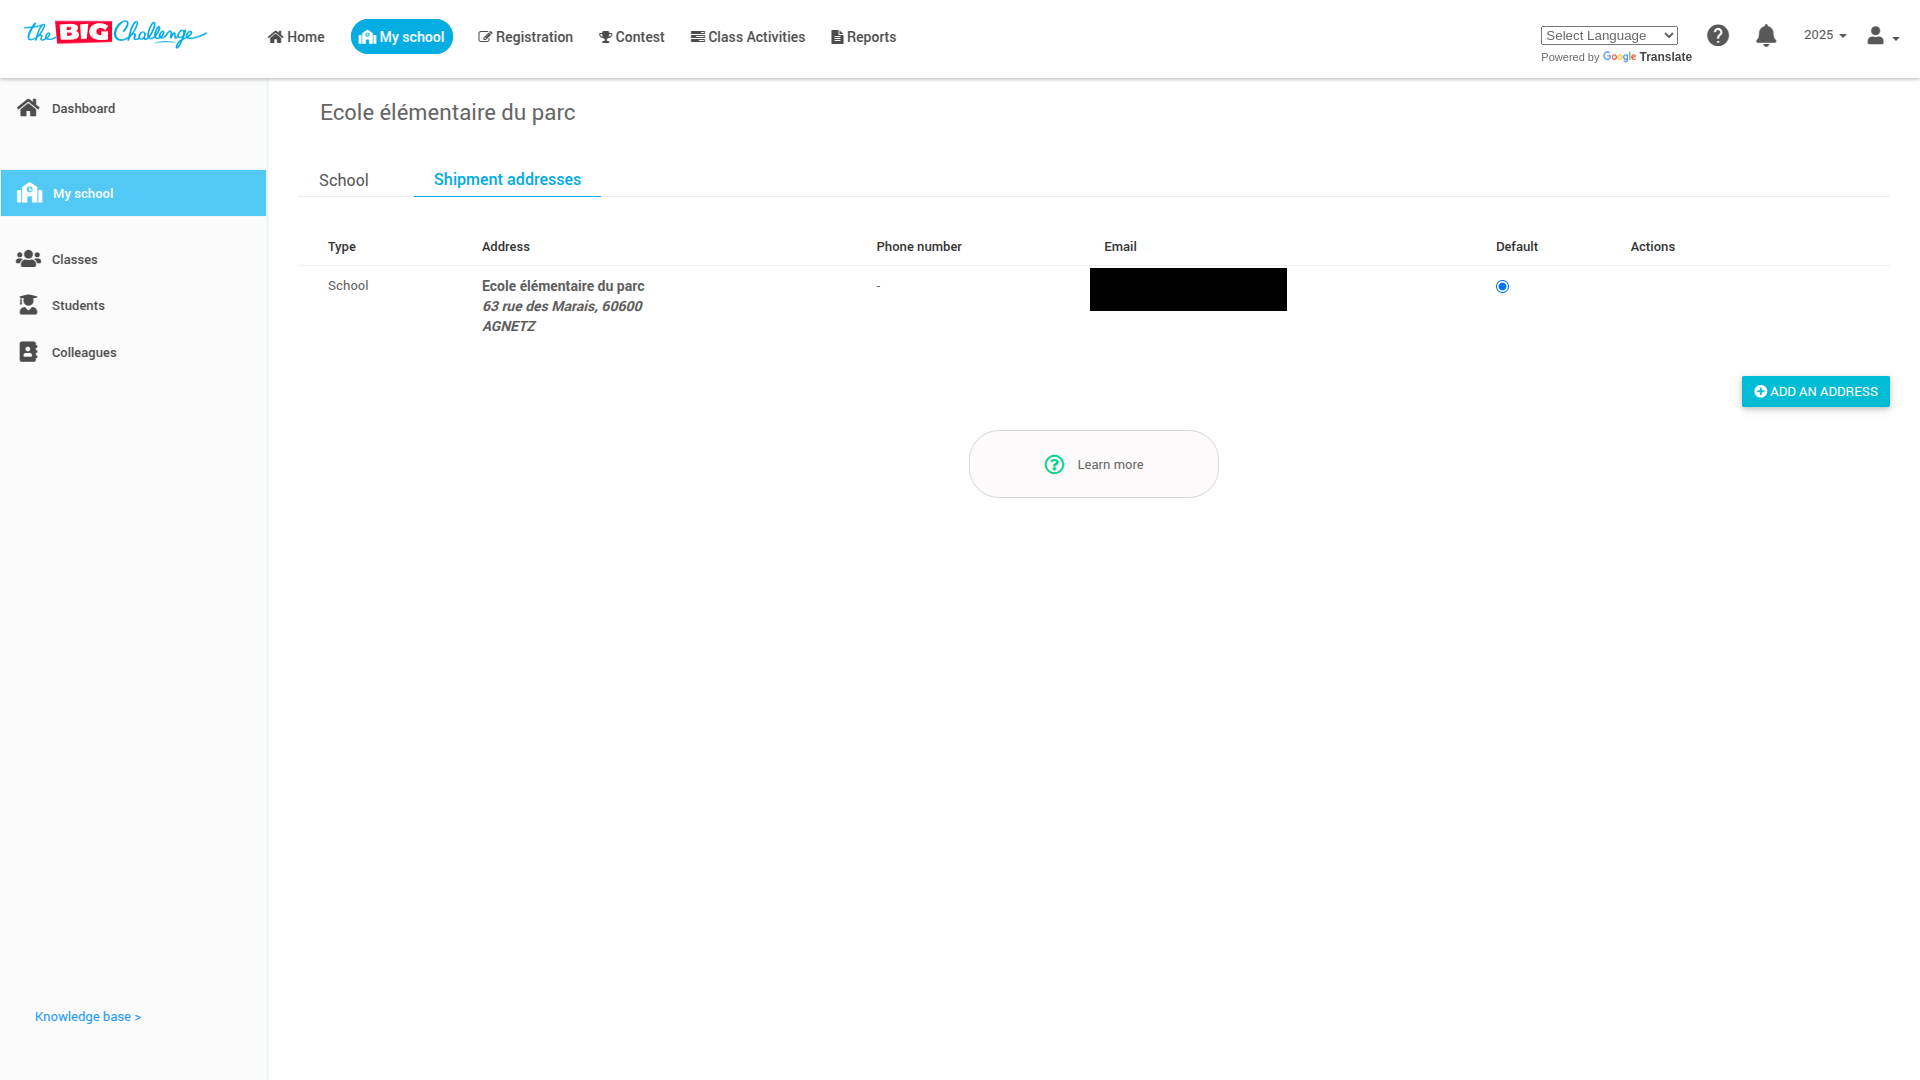
💡 Tip: This ensures all resources are delivered to the correct address!
👤 Step 4: Check Your Personal Information
Next, head over to the My Profile section. Review and, if necessary, update:
Your full name
Any other relevant information
Be sure to click Save after making changes.
📊 Step 5: Explore the Dashboard
Take a moment to familiarise yourself with your main workspace. You’ll find these key areas:
Class Activities – manage and assign tasks
Reports – monitor student progress
Resources – access teaching materials
You're now ready to begin using all the tools available in your Teacher Account!
🎥 Watch the Full Tutorial
2. Register Students for the Contest
Welcome to The Big Challenge! This guide walks you through the steps to register your students for the contest so they can participate and benefit from additional English resources.
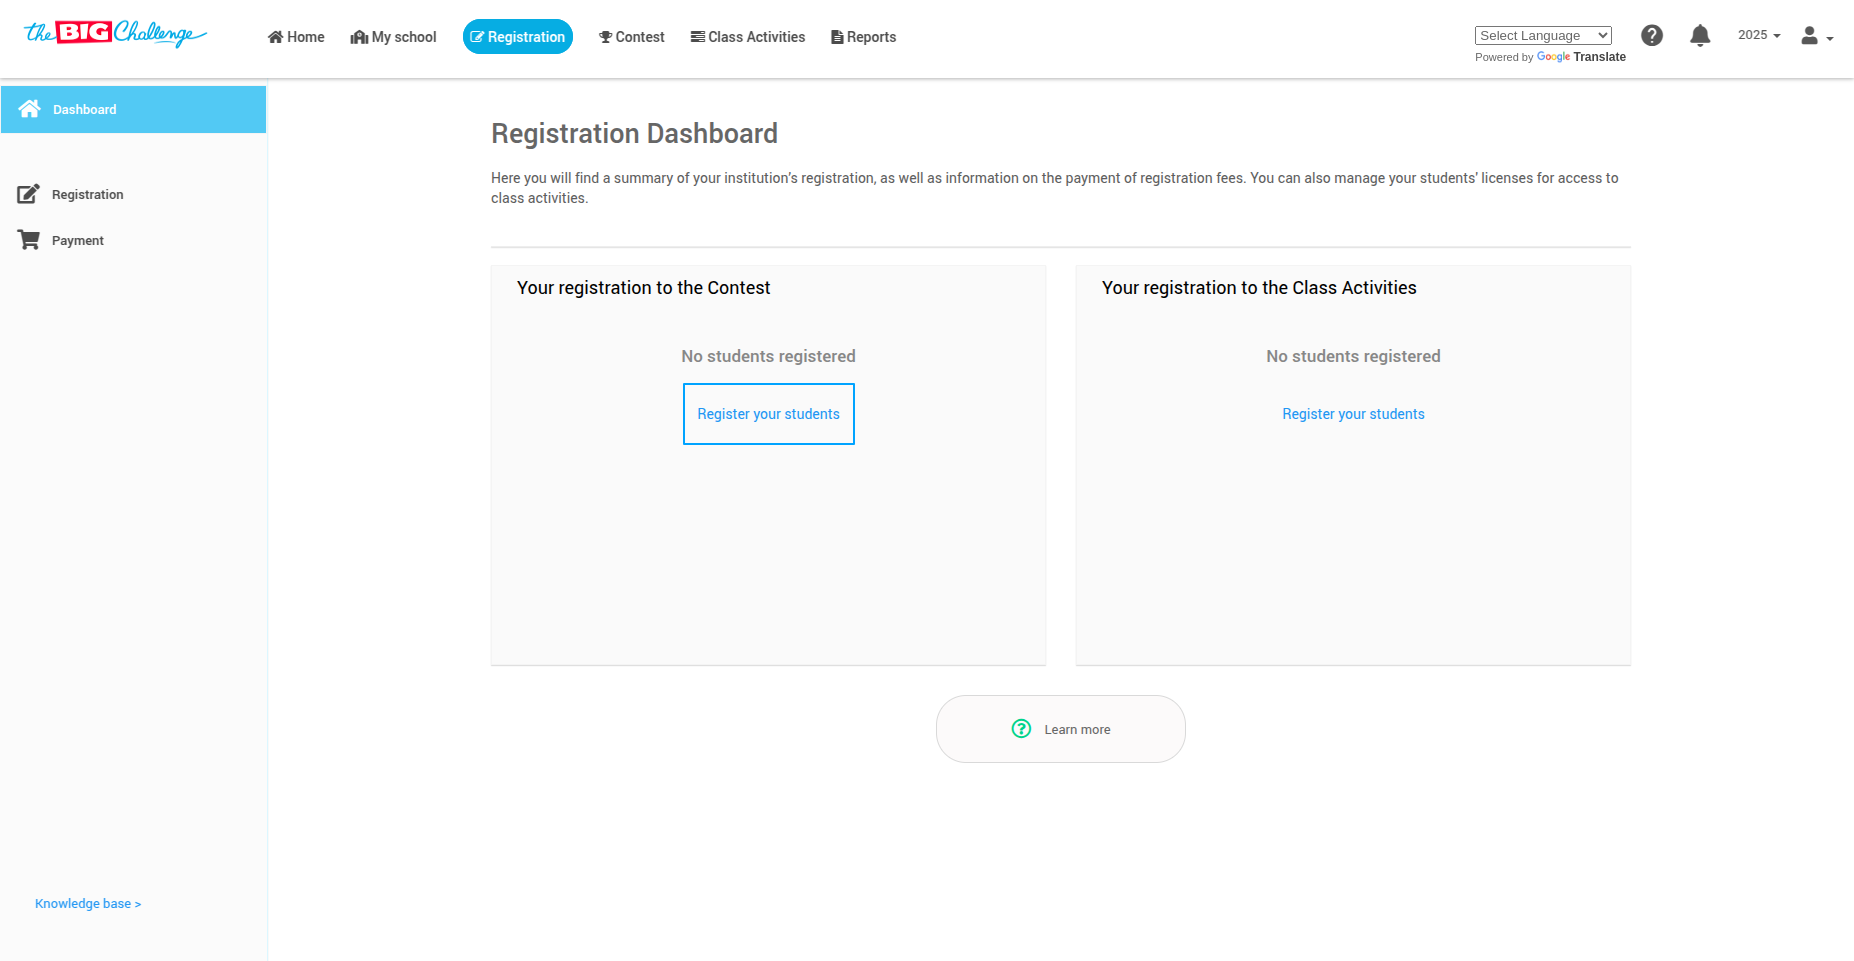
🗂️ Step 1: Go to the Registration Tab
Log in to your Teacher Account and head to the Registration tab from your dashboard. You’ll be directed to the registration dashboard.
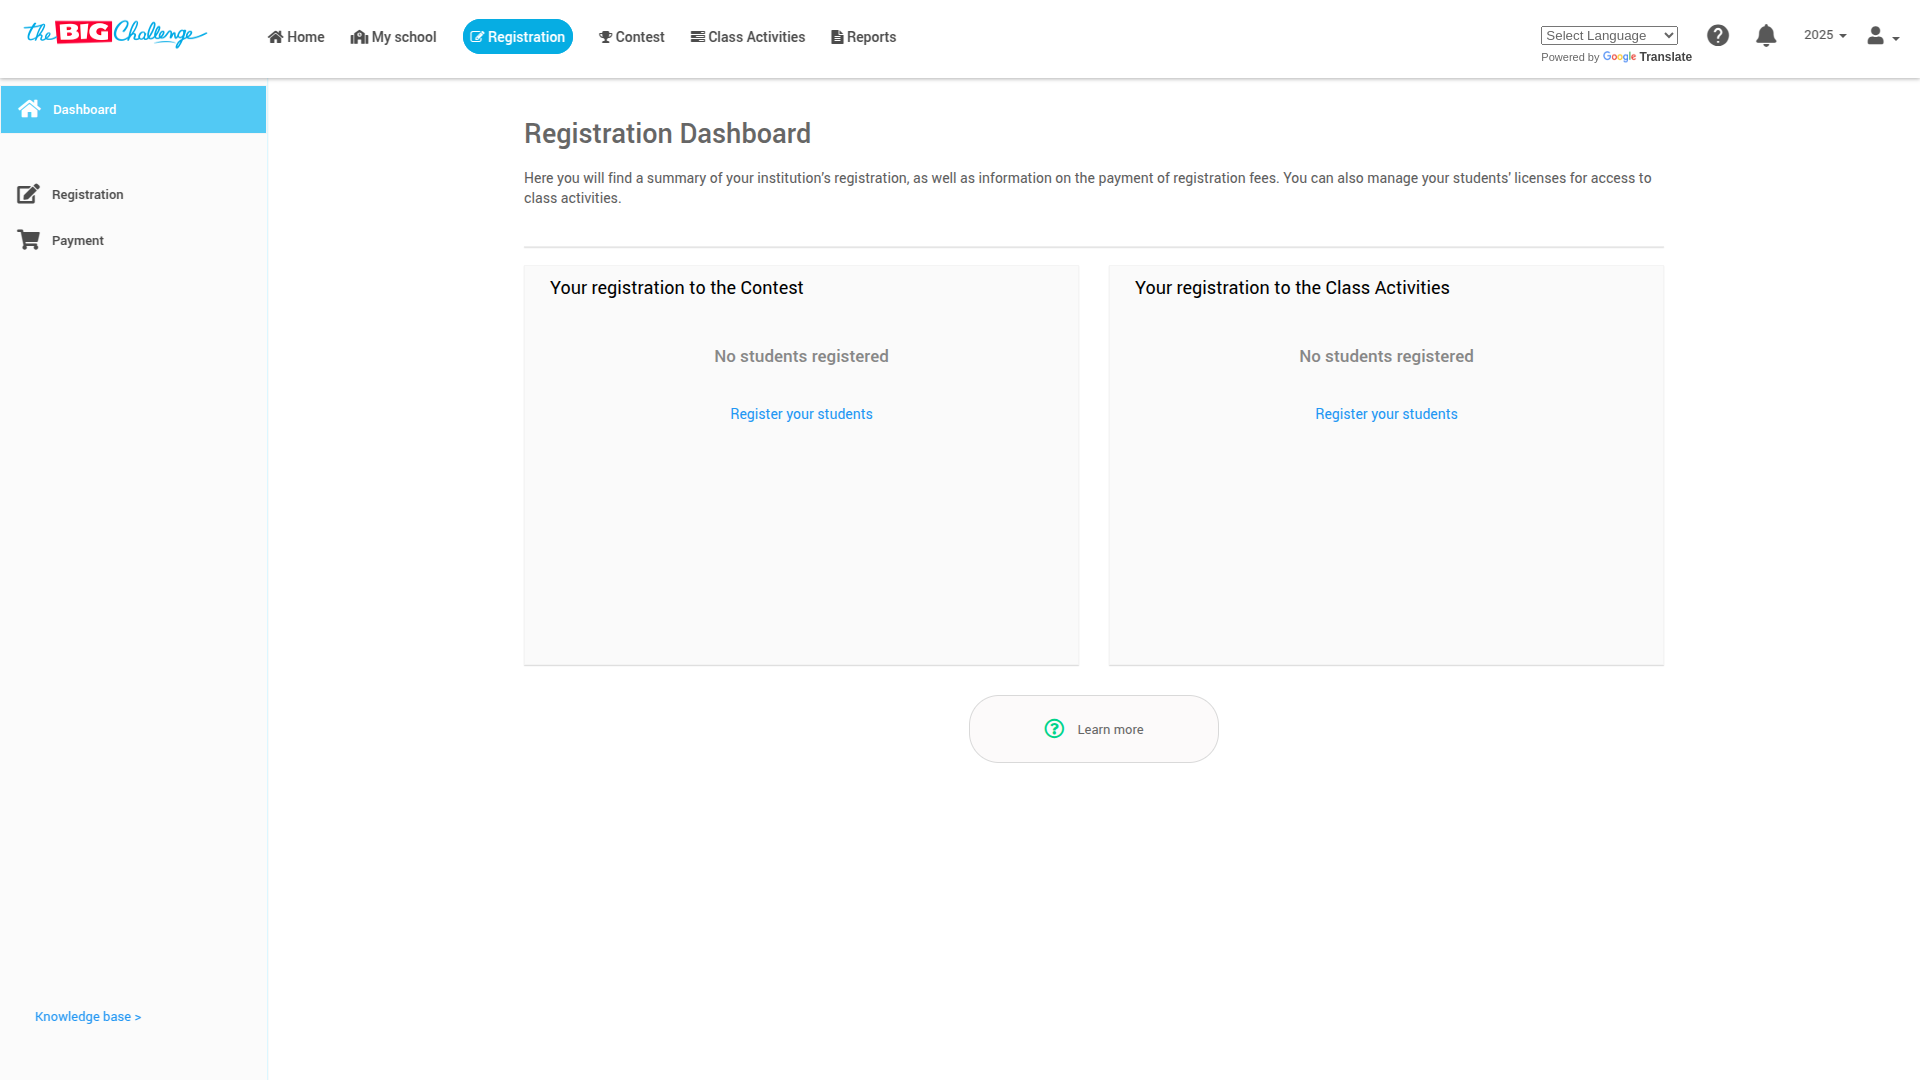
📝 Step 2: Begin the Registration
Under the Your registration to the contest section, click on Register your students. A registration form will appear in a pop-up window.
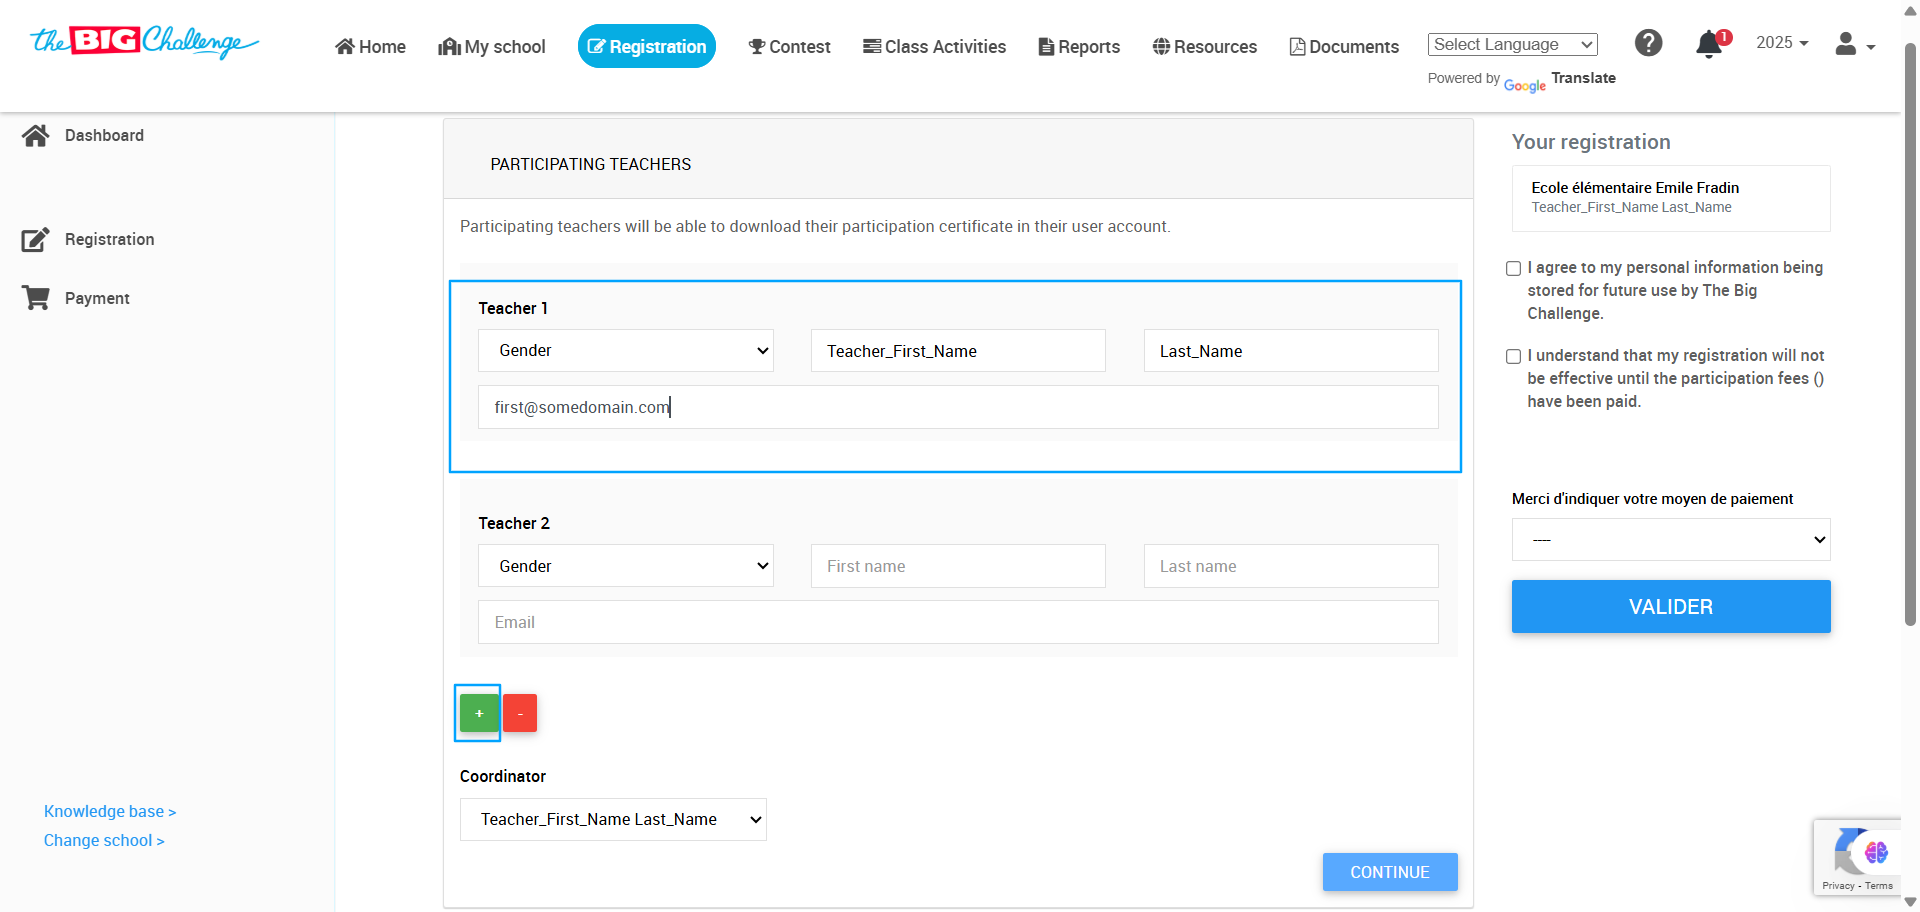
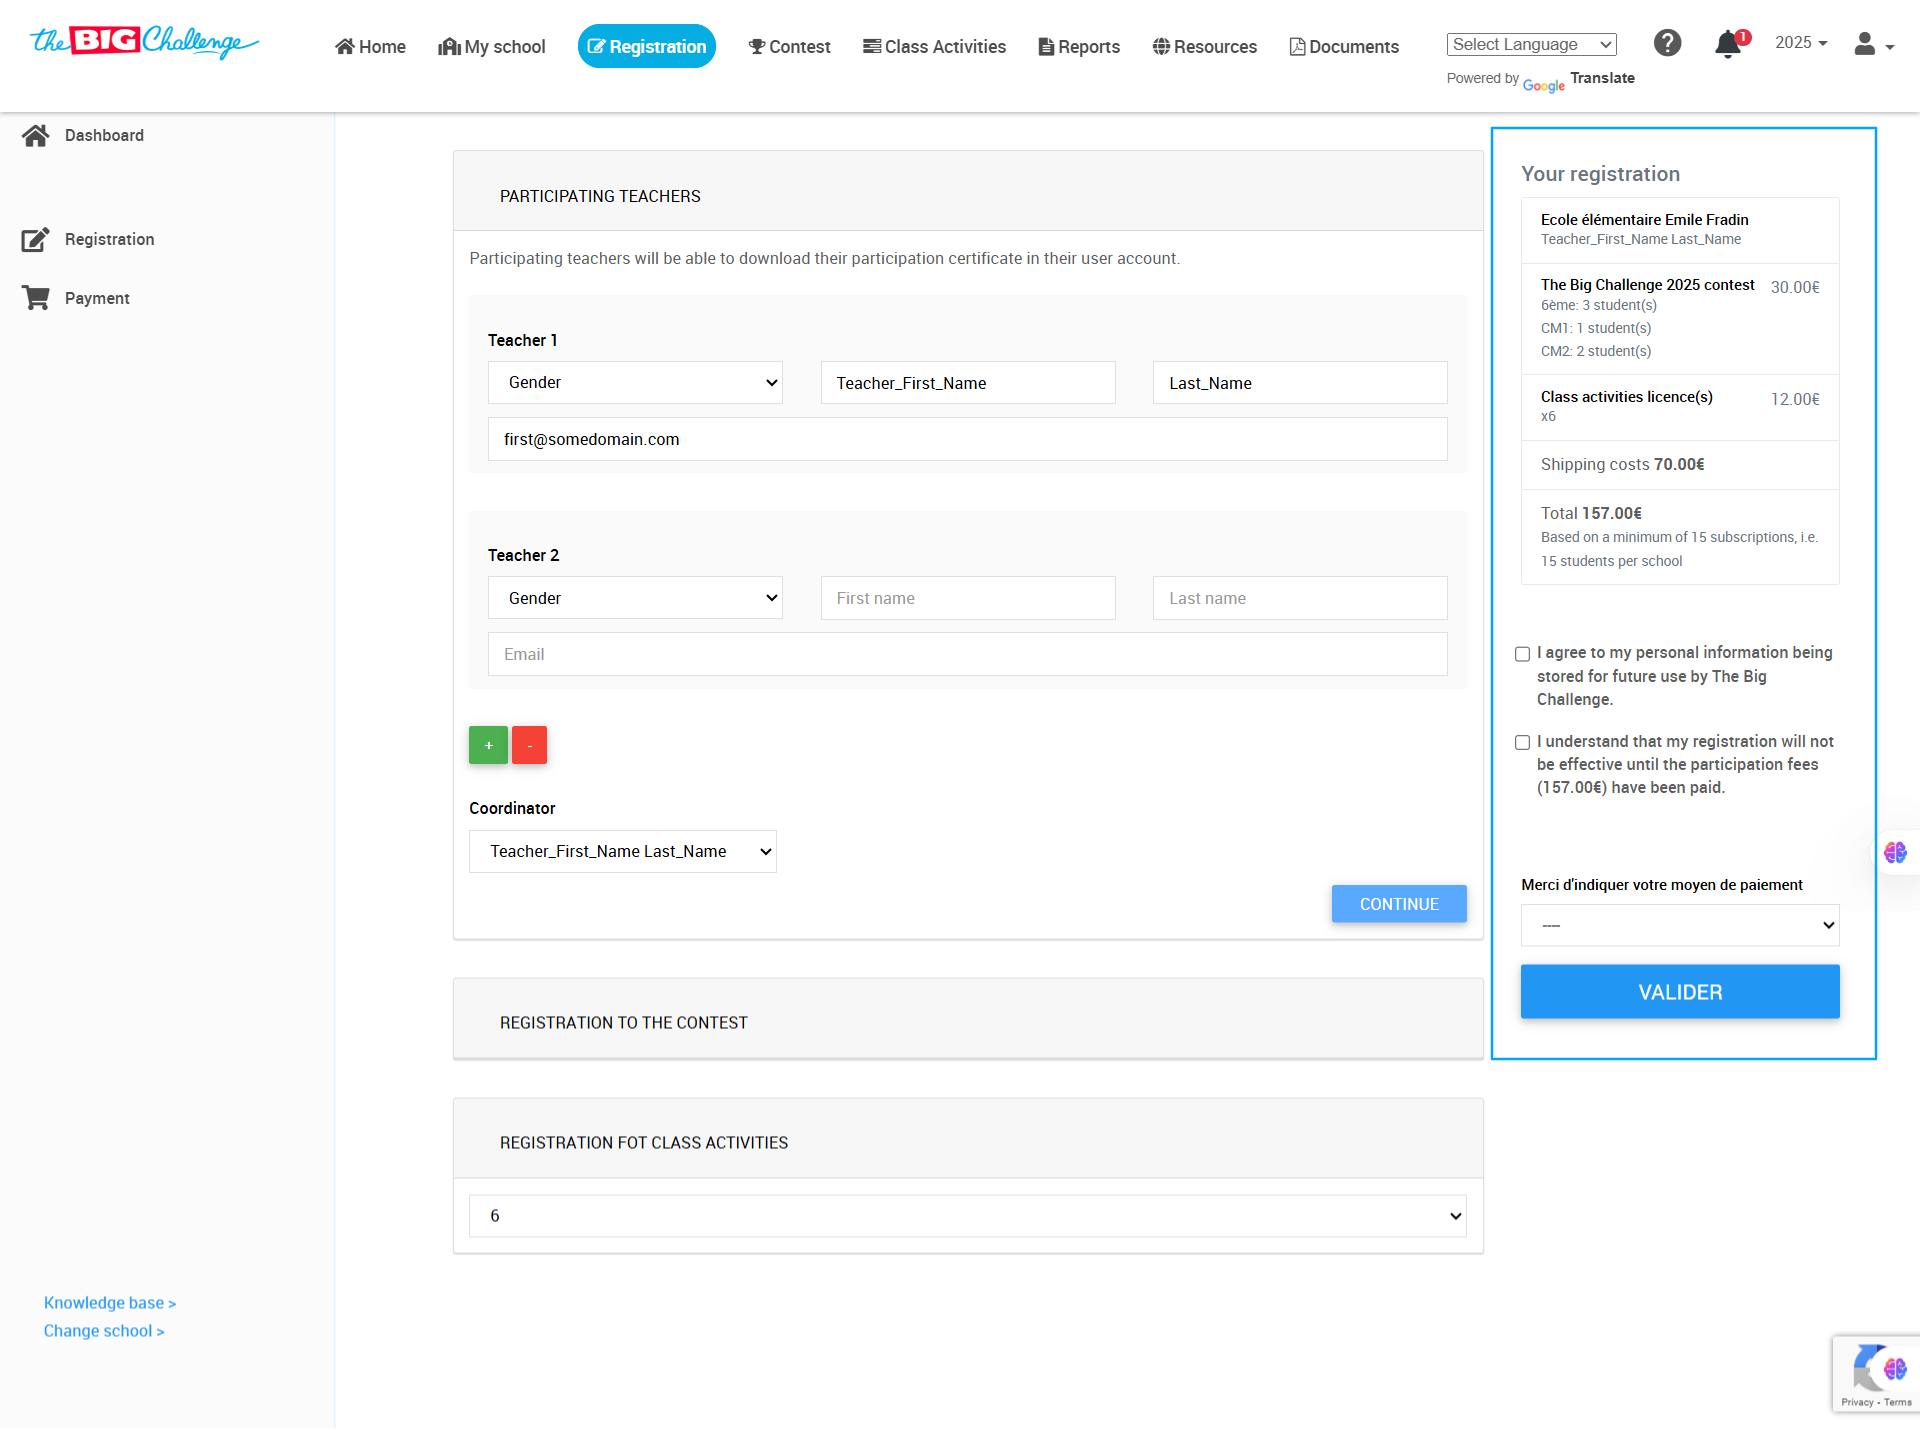
👩🏫 Step 3: Add Participating Teachers
In the first section of the form, fill in the participating teacher's information:
Gender
First Name
Last Name
Email Address
If more teachers join, click the + button to add more entries. Select a coordinator from the list, then click Continue.
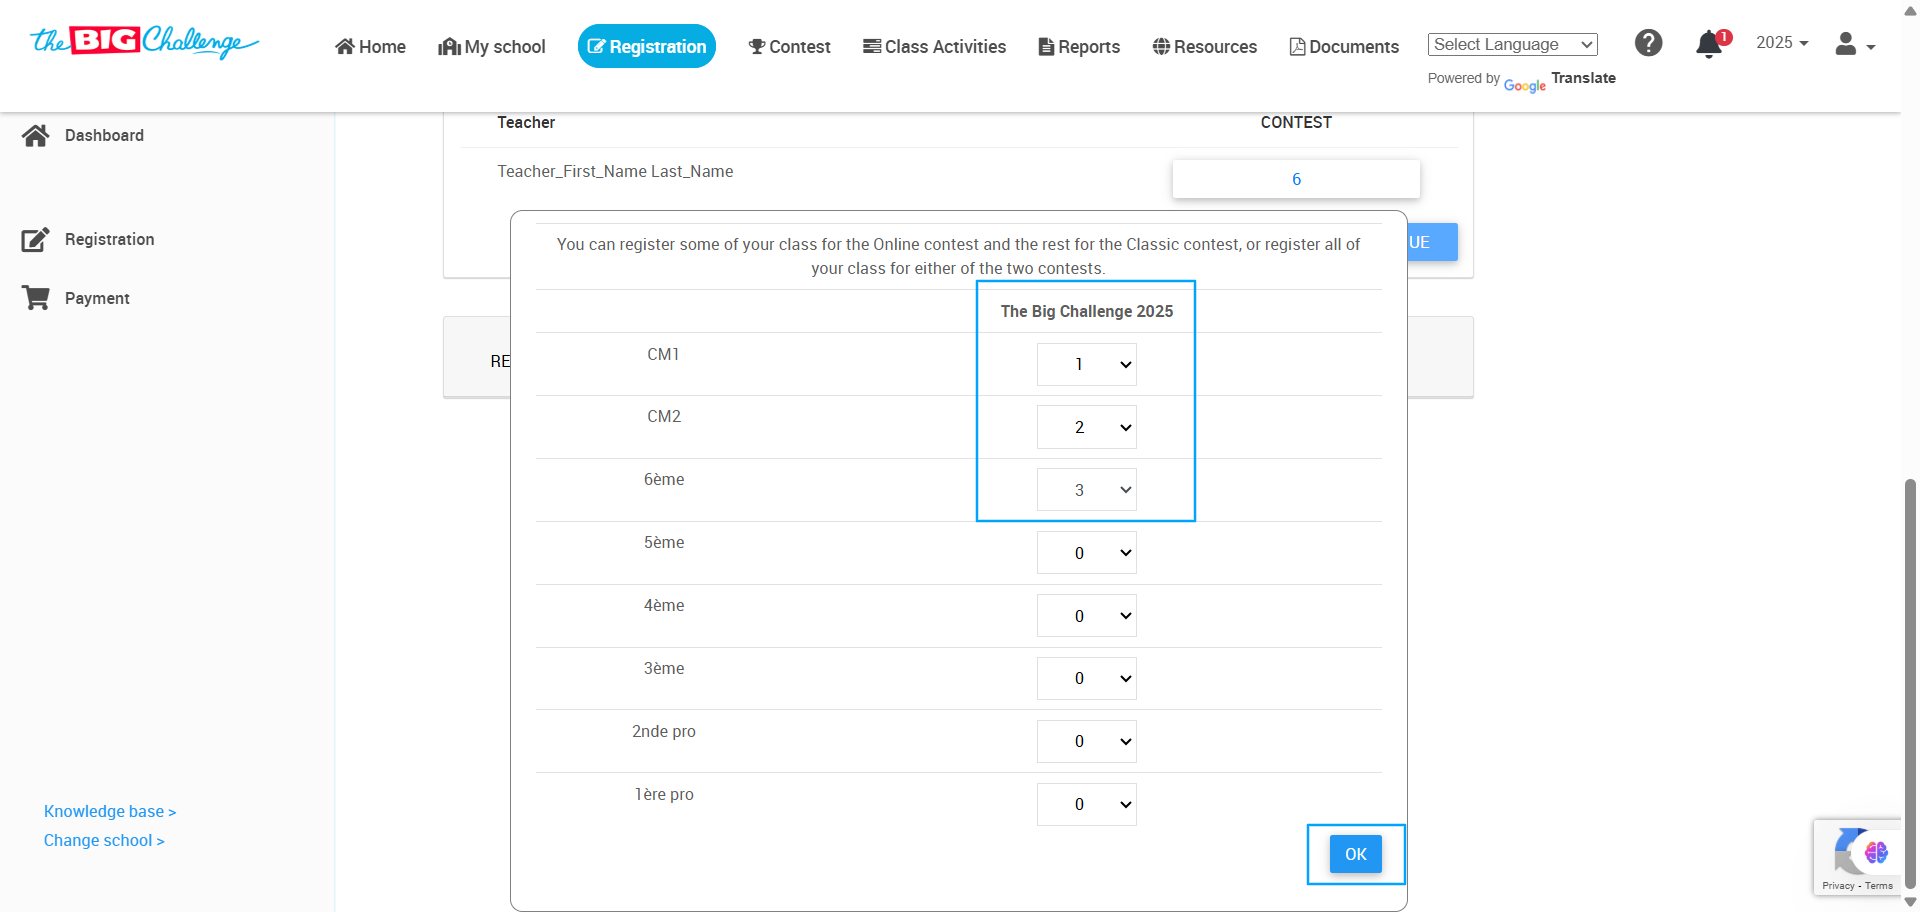
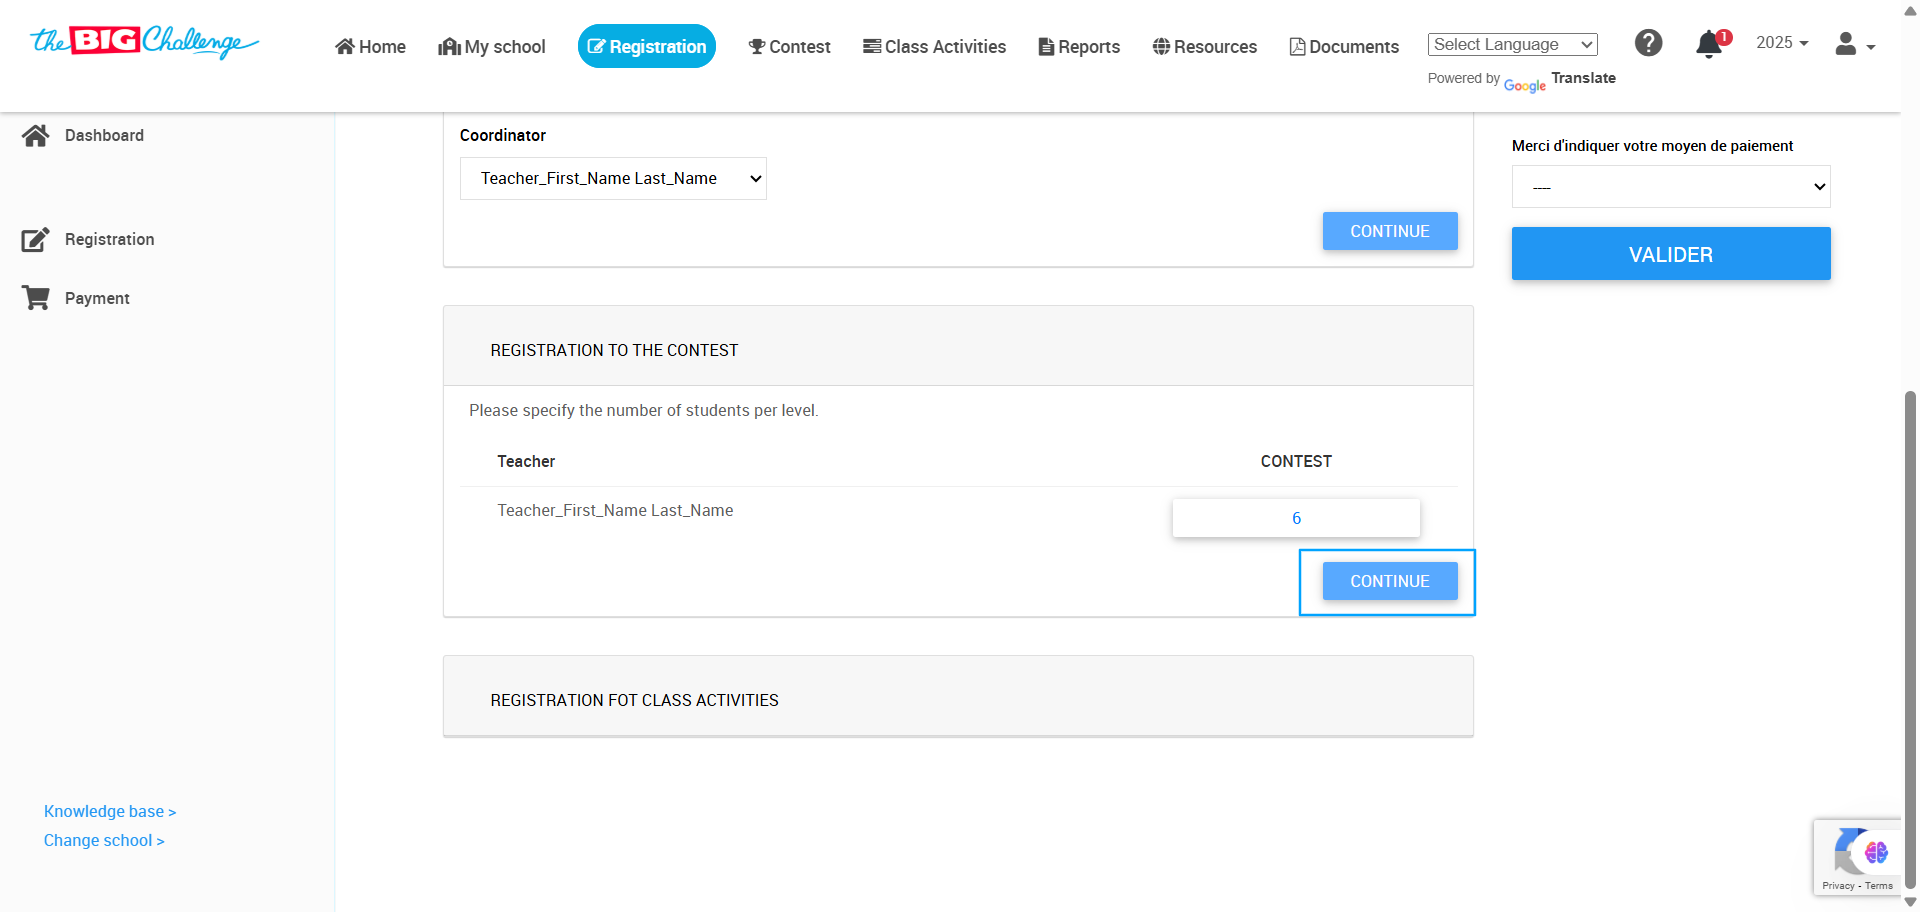
👥 Step 4: Enter Student Numbers by Level
In the Registration to the Contest section, click the + button next to a teacher’s name.

A level-based form will appear. Select the number of students per level as needed. When finished, click OK, then Continue.
✅ Step 5: Review & Submit
A summary of your registration appears on the right-hand side of the screen. Carefully review it, check the confirmation boxes at the bottom, and click Submit to finalise your registration.
🎉 You're Done!
Congratulations! Your students are now officially registered for the contest.
Need help? Visit our Help Centre or contact Support — we’re here for you every step of the way.
🎥 Watch the Full Tutorial
3. Organise Classes
Welcome to The Big Challenge! This tutorial'll guide you through the simple steps to organise your classes. This optional feature is designed to help teachers manage their groups and monitor student progress more effectively.
🔐 Step 1: Access the Classes Section
Log in to your Teacher Account and go to the My School tab. Then, in the left-hand menu, select Classes.
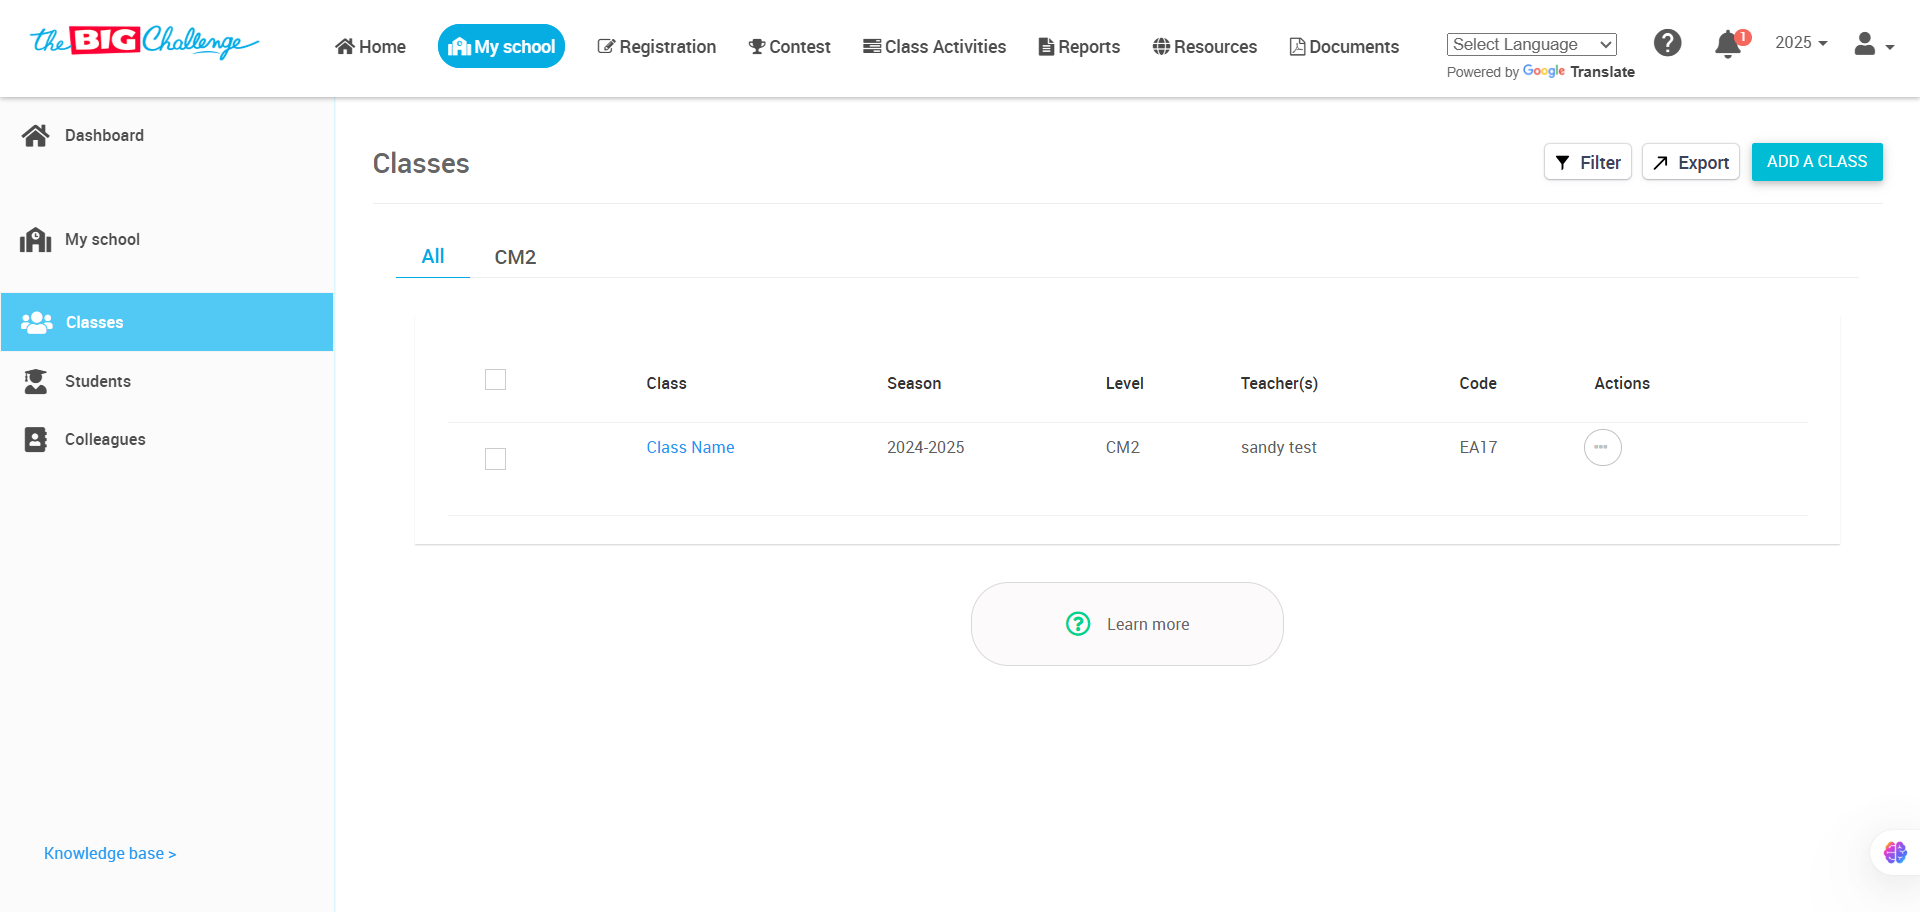
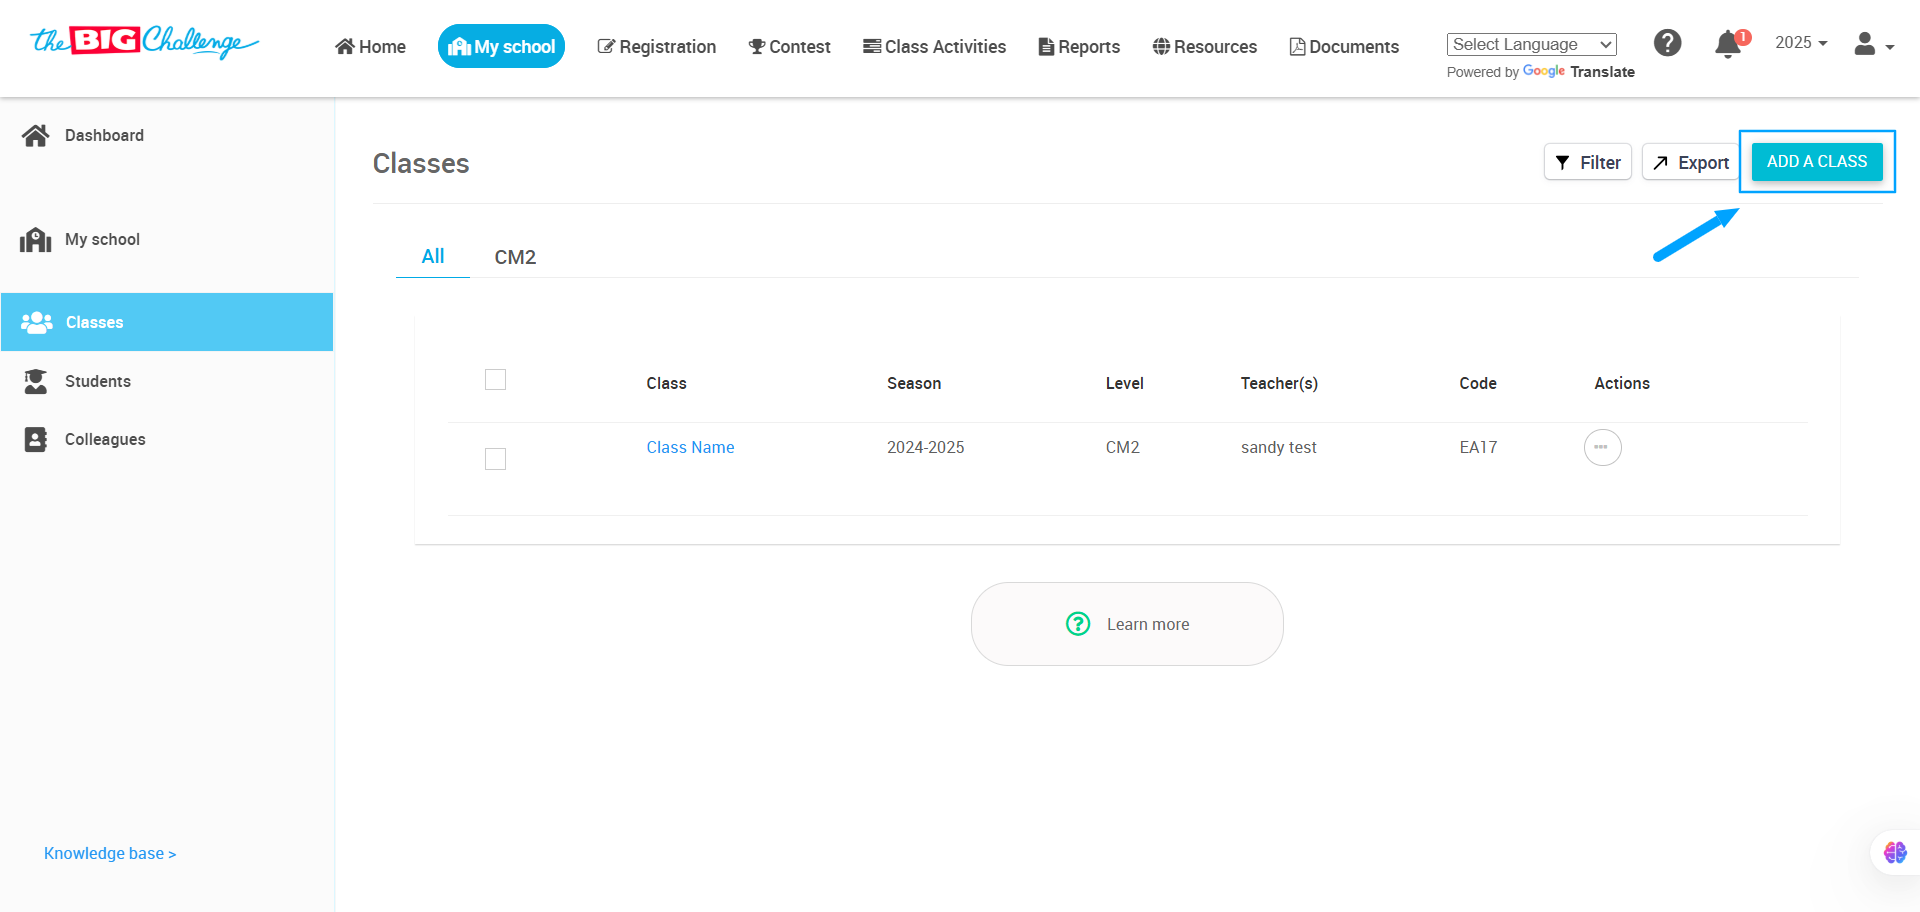
➕ Step 2: Add a Class
Click on Add a class to create a new class.
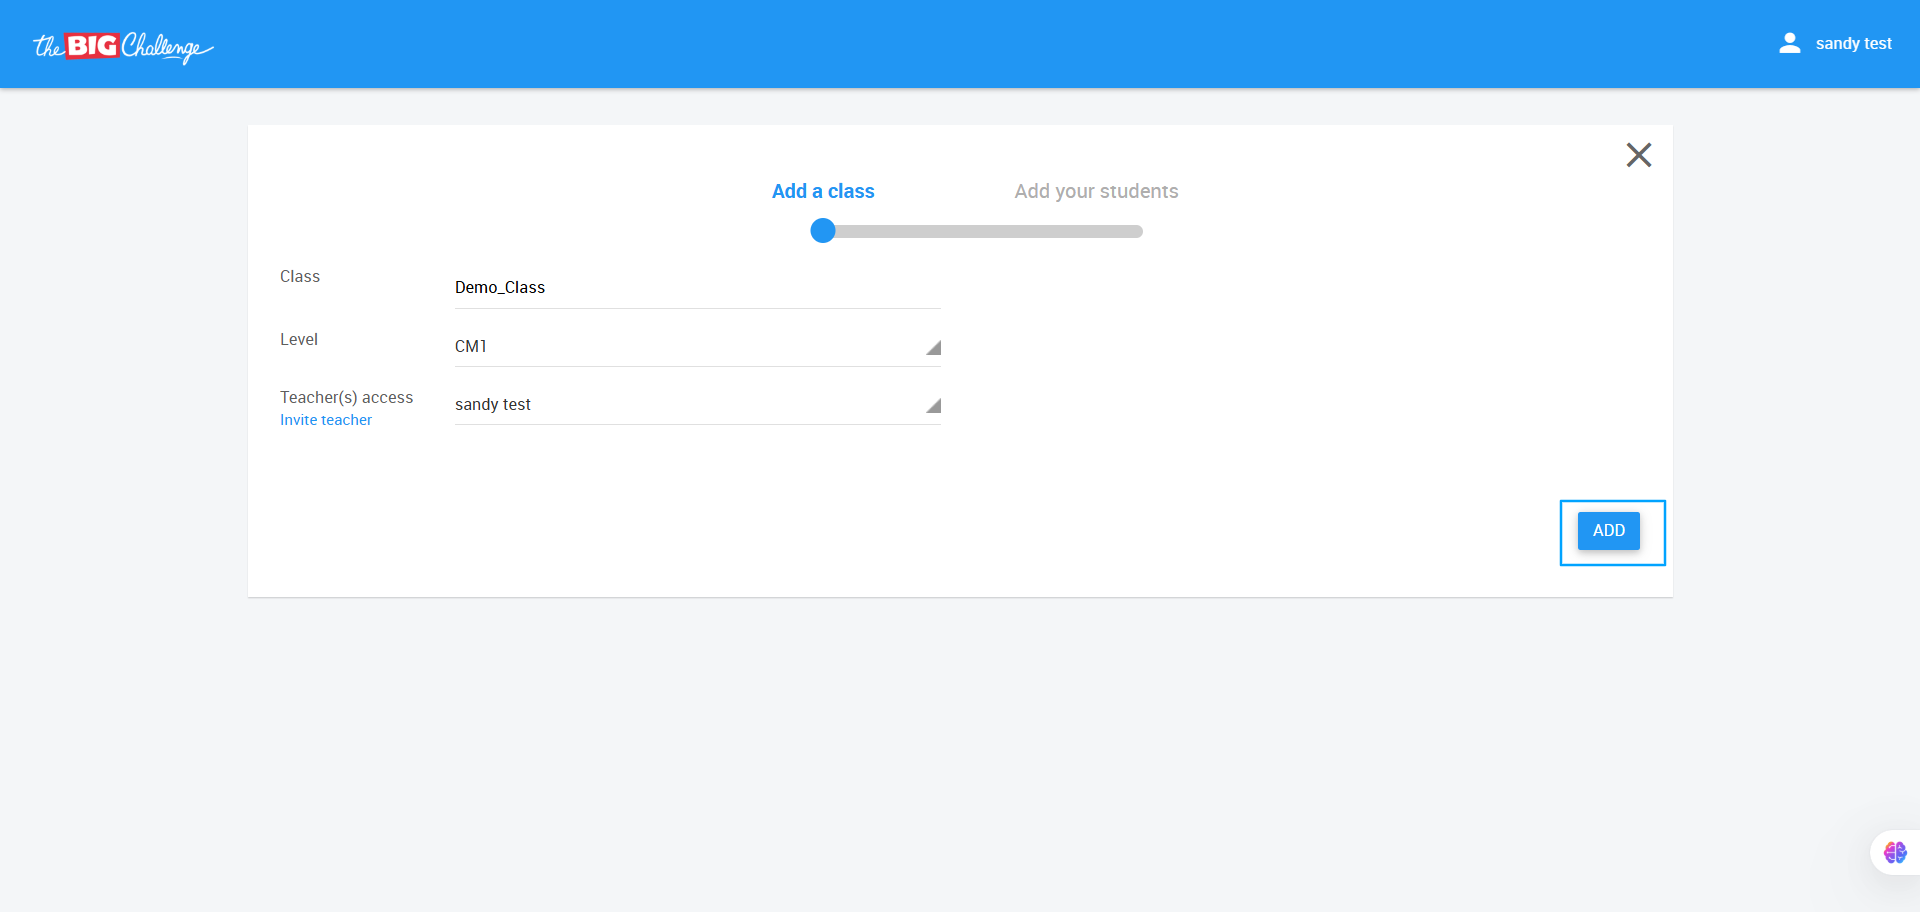
🧾 Step 3: Enter Class Details
Fill in the class name, choose the appropriate level, and select the teachers who will have access to this class. If you'd like to invite more teachers, click Invite Teacher. Once everything is ready, click Add to create your class.
🎓 You're All Set!
Your class is now created and ready to use. Need help with adding students? Check out our video on Managing Classes / Students.
🎥 Watch the Full Tutorial
4. Register Students
Welcome to The Big Challenge! In this tutorial, we will guide you through the simple steps to add students to your class.
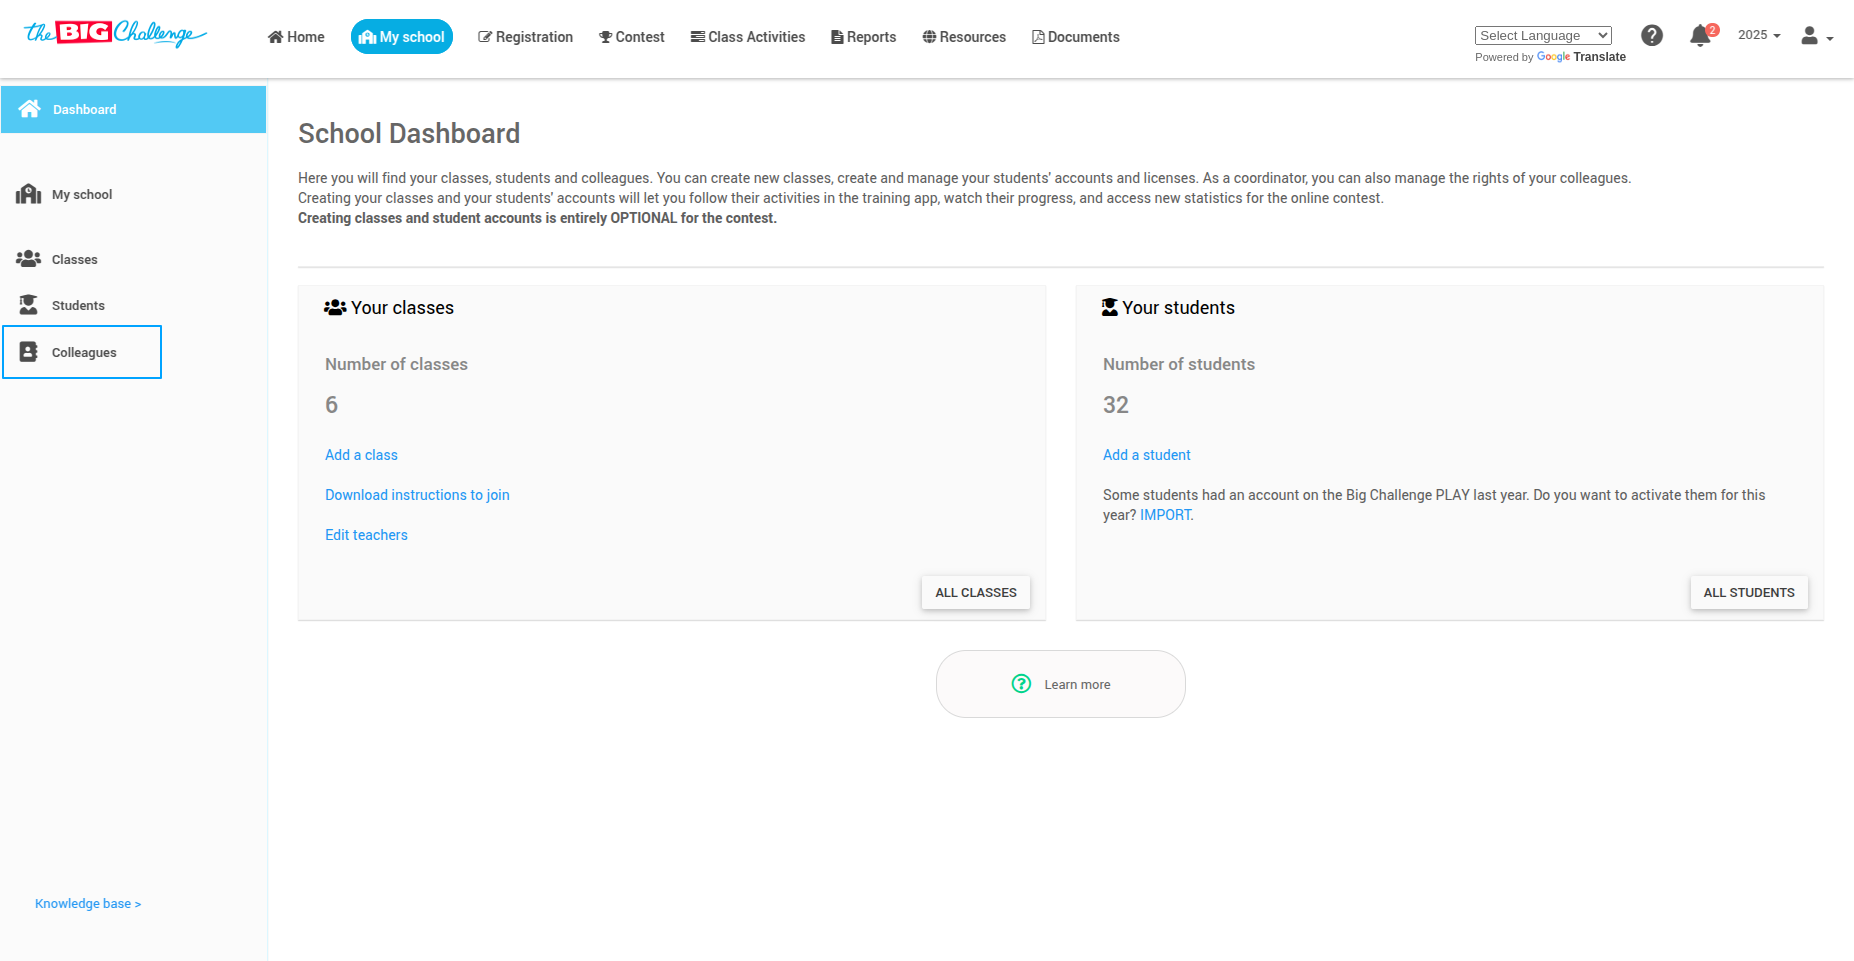
🔐 Step 1: Access the Student Dashboard
Log in to your Teacher Account and go to the My School tab to access your school dashboard. If you haven't created a class yet, please refer to the Organising Classes tutorial.
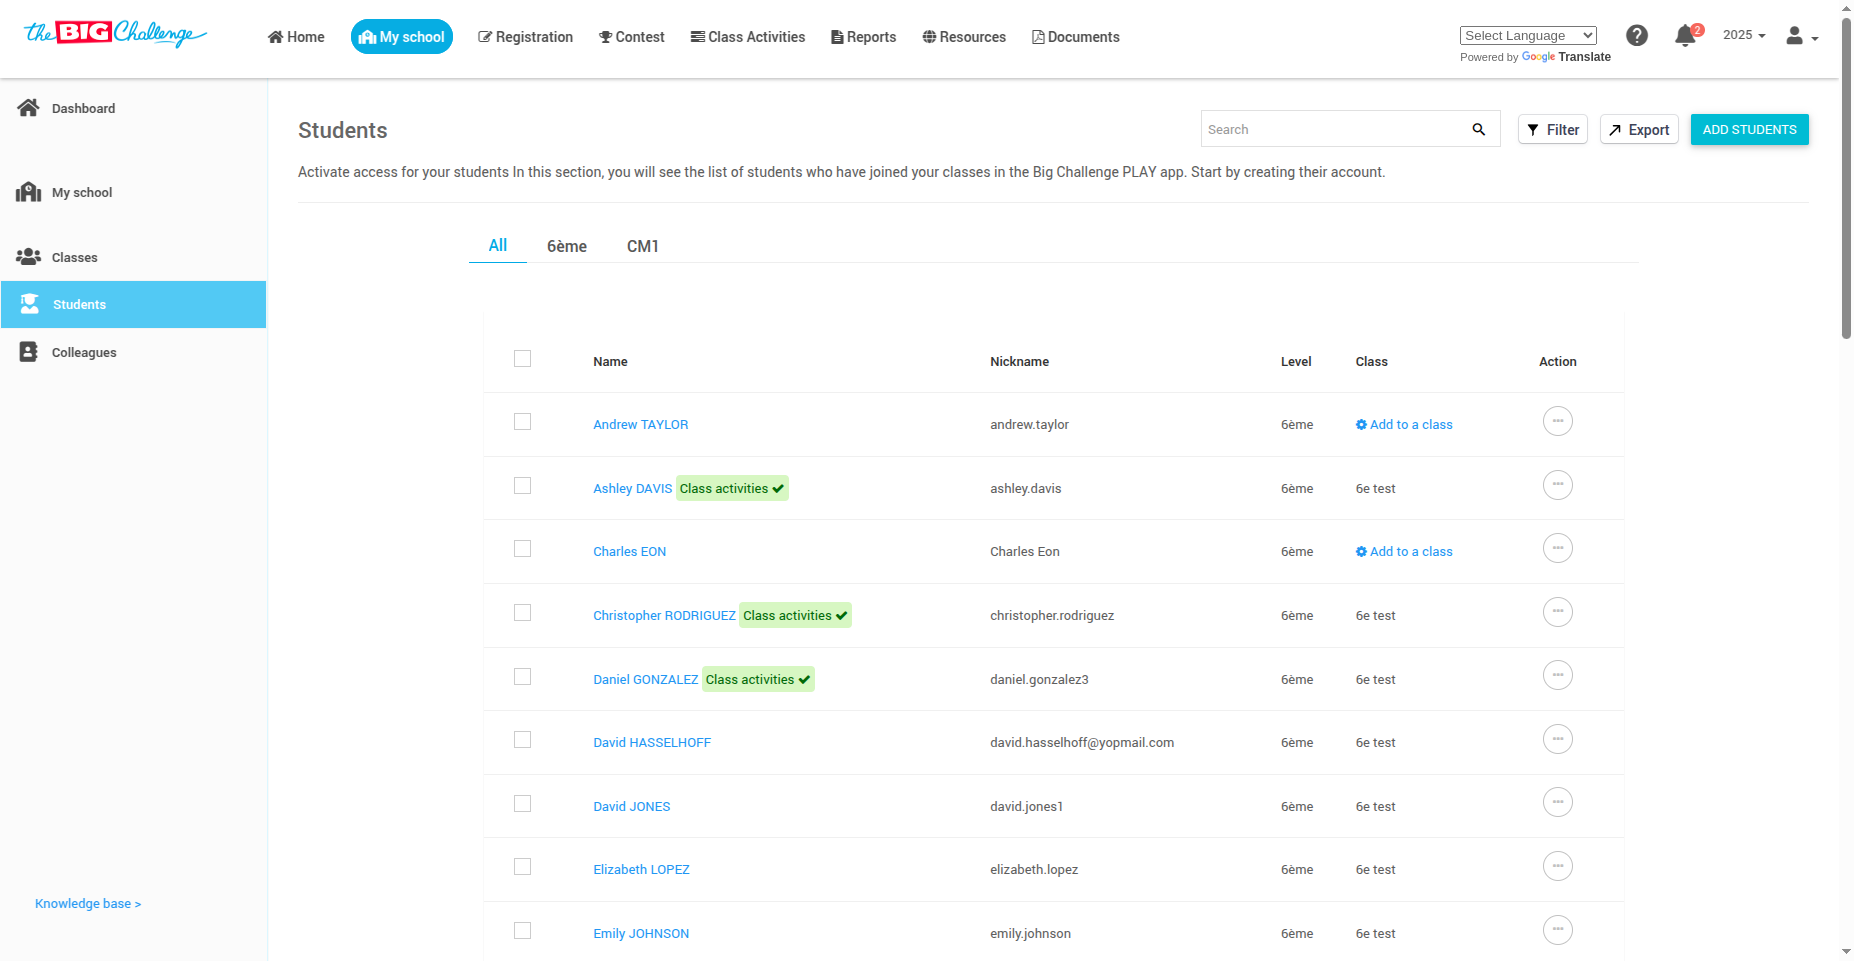
👥 Step 2: Open the Add Student Panel
On the right side of the page, locate the Your Students section and click Add a student to continue.
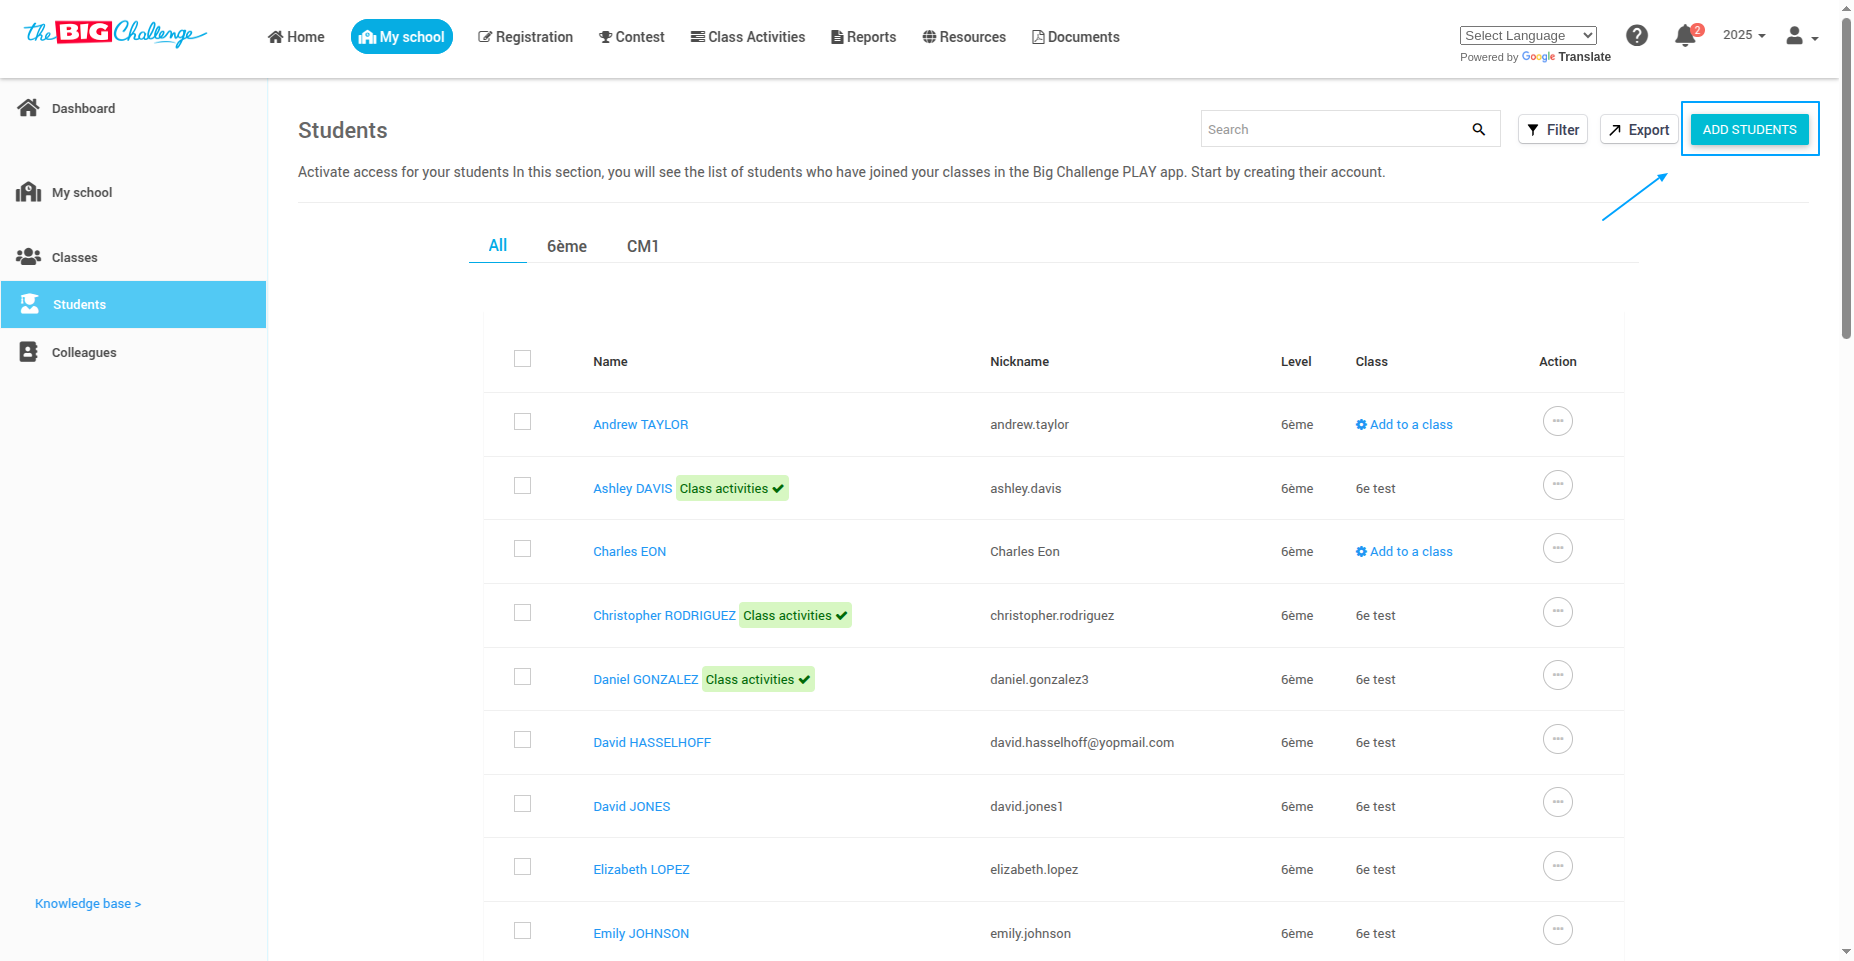
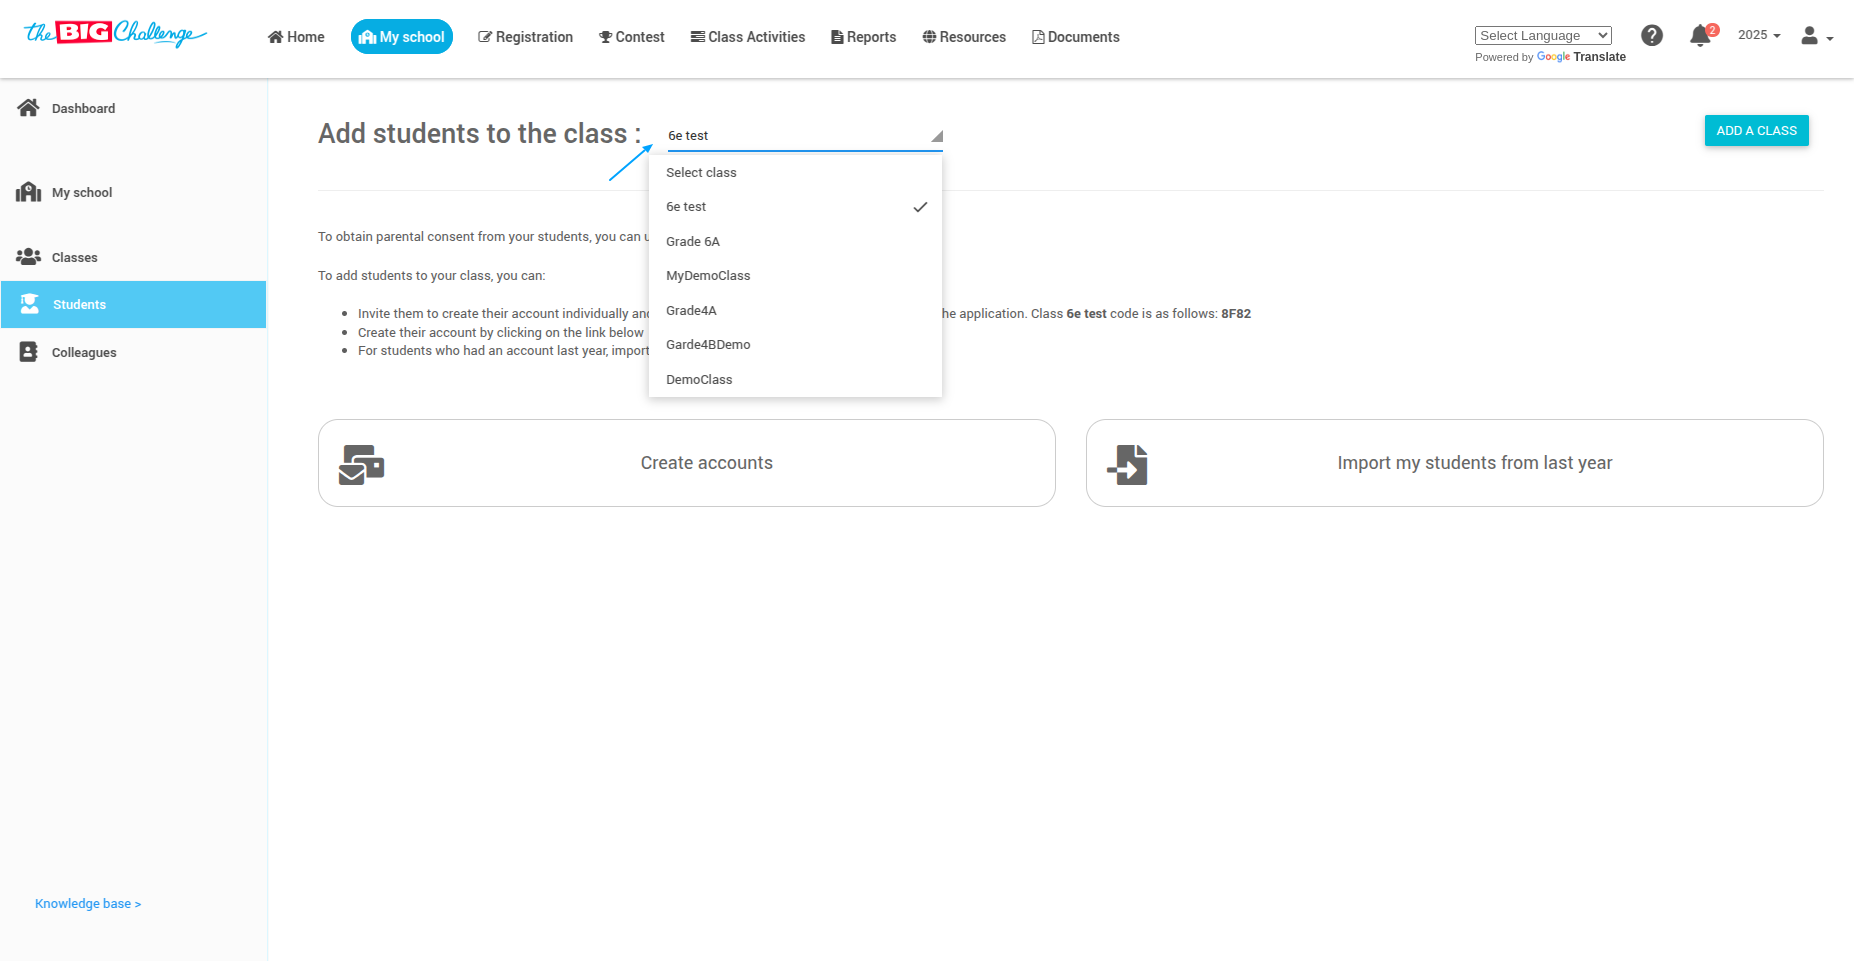
🏷️ Step 3: Select a Class
From the dropdown, select the appropriate class you'd like to add students to.
📌 Step 4: Choose a Method to Add Students
You have three options for adding students:
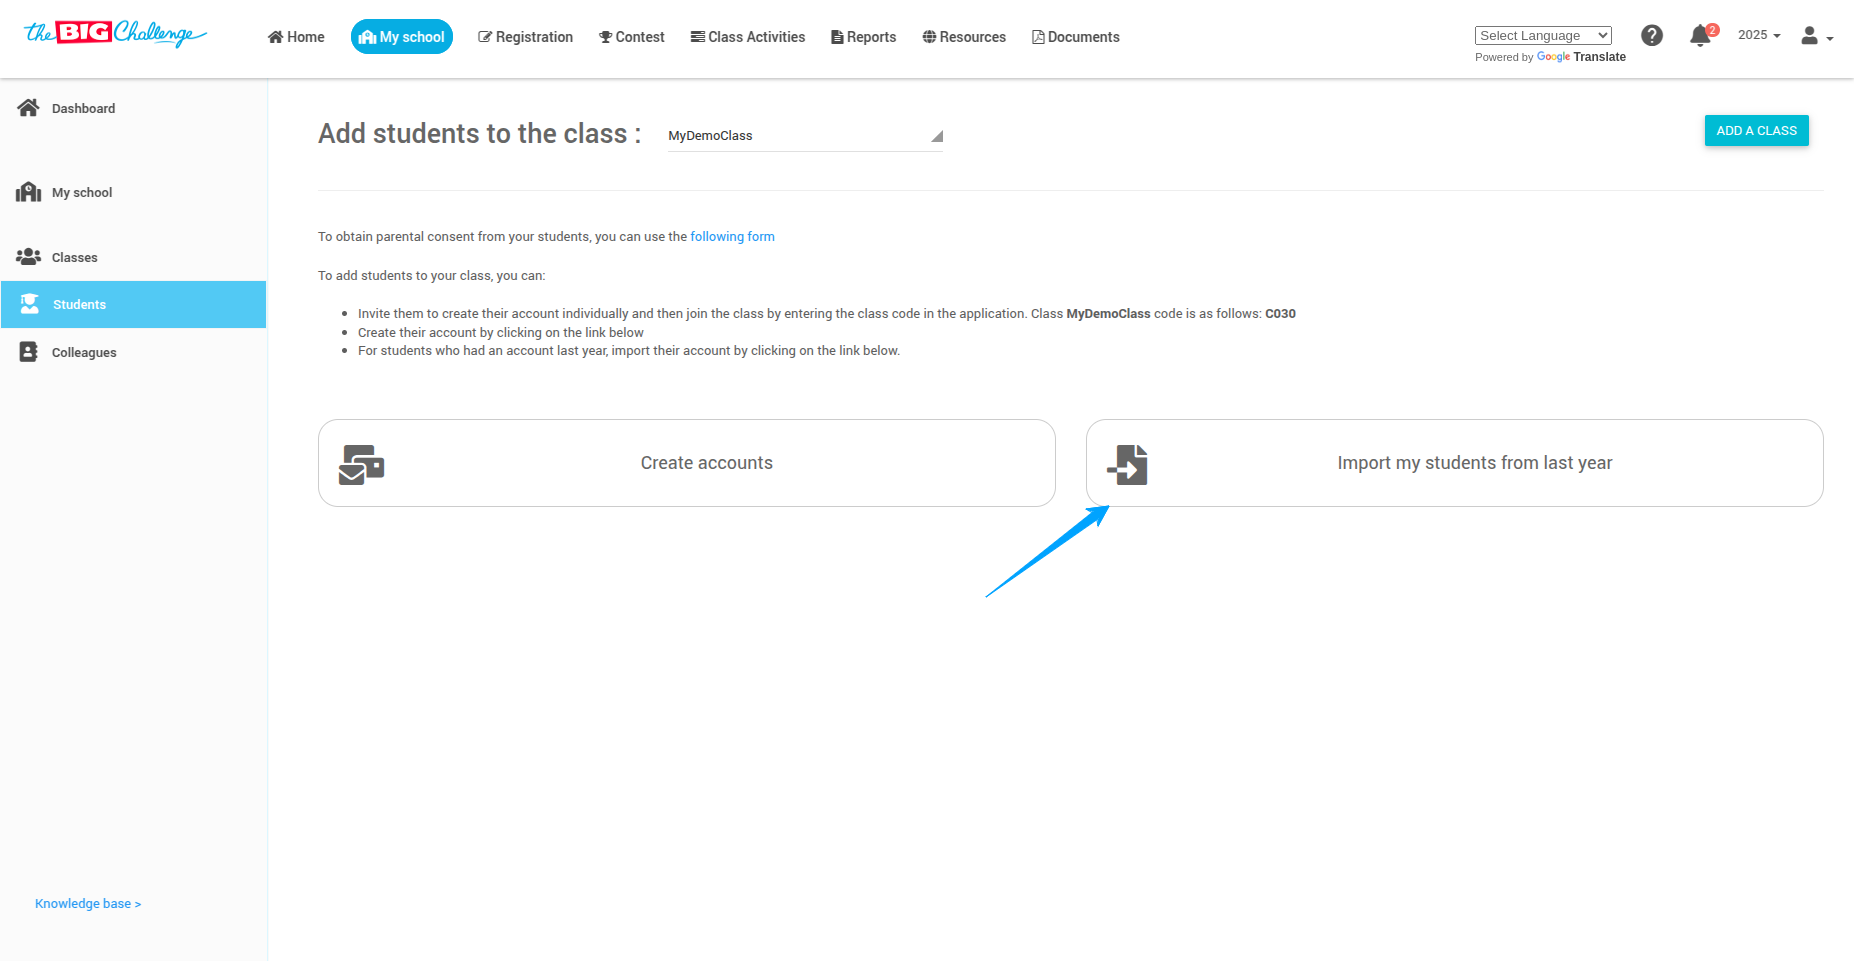
🔄 Option 1: Import Students from Last Year
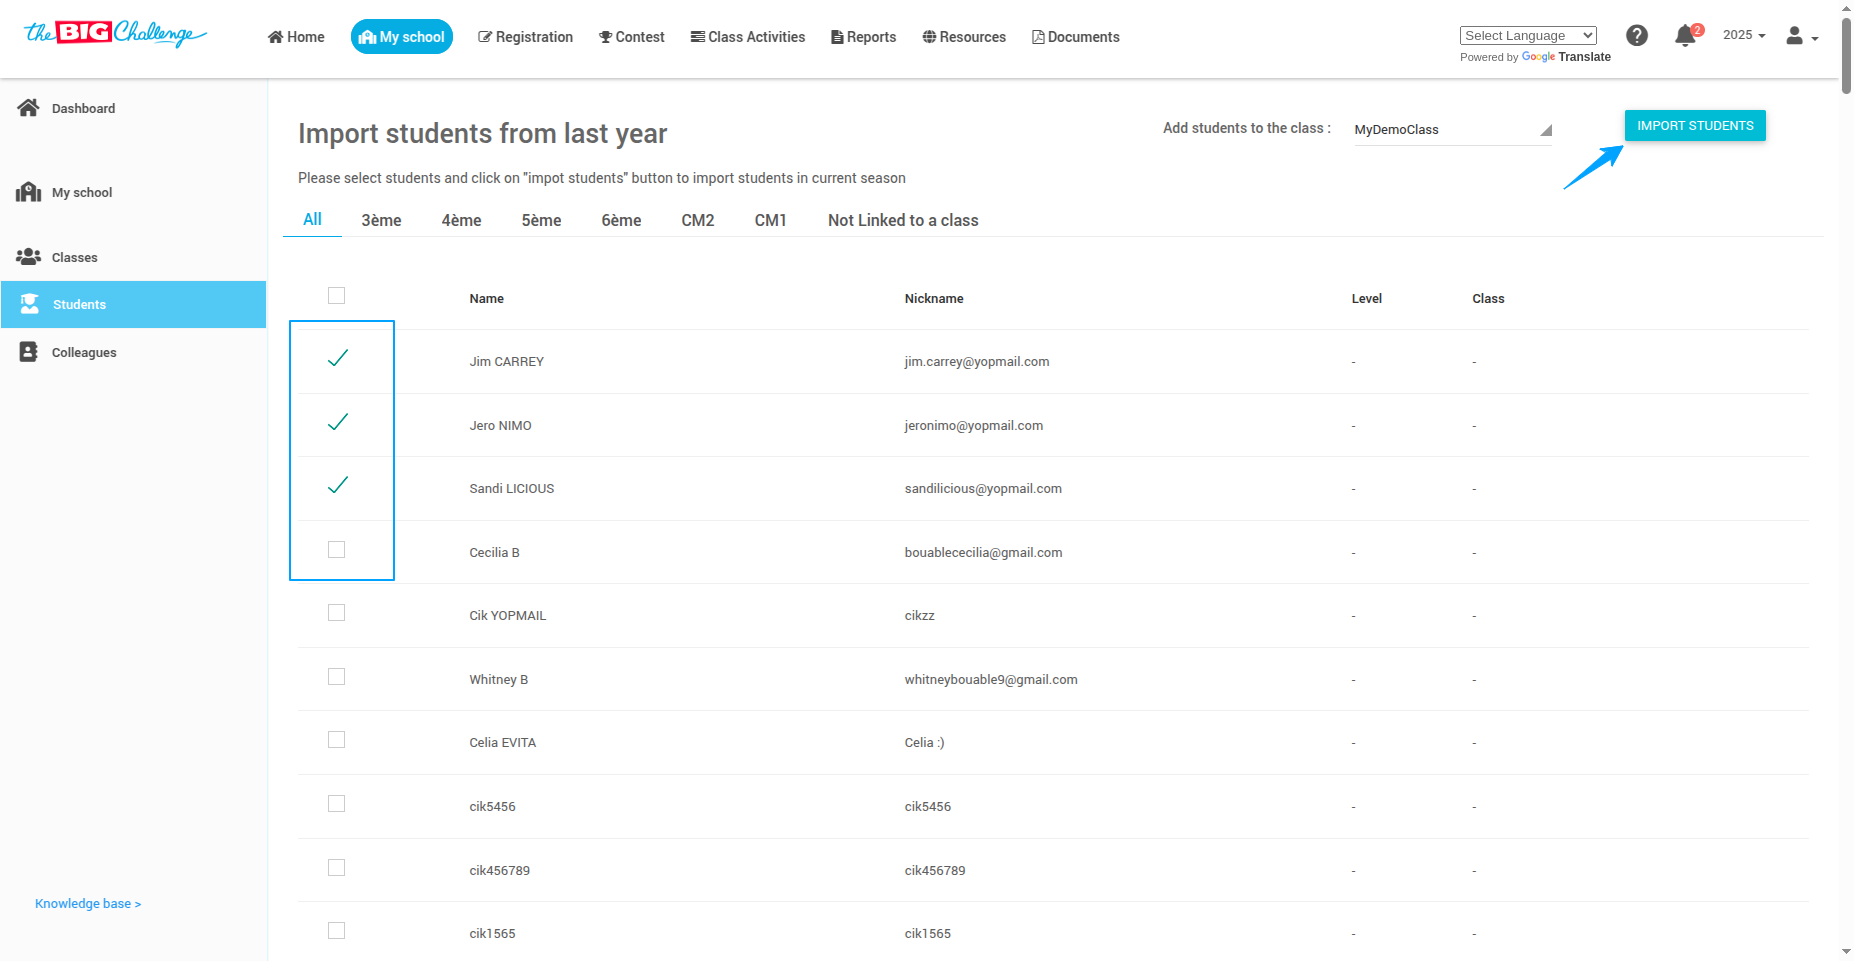
If your students had accounts last year, click Import my students from last year.
Select the students you want to import and click Import Students. Their accounts will be brought into the class.
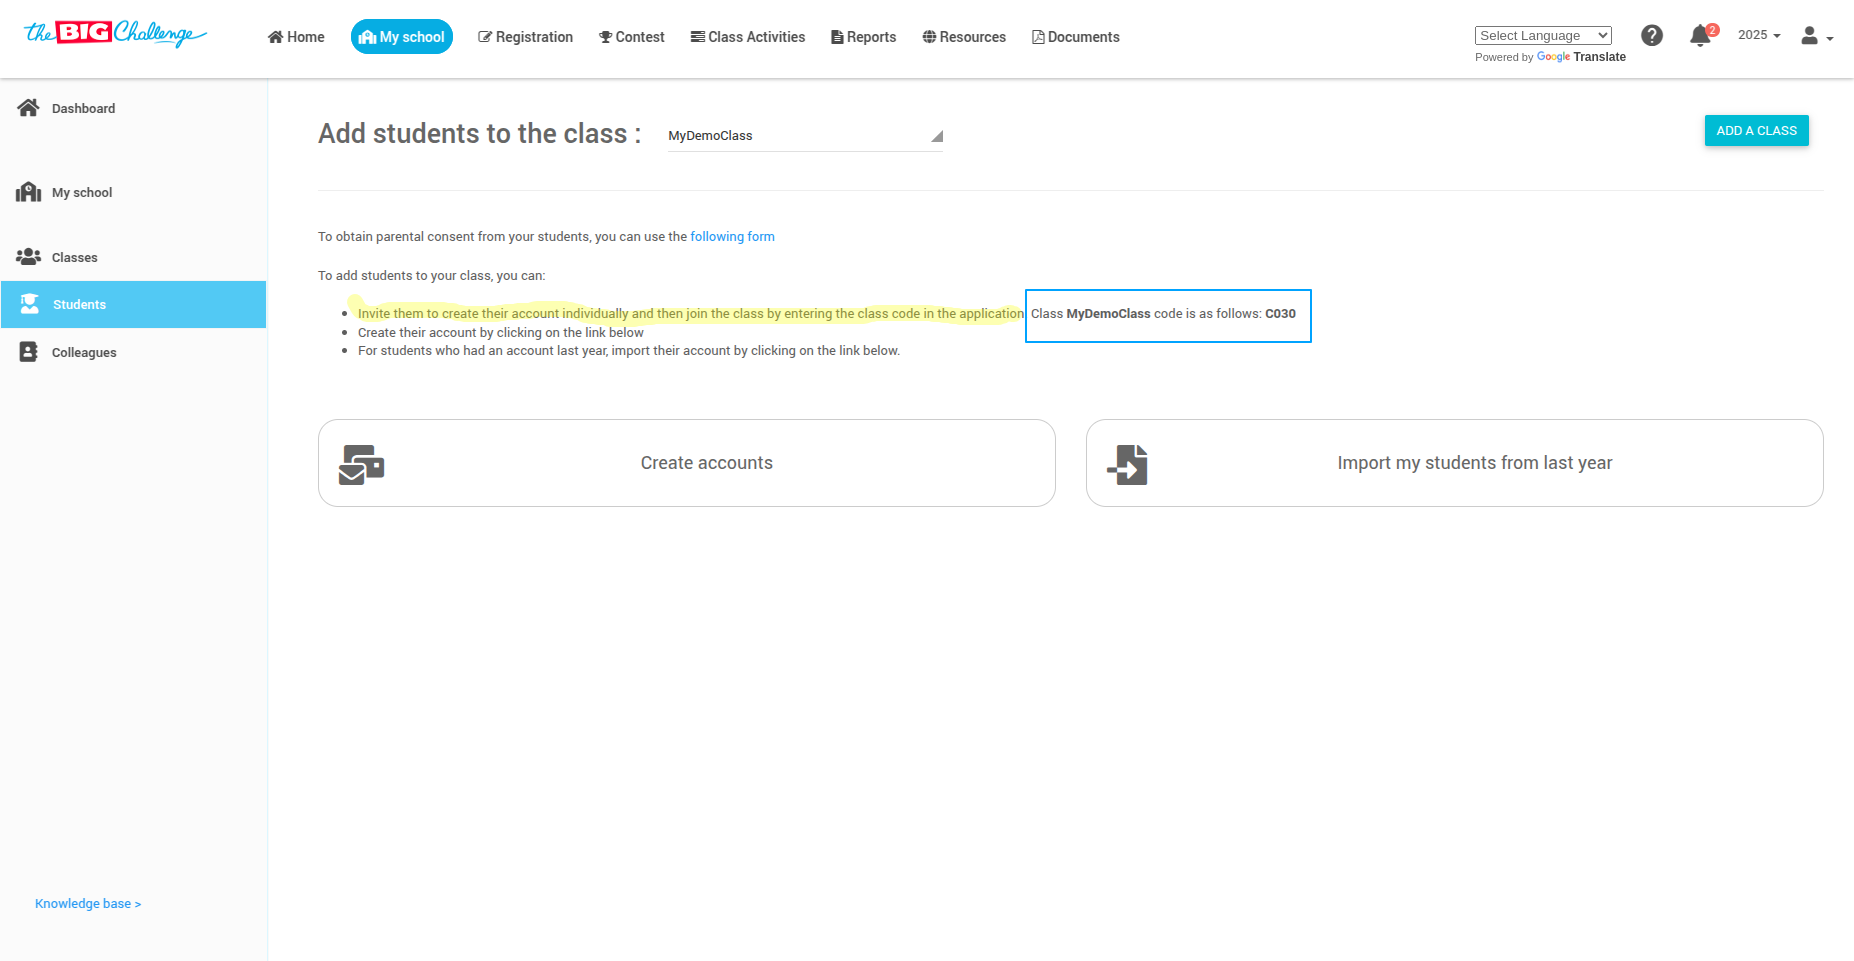
💌 Option 2: Invite Students to Join
Students can create their accounts using the class code available on the class page.
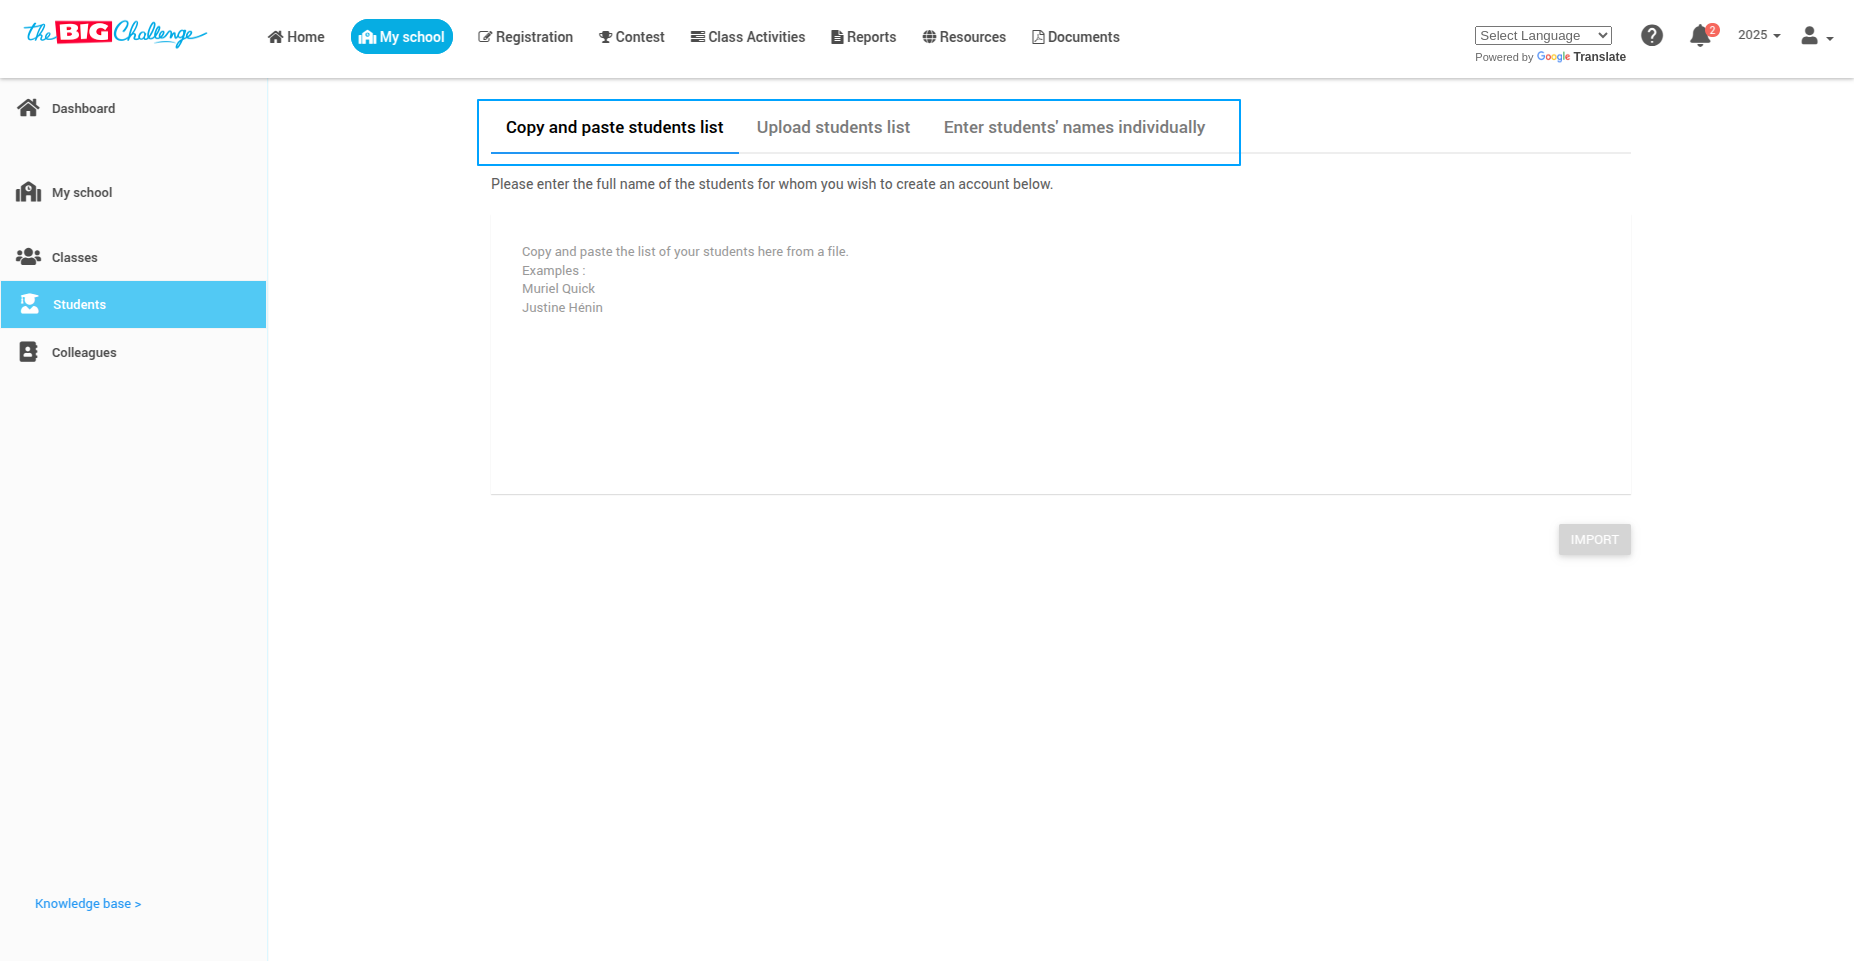
✍️ Option 3: Create Accounts Manually
Click Create account. You can:
📋 Copy and paste a list of student names
📁 Upload a file with first and last names
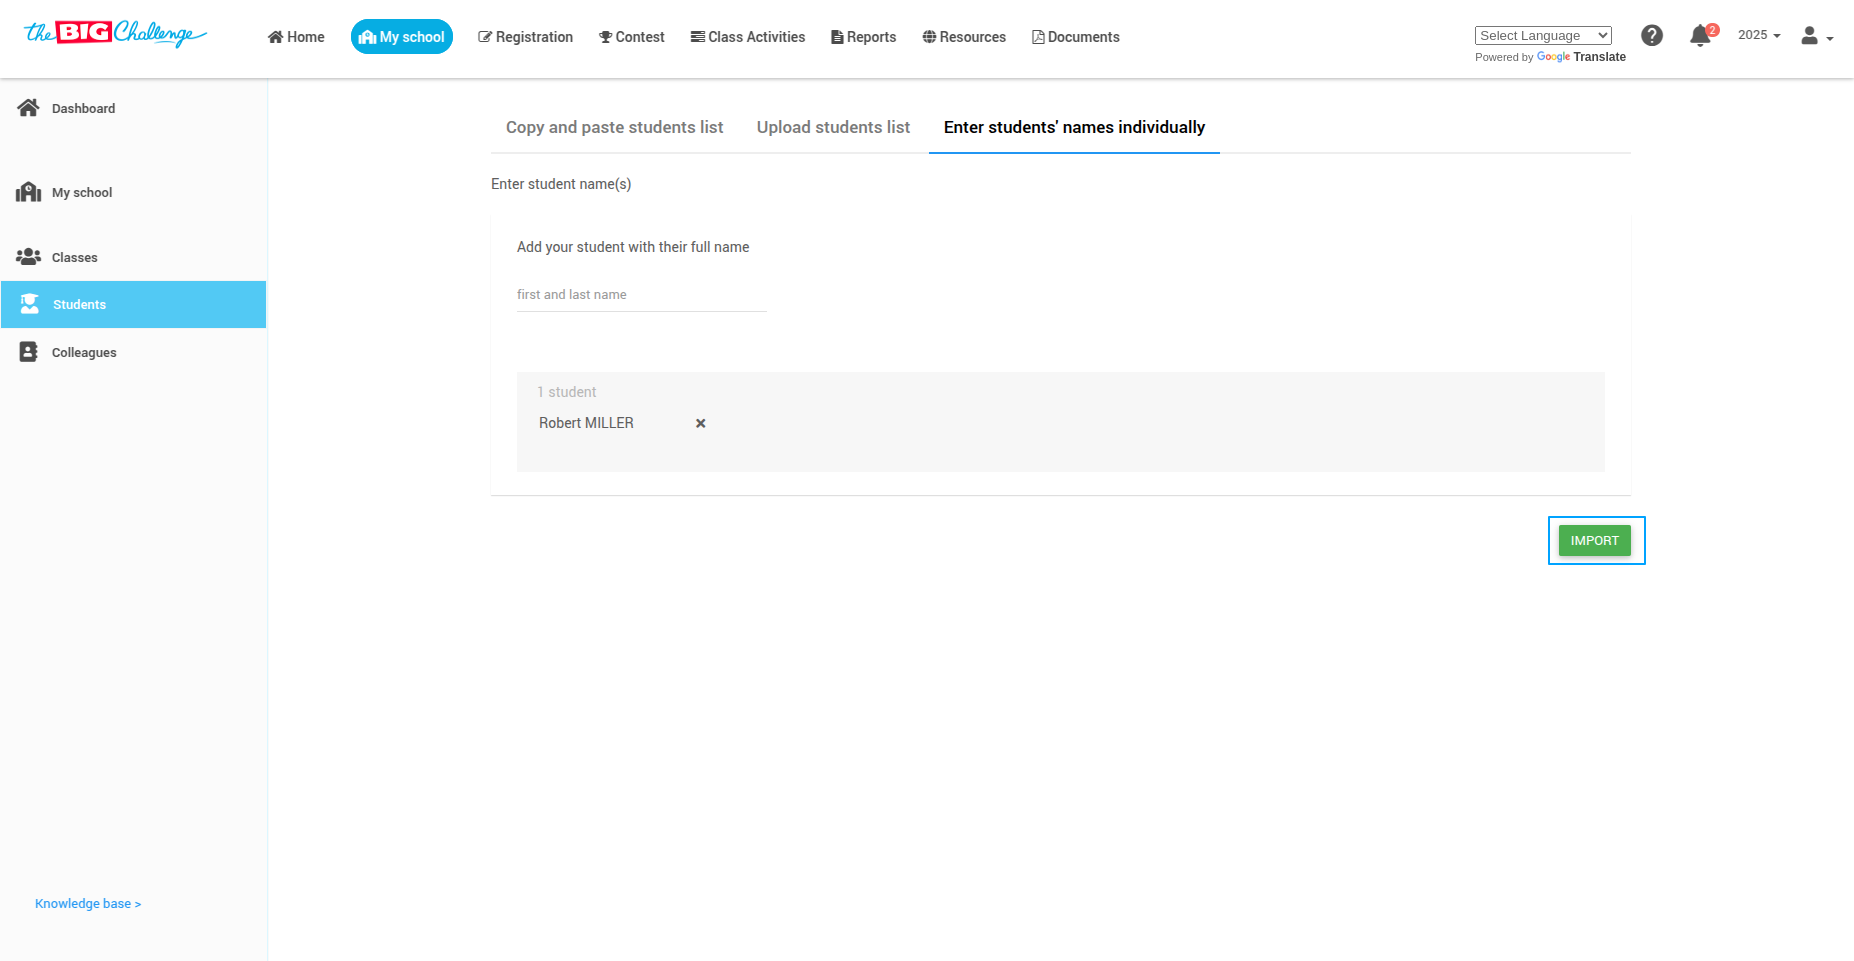
✏️ Manually enter student names one by one
📥 Step 5: Import and Enable Access
Once you've entered the names, click Import.
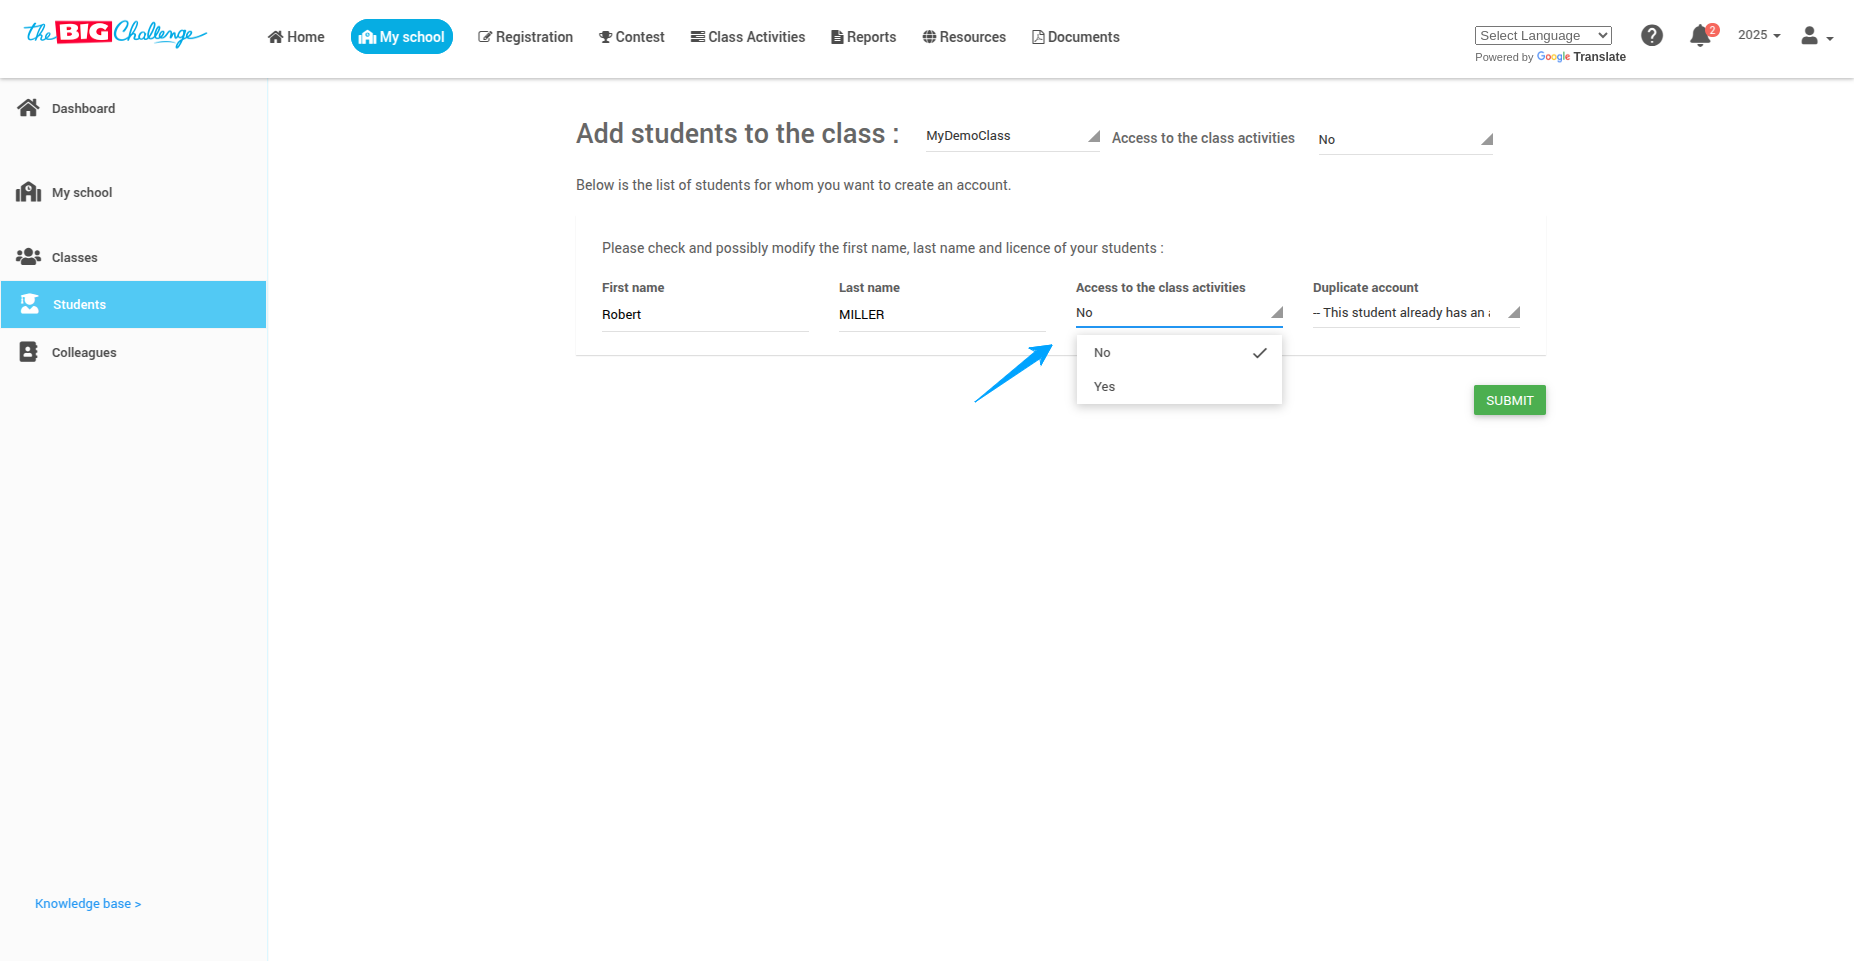
You will see the list of added students. If you've already purchased Class Activity Licenses, enable access by selecting Yes in the Access to Class Activities dropdown.
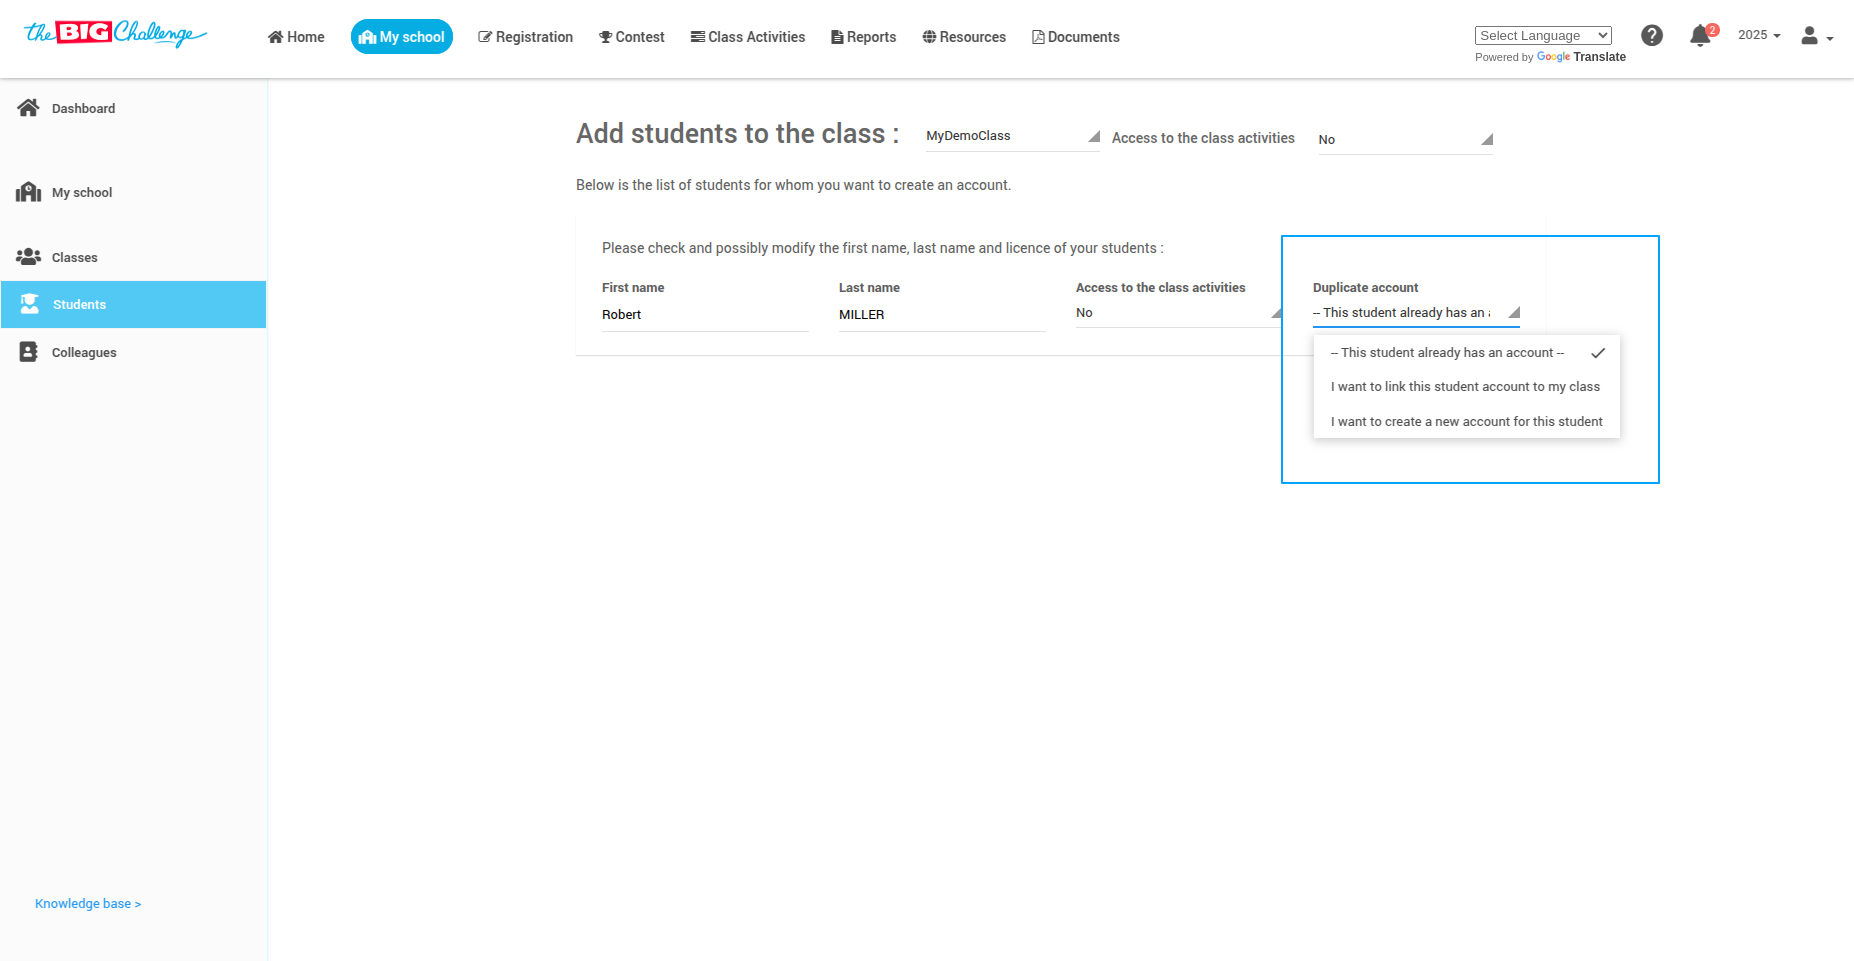
🔁 Step 6: Handle Duplicate Accounts
If a student already has an account, a message will appear. Choose either to link this account to my class, or I want to create a new account.
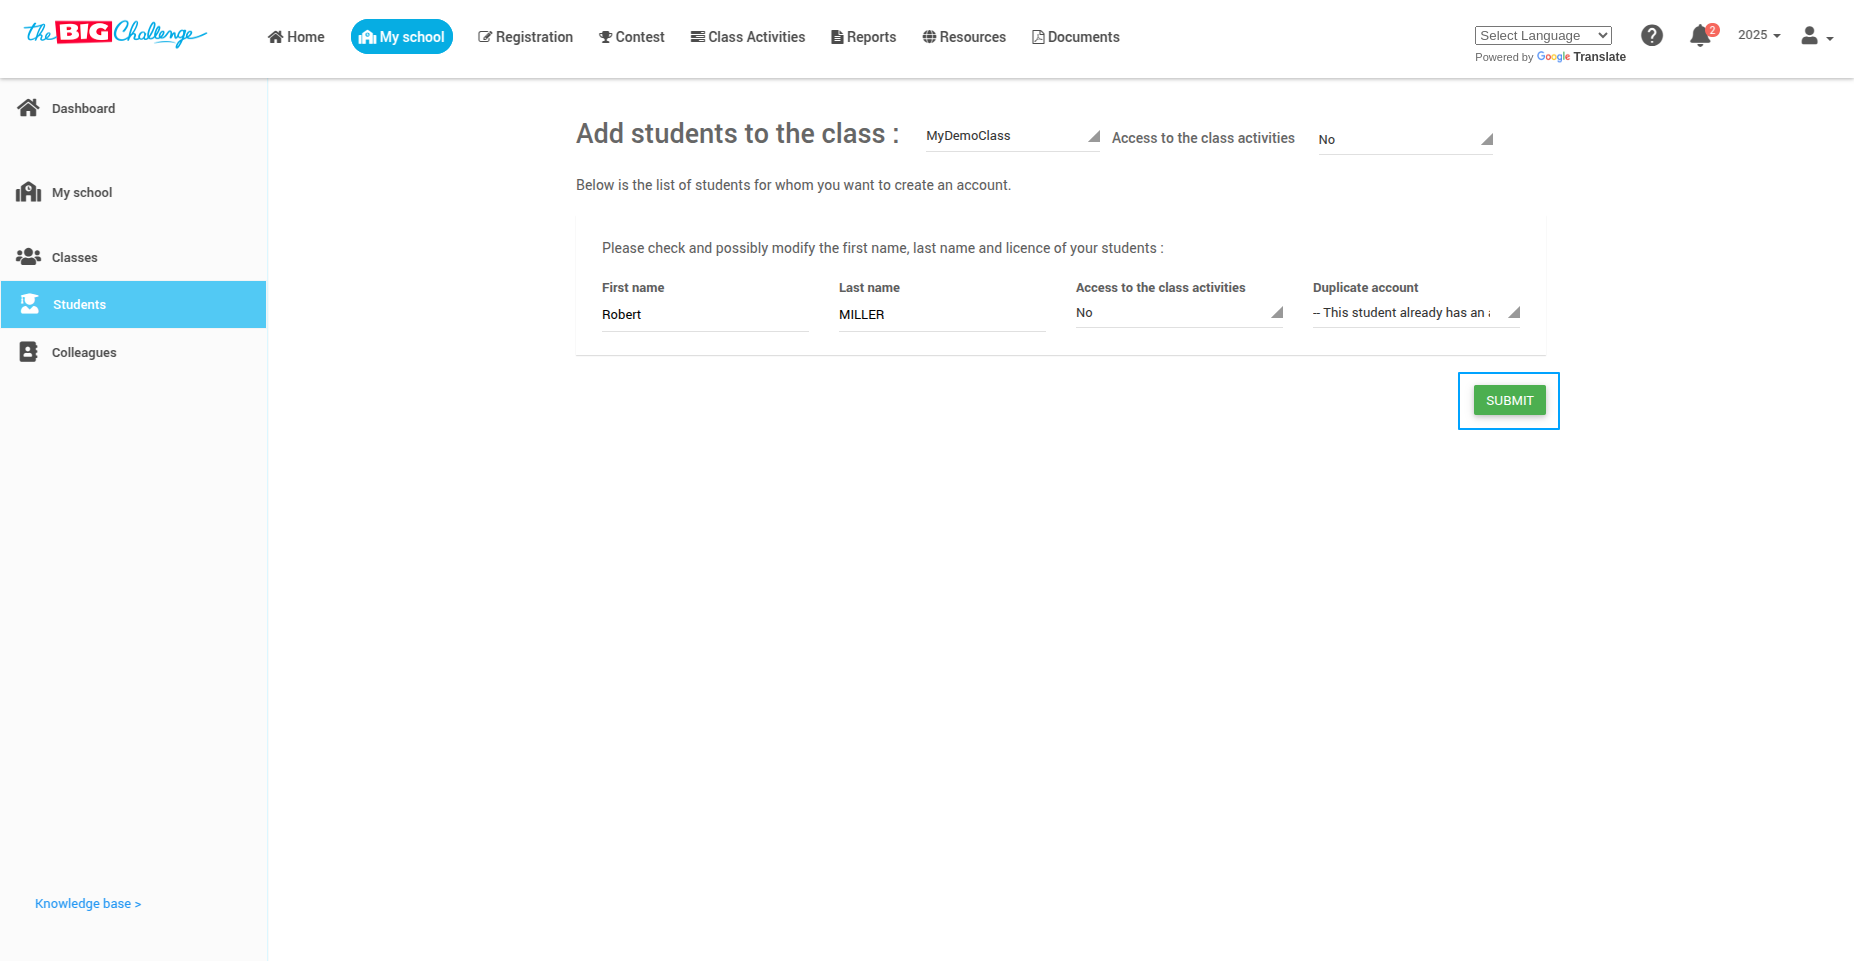
🔎 Step 7: Review and Submit
Carefully review your list and then click Submit.
🔐 Step 8: Download Login Instructions
Click the Download Instructions to Join button at the bottom of the student list. Share these instructions with your students to help them access their accounts easily.
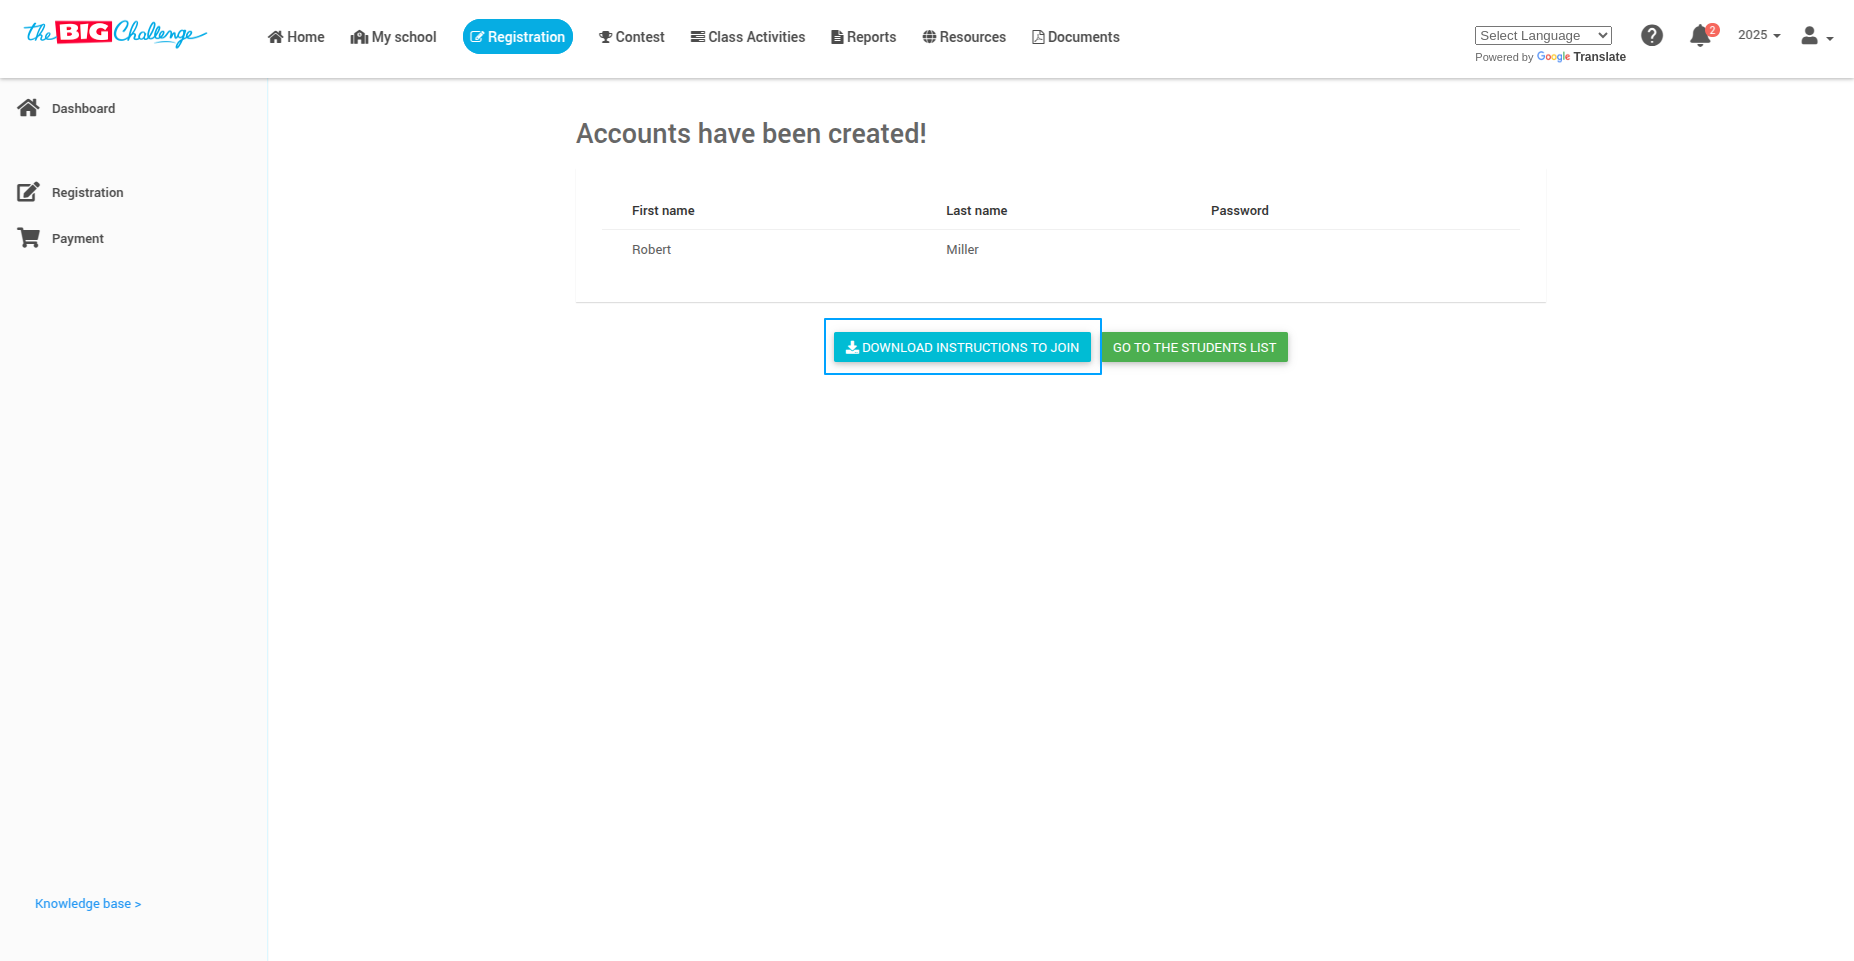
⚠️ Note: Only temporary passwords will be shown in the document. Passwords chosen by students are never displayed.
🎉 All Set!
Your students are ready to join the class and begin their learning journey.
🎥 Watch the Full Tutorial
5. Add Colleagues
Welcome to The Big Challenge! This quick guide will show you how to invite fellow teachers to join your school’s Big Challenge account.
🔑 Step 1: Log In to Your Teacher Account
Head to thebigchallenge.com and log in using your teacher credentials. Once you're in, go to the My School tab.
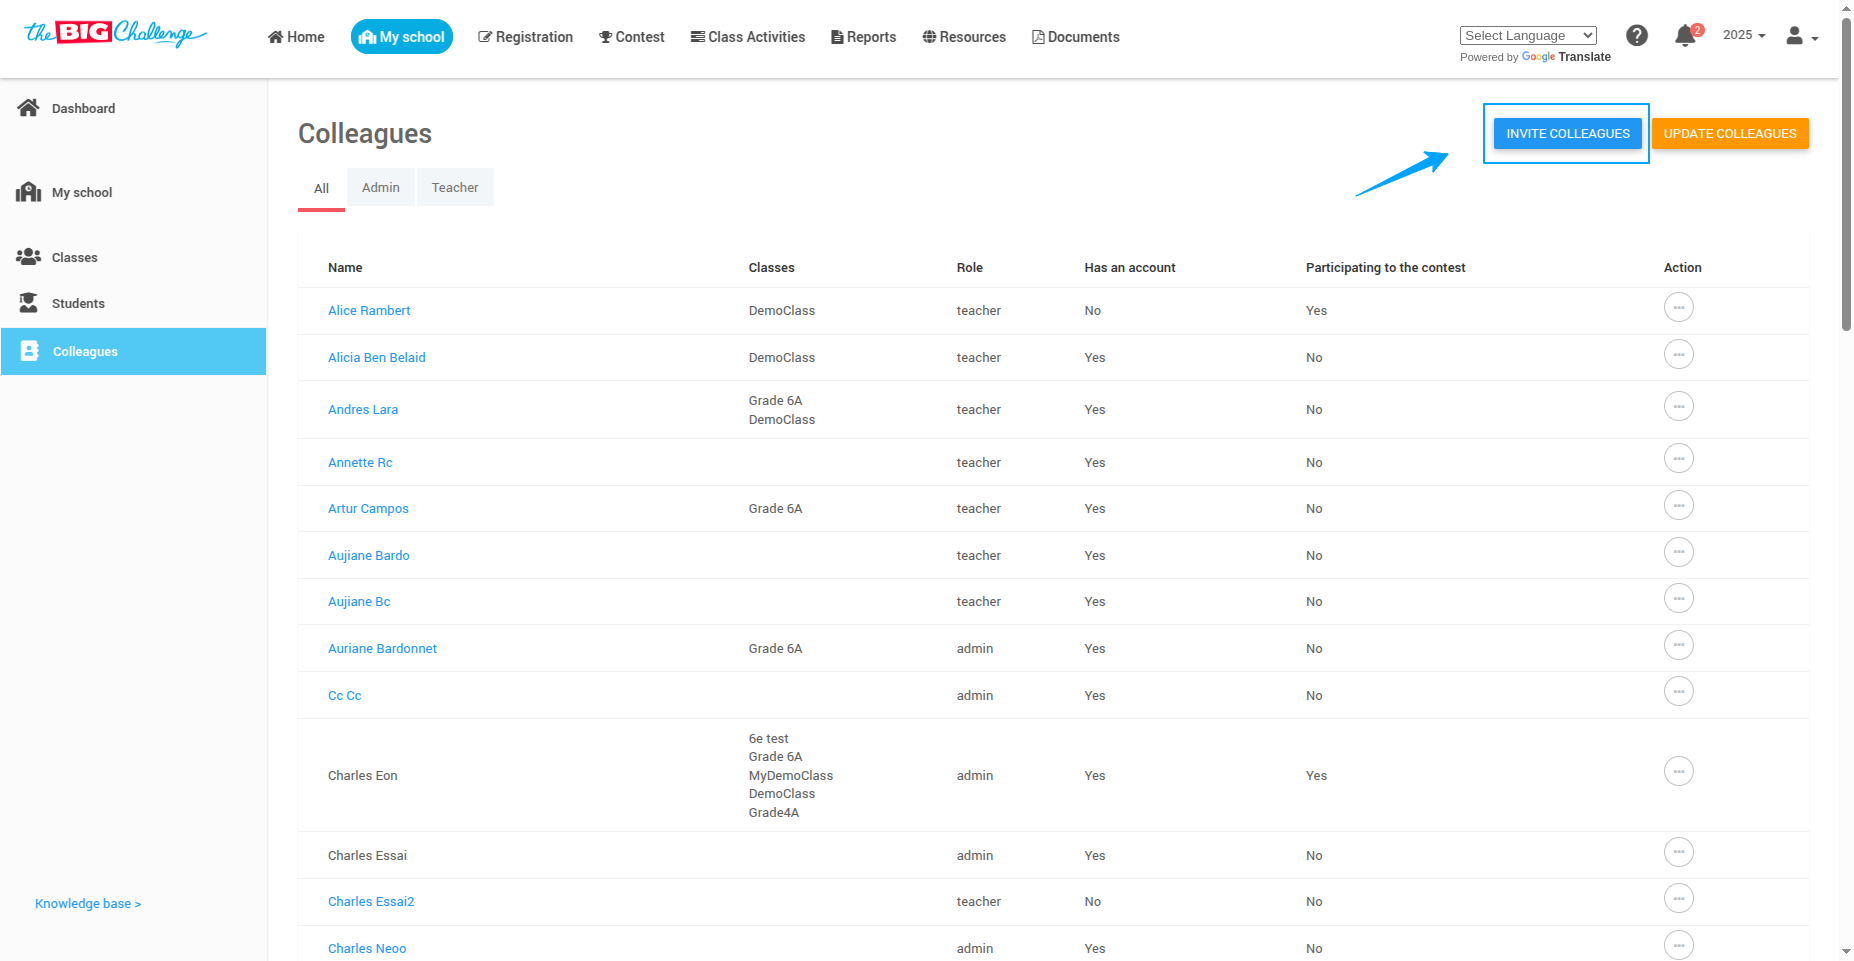
👥 Step 2: Go to the Colleagues Section
In the left-hand menu, click Colleagues. Here you’ll see a list of educators already connected to your school on The Big Challenge.
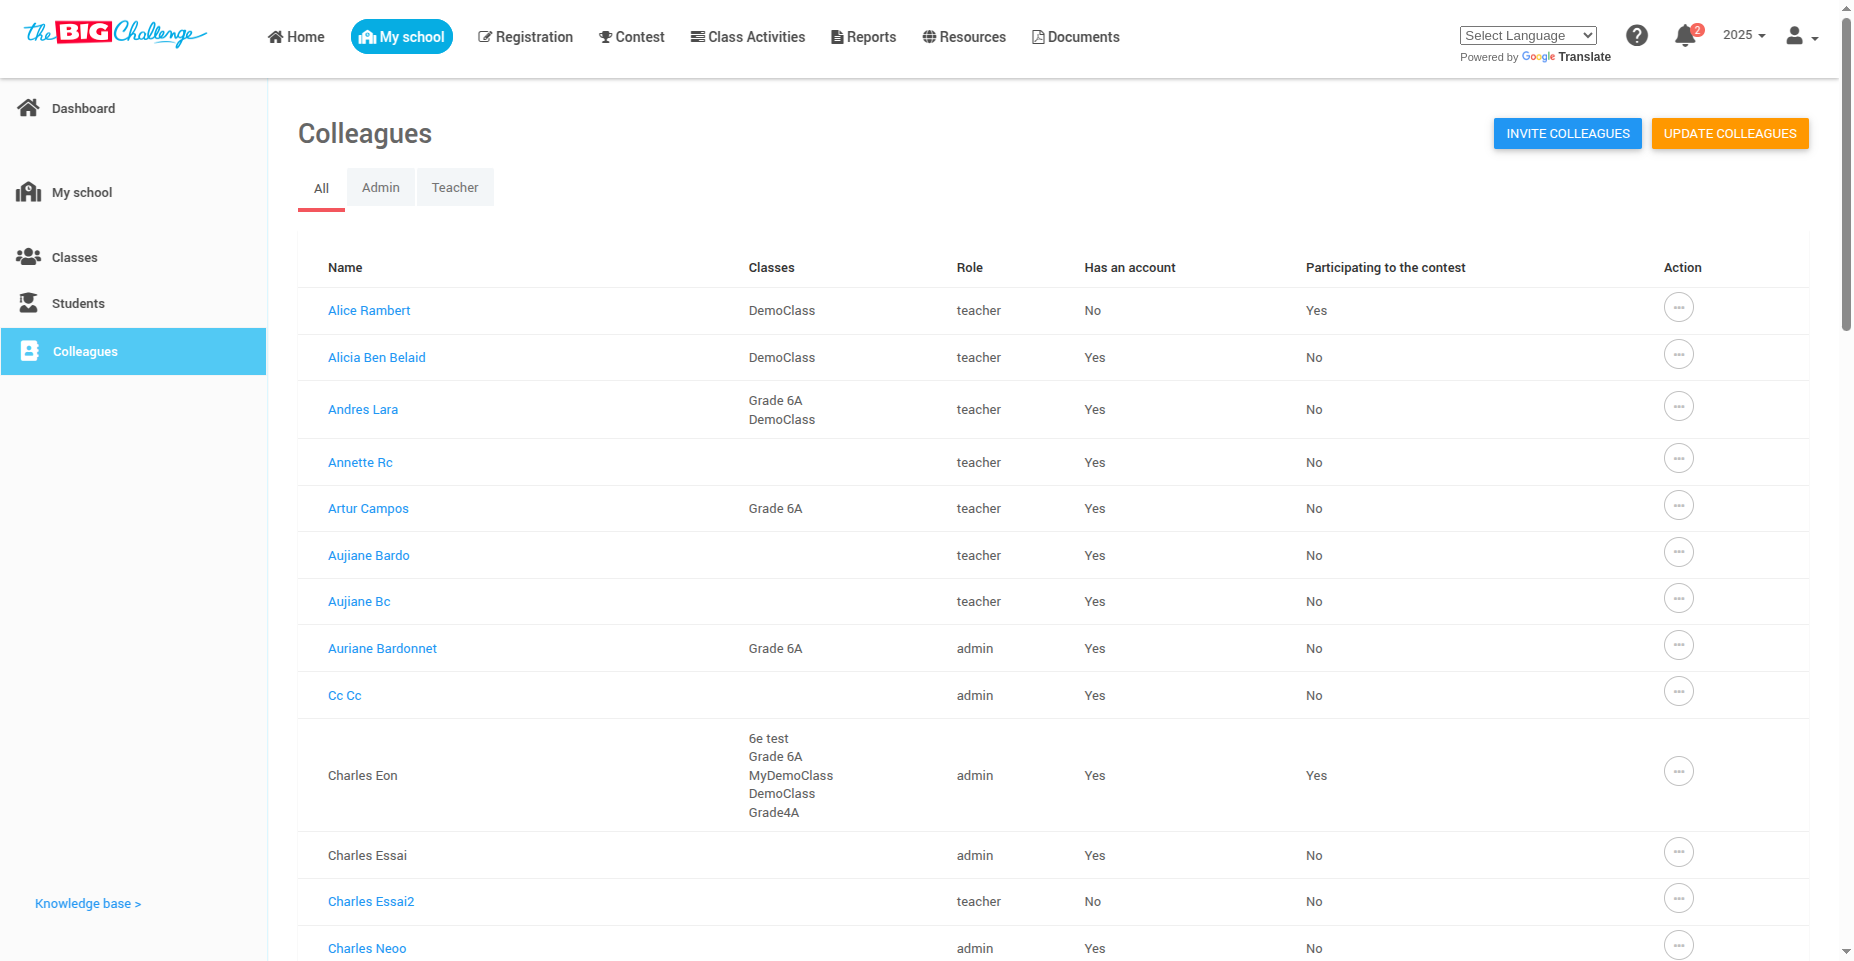
👀 Step 3: View Current Teachers
Each teacher's name, classes, roles, and participation status are listed. If someone hasn’t created an account yet, you can send them an invitation.
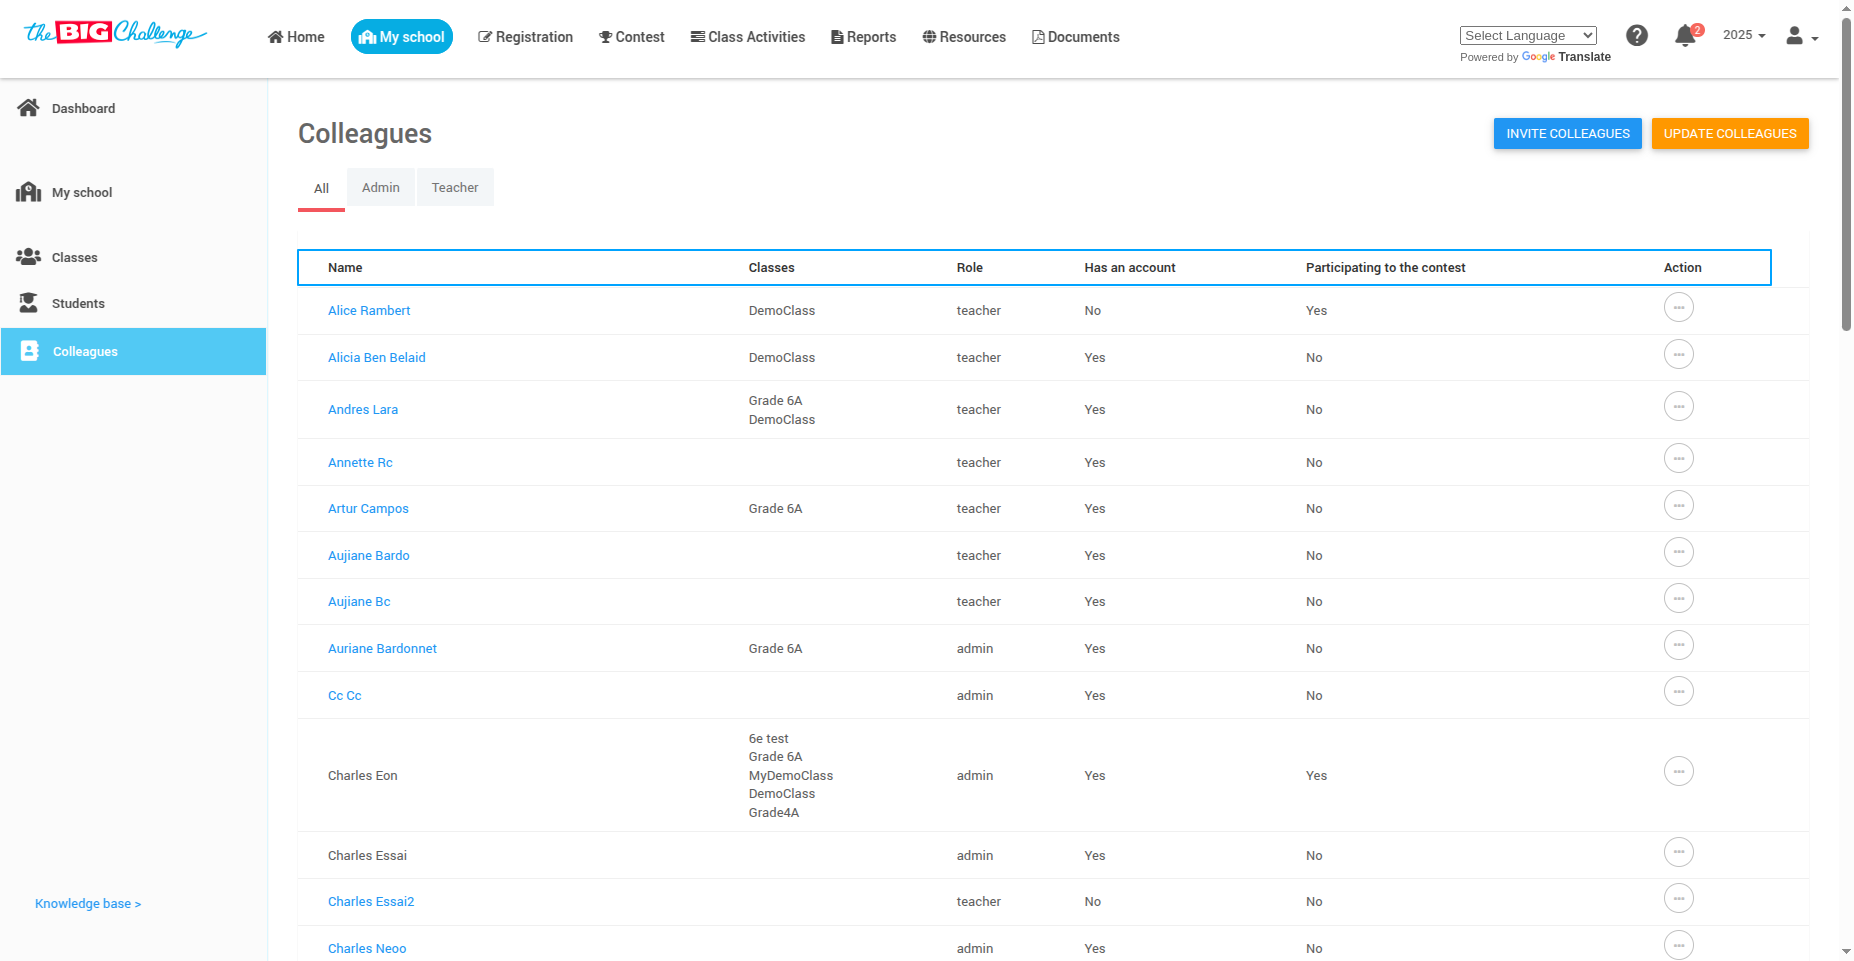
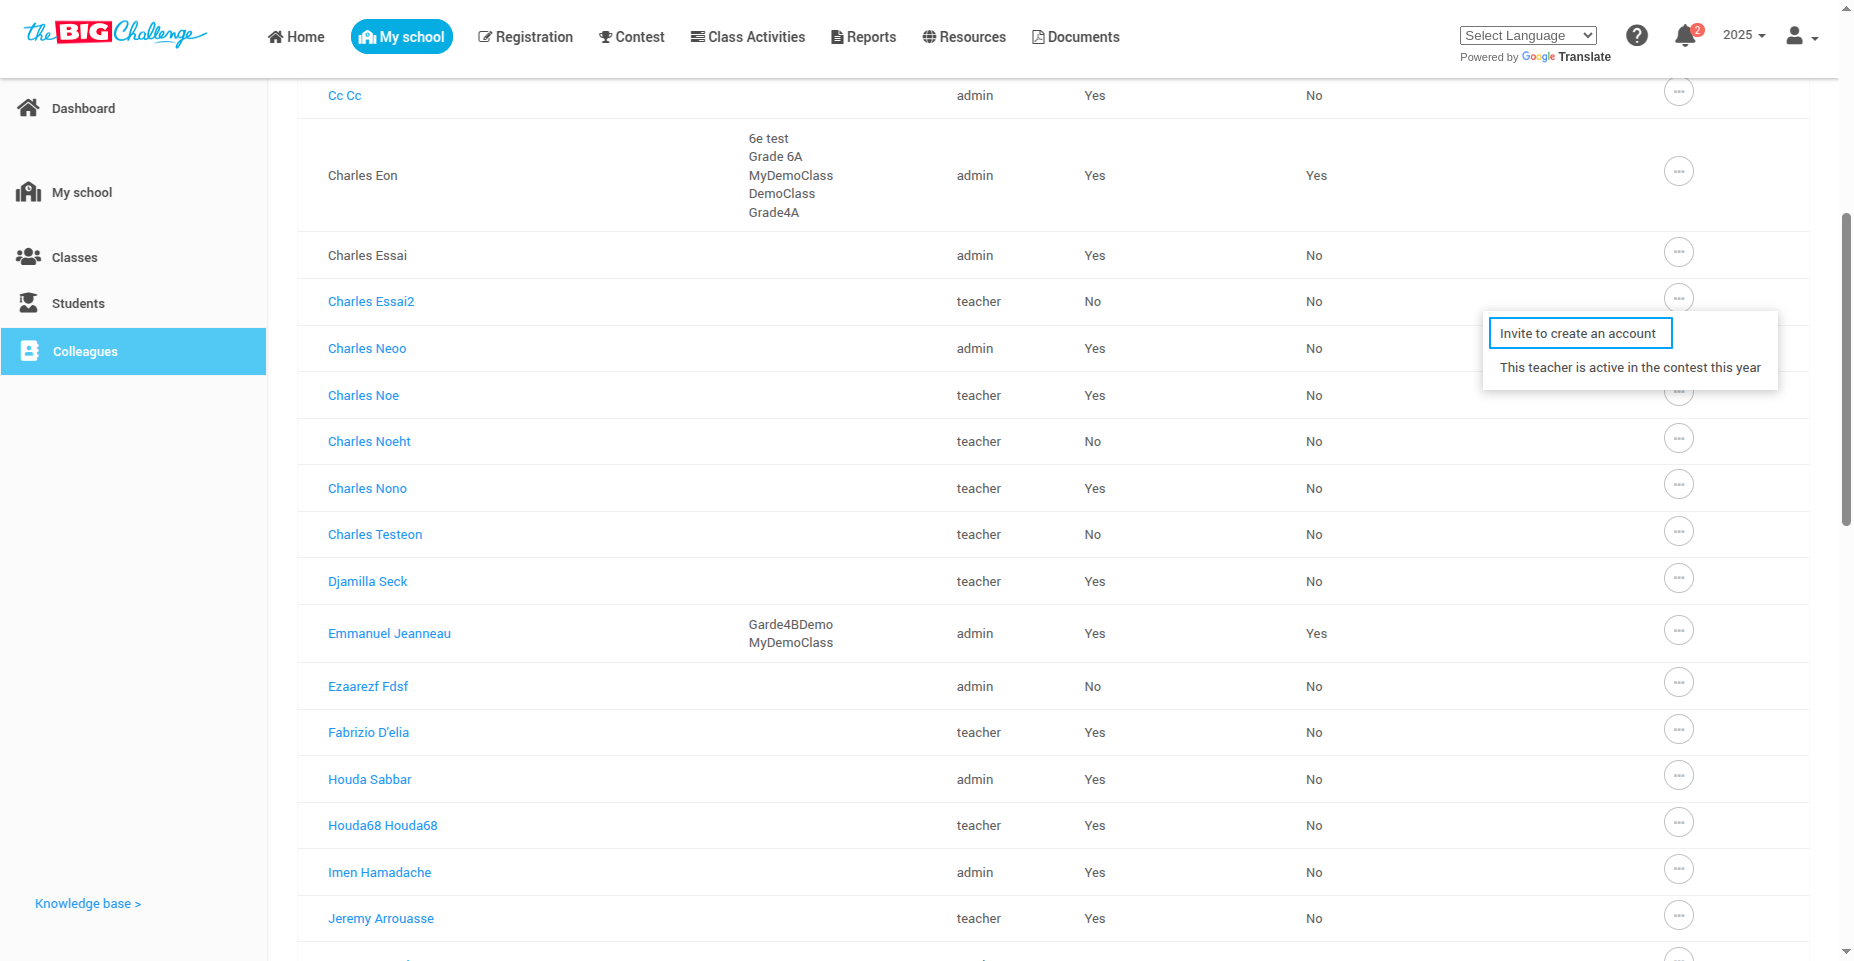
📨 Step 4: Invite a Teacher to Create an Account
To invite a teacher who is listed but does not yet have an account:
Click the Action button next to their name
Select Invite to create account
✉️ Step 5: Invite New Colleagues
To invite new colleagues not yet listed:
Click the Invite Colleagues button in the top-right corner
Enter their email addresses (separate multiple with commas or semicolons)
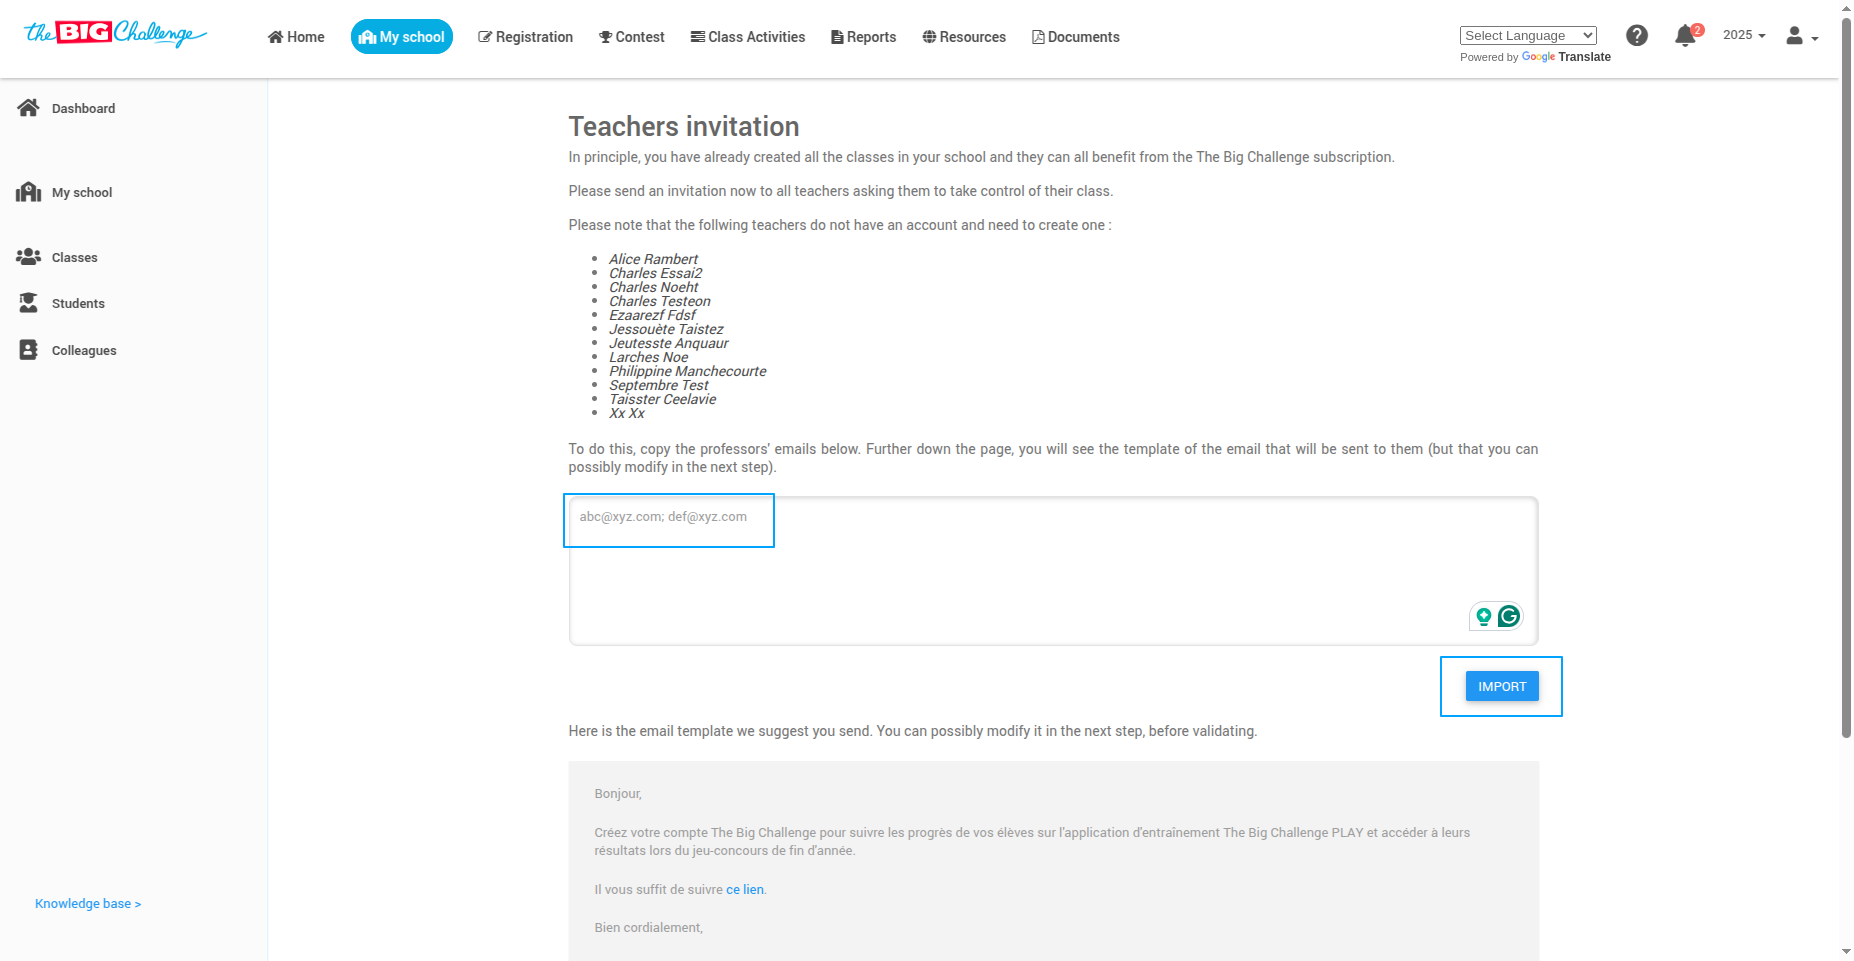
📝 Step 6: Customize and Send Invitations
You'll see an editable email template. Make any changes you like, then click Import.
On the next screen, confirm everything looks good and press Send Invitations.
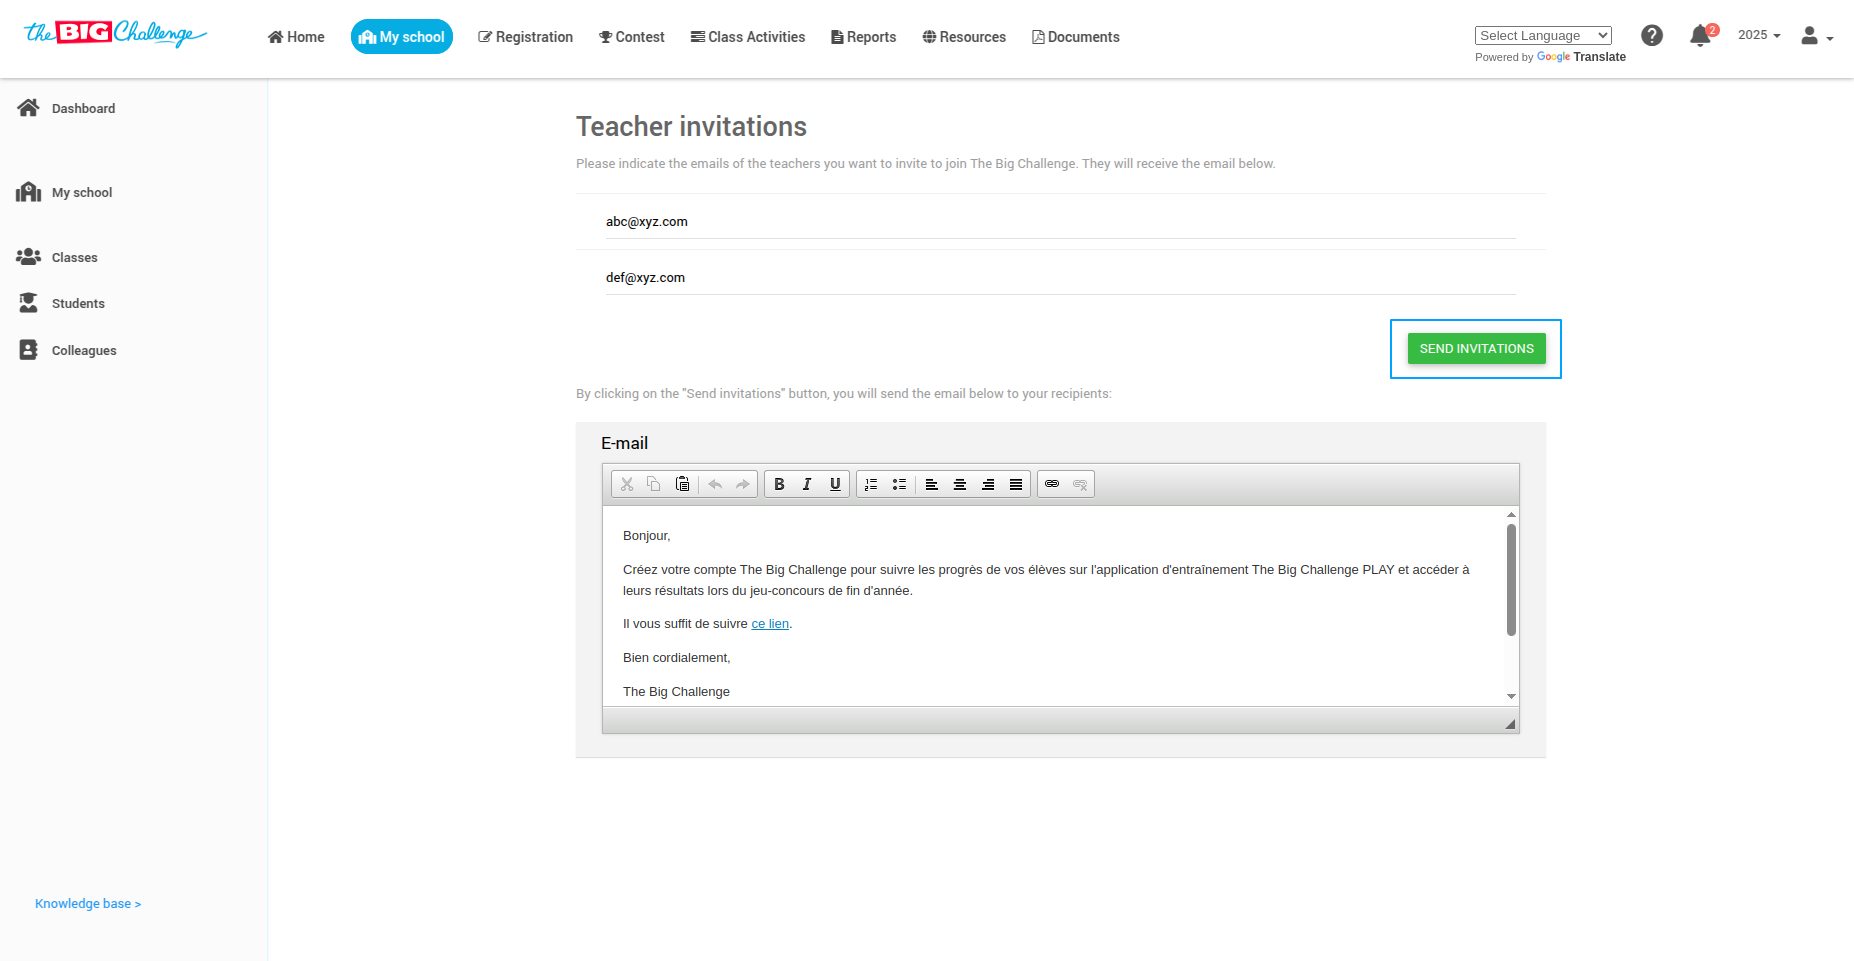
💡 Tip: Personalizing the invitation email can increase engagement and response rates!
✅ Step 7: Done!
Your colleagues will receive an email invitation to create their account. Once accepted, they’ll be part of your school’s teacher dashboard.
🎥 Watch the Full Tutorial