What are you looking for?
Get help straight from the team at The Big Challenge...
My School
Managing classes
Learn how to create, manage, and organize classes on The Big Challenge platform. This guide explains class creation, student management, assigning teachers, and downloading instructions to ensure seamless class administration.
Updated 6 days ago
Table of Contents
1. Advantages of Creating a Class
Creating classes in The Big Challenge platform offers significant benefits for both the contest and classroom learning.
Benefits for the contest
Organized results: View student results sorted by class, not just by level.
Easy tracking: Get a comprehensive list of results for each of your classes.
Benefits for The Big Challenge PLAY
Detailed insights: Track how many students in your class got each question right, so you can spot strengths and weaknesses.
Assign homework: Assign and manage homework for the entire class directly from your account.
2. Creating a Class
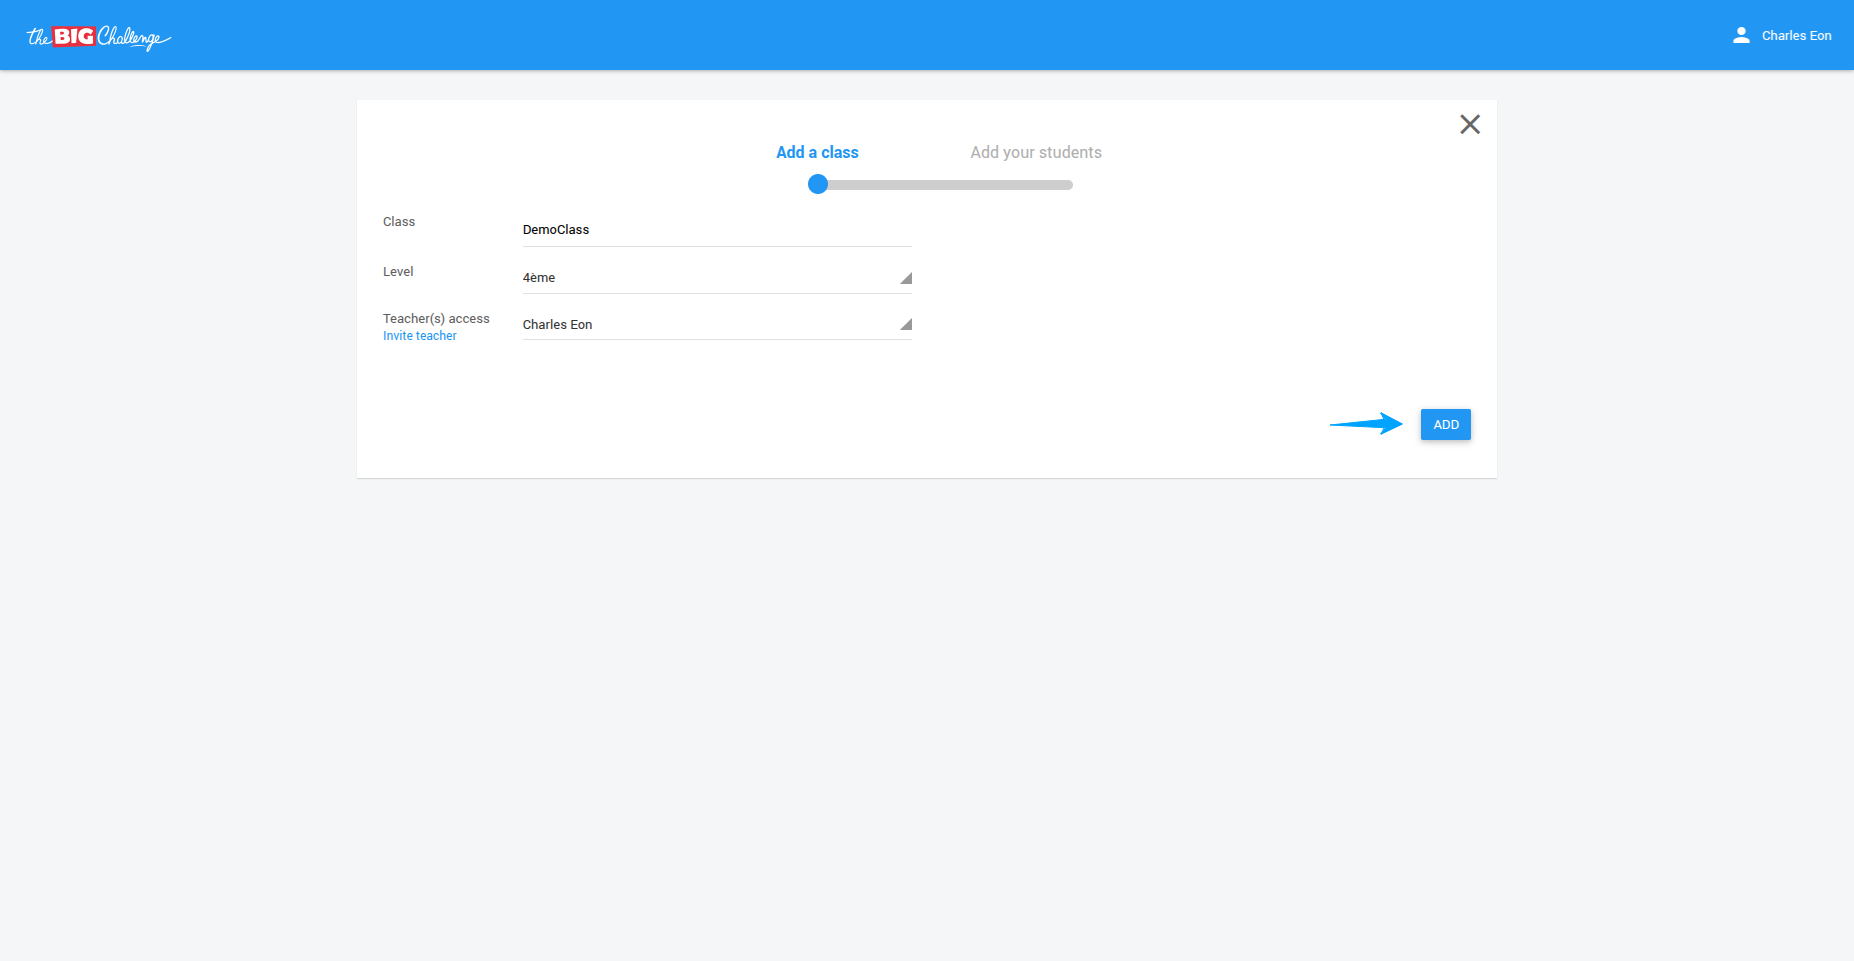
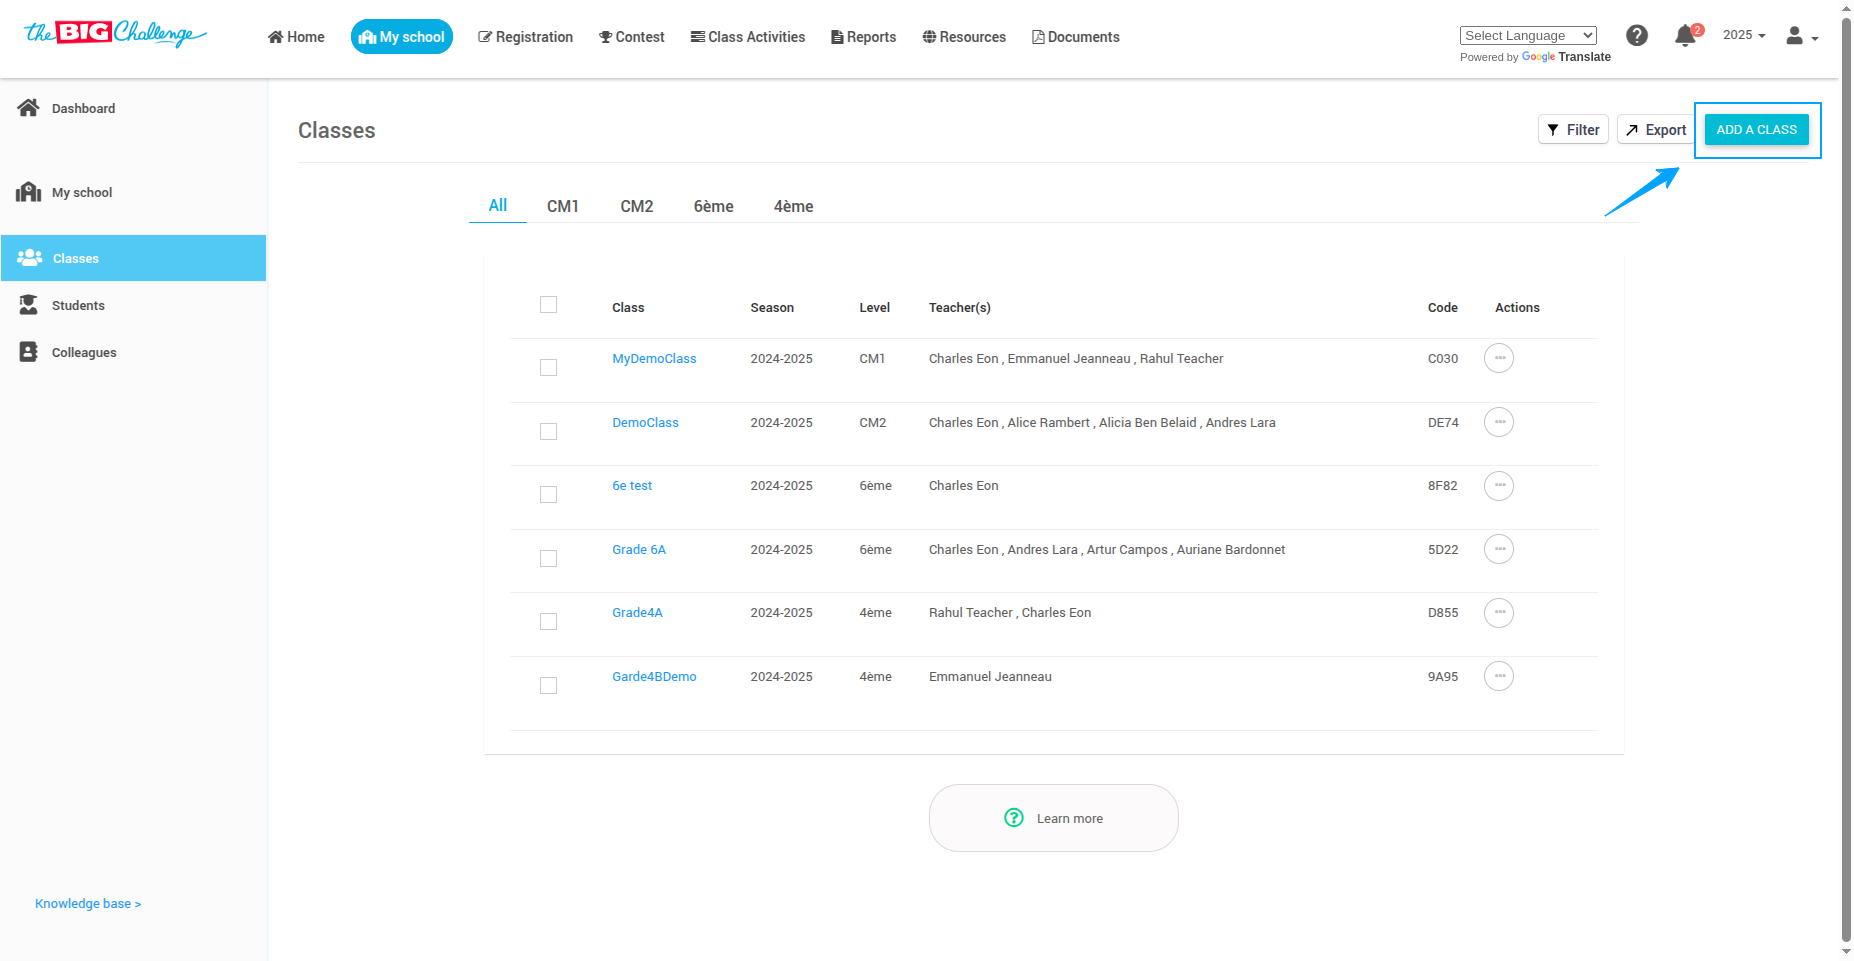
Creating a class is optional but highly recommended. It allows you to view and manage results for each class separately. Steps to create a class 🔐 Log in to your teacher account. 🏫 Go to the "My School" tab. 🧭 Then go to the "Classes" tab on the left-hand side of your screen. ➕ Click the blue "ADD CLASS" button. 📝 Fill in the class details:
Class name (e.g., "6th Grade A")
Class level (e.g., CM2, 6e, 5e, etc.)
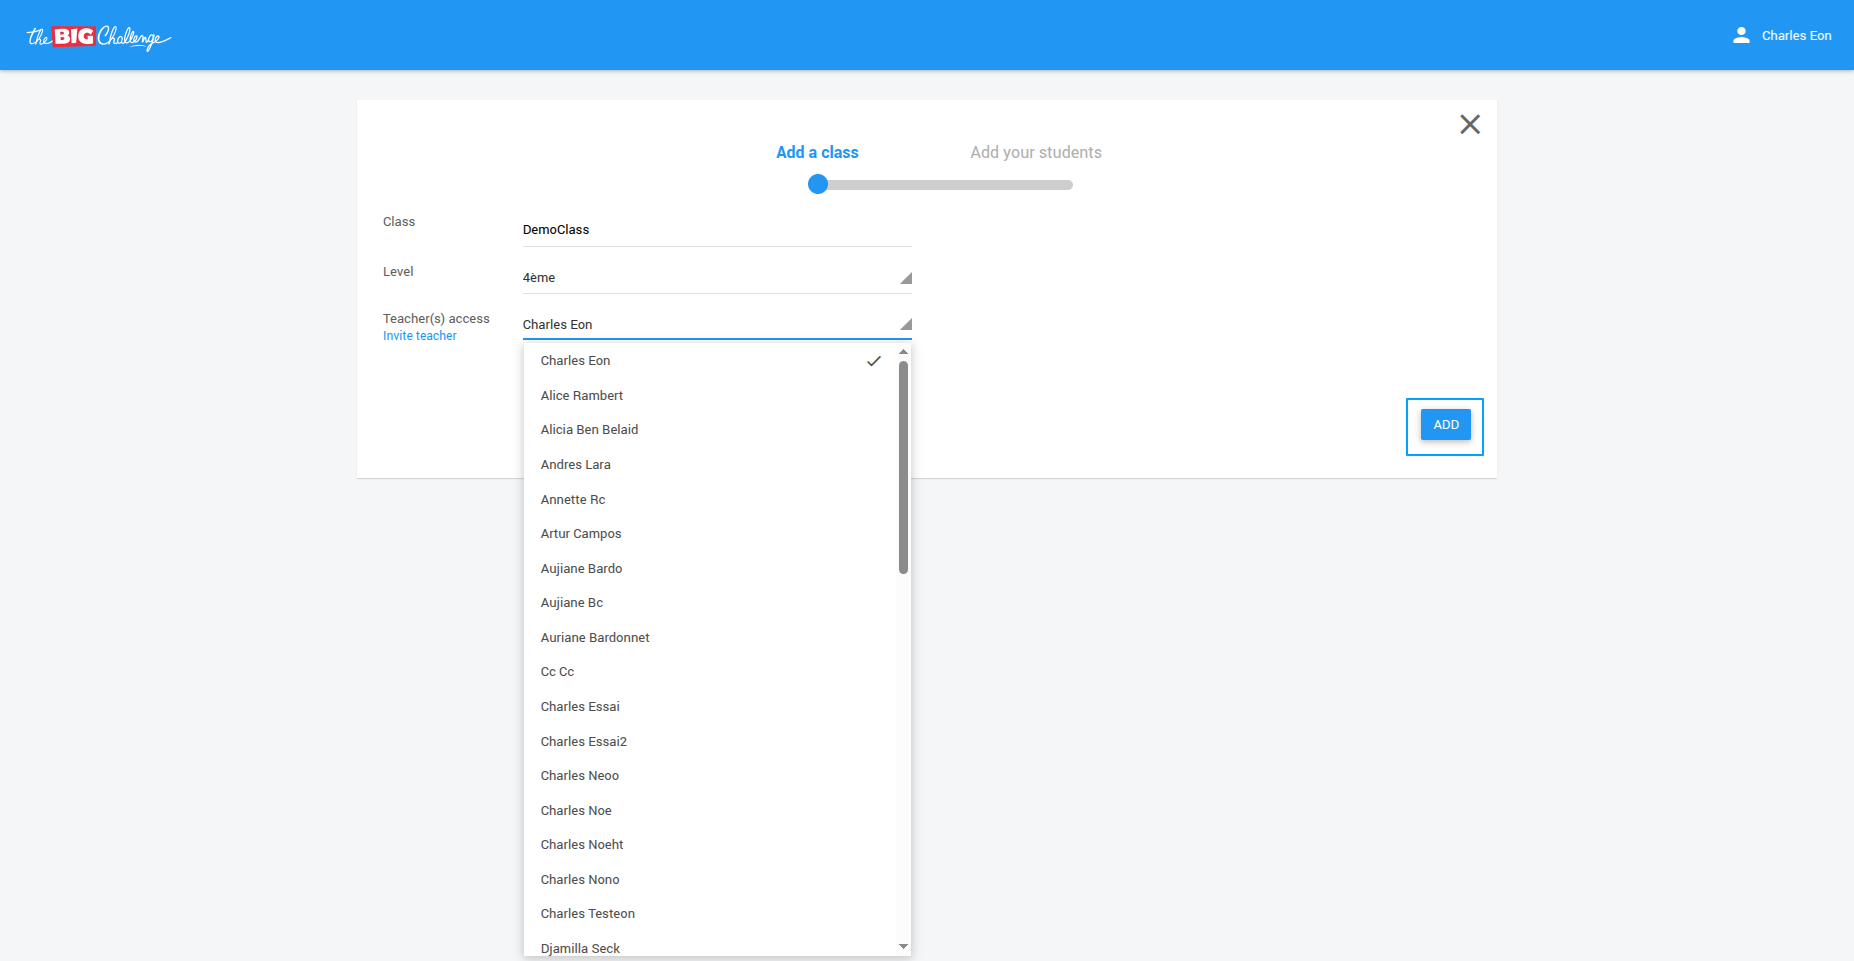
Teacher access: Add other teachers who will have access to this class. ✅ Click the blue "ADD" button to create the class. 💡 Pro tip: If multiple teachers are involved in managing the same class, be sure to assign them access while creating the class.
3. Editing Class Data
Need to update class details? You can edit the name, level, or teacher access anytime. Steps to edit class data 🔐 Log in to your teacher account. 🏫 Go to the "My School" tab. 🧭 Then go to the "Classes" tab in the left-hand menu.
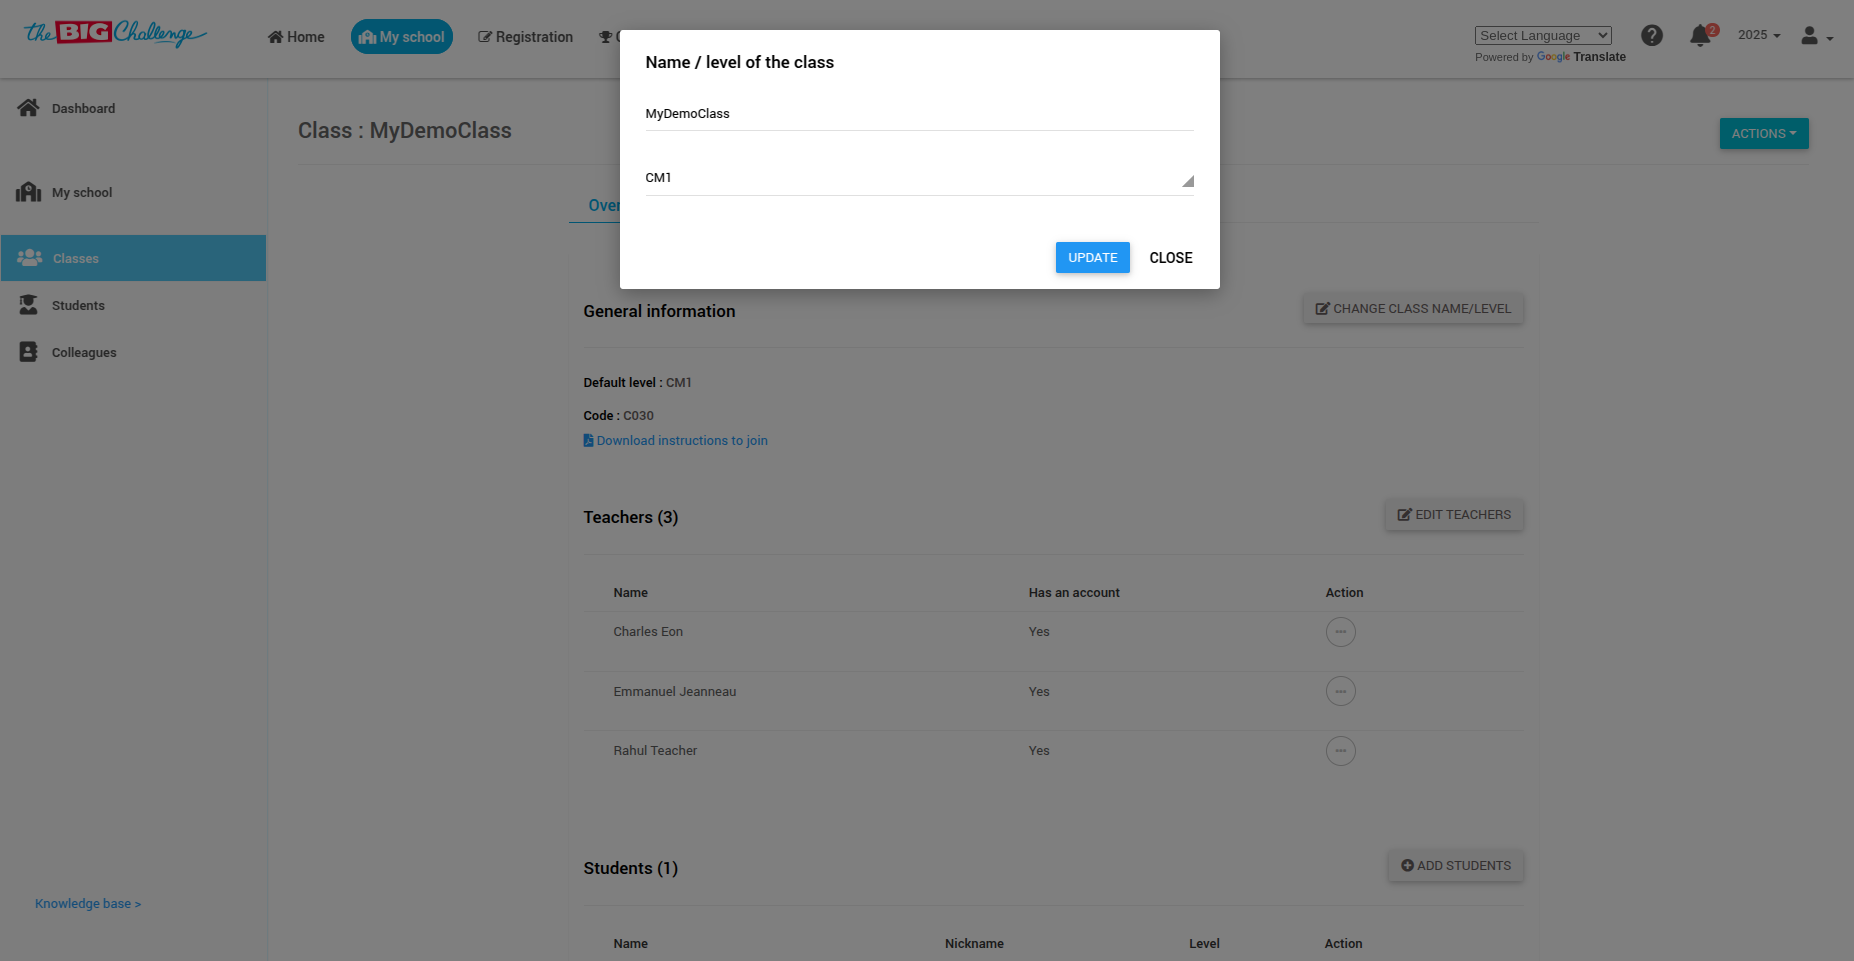
📝 Click on the class name you want to edit.
⚙️ Make changes to the following data:
Class name and level: Click "Change class name/level", update it, and click Confirm.


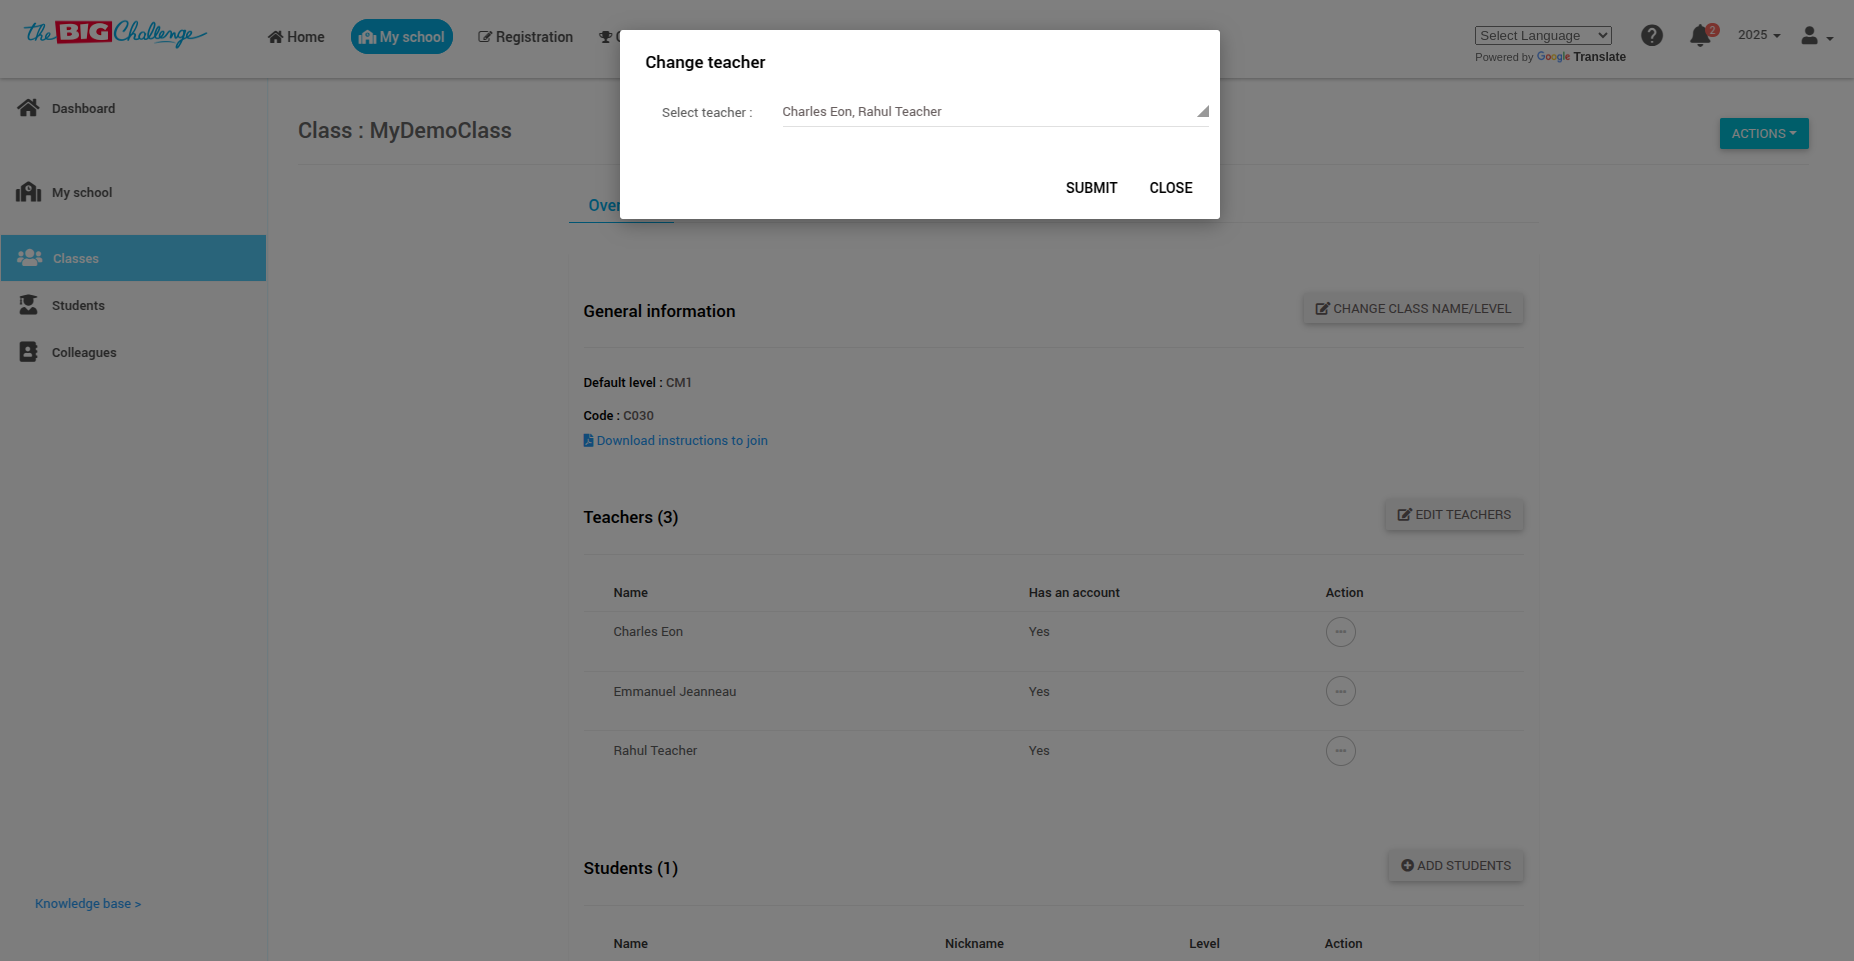
Teacher access: Click Edit teachers, update teacher assignments, and click Submit.
💡 Pro tip: Changes are effective immediately, and all teachers assigned to the class will see the updates.
4. Adding Students to the Class
Welcome to The Big Challenge! In this tutorial, we will guide you through the simple steps to add students to your class.
🔐 Step 1: Access the Student Dashboard
Log in to your Teacher Account and go to the My School tab to access your school dashboard. If you haven't created a class yet, please refer to the Organising Classes tutorial.
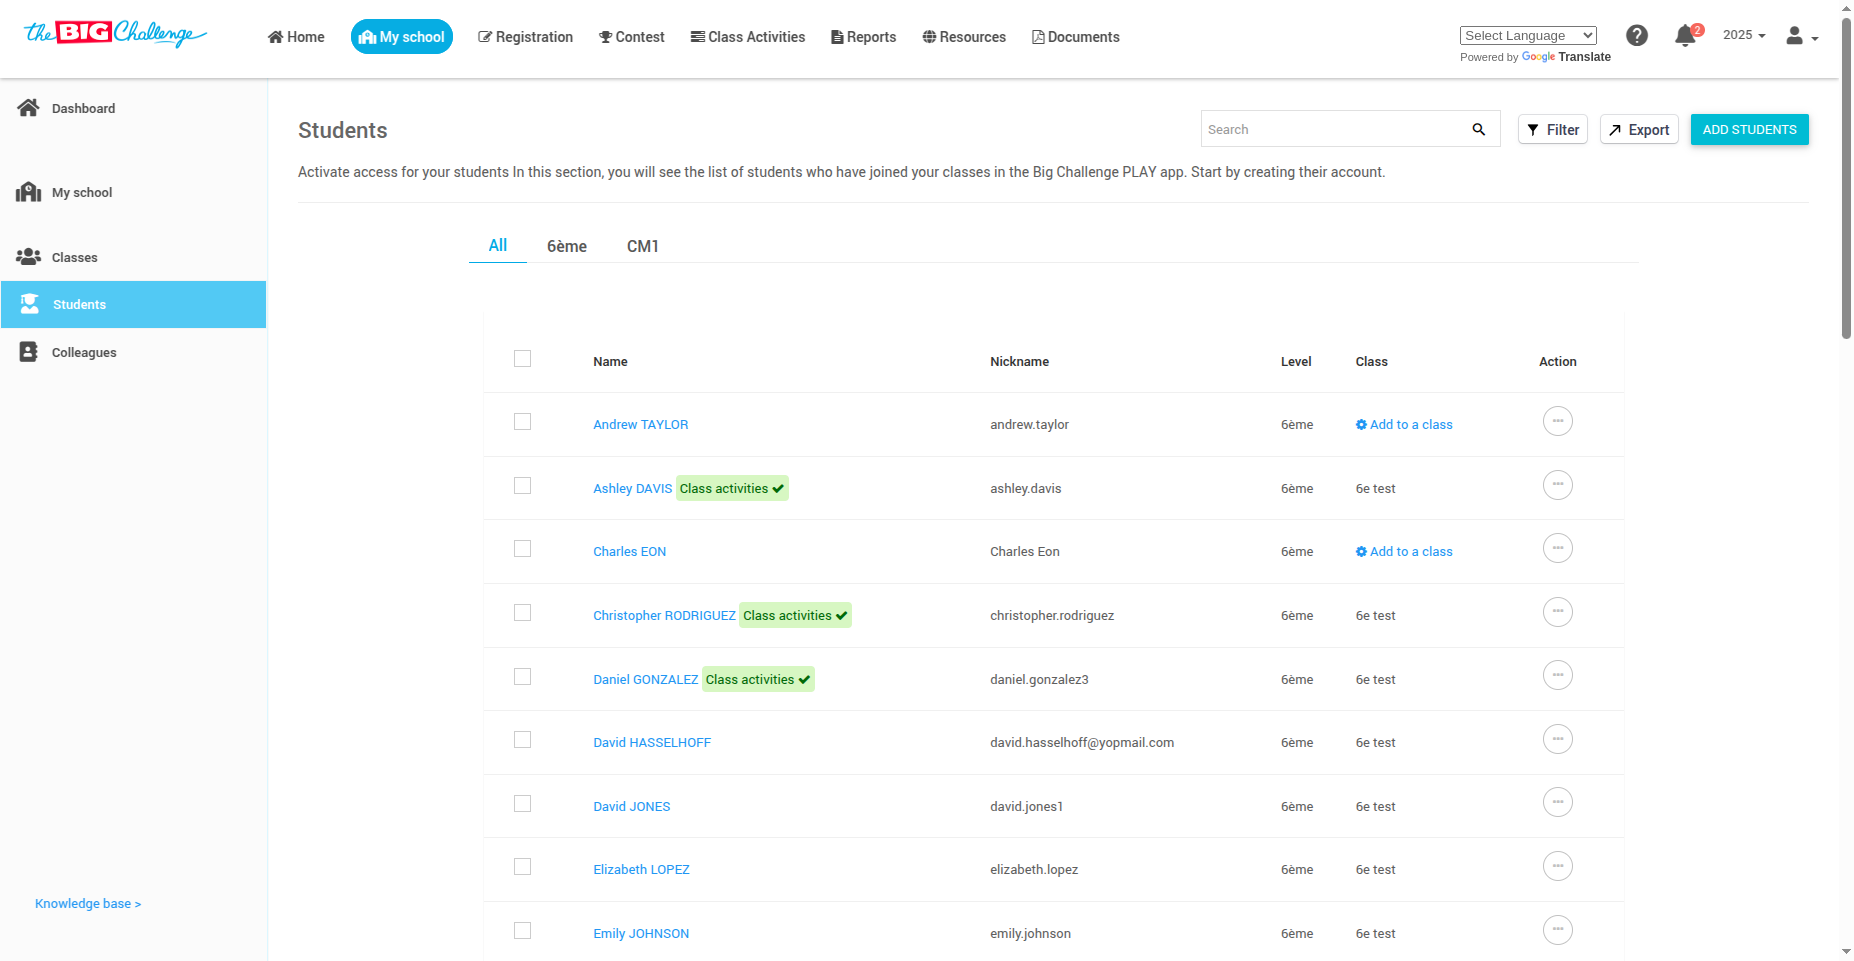
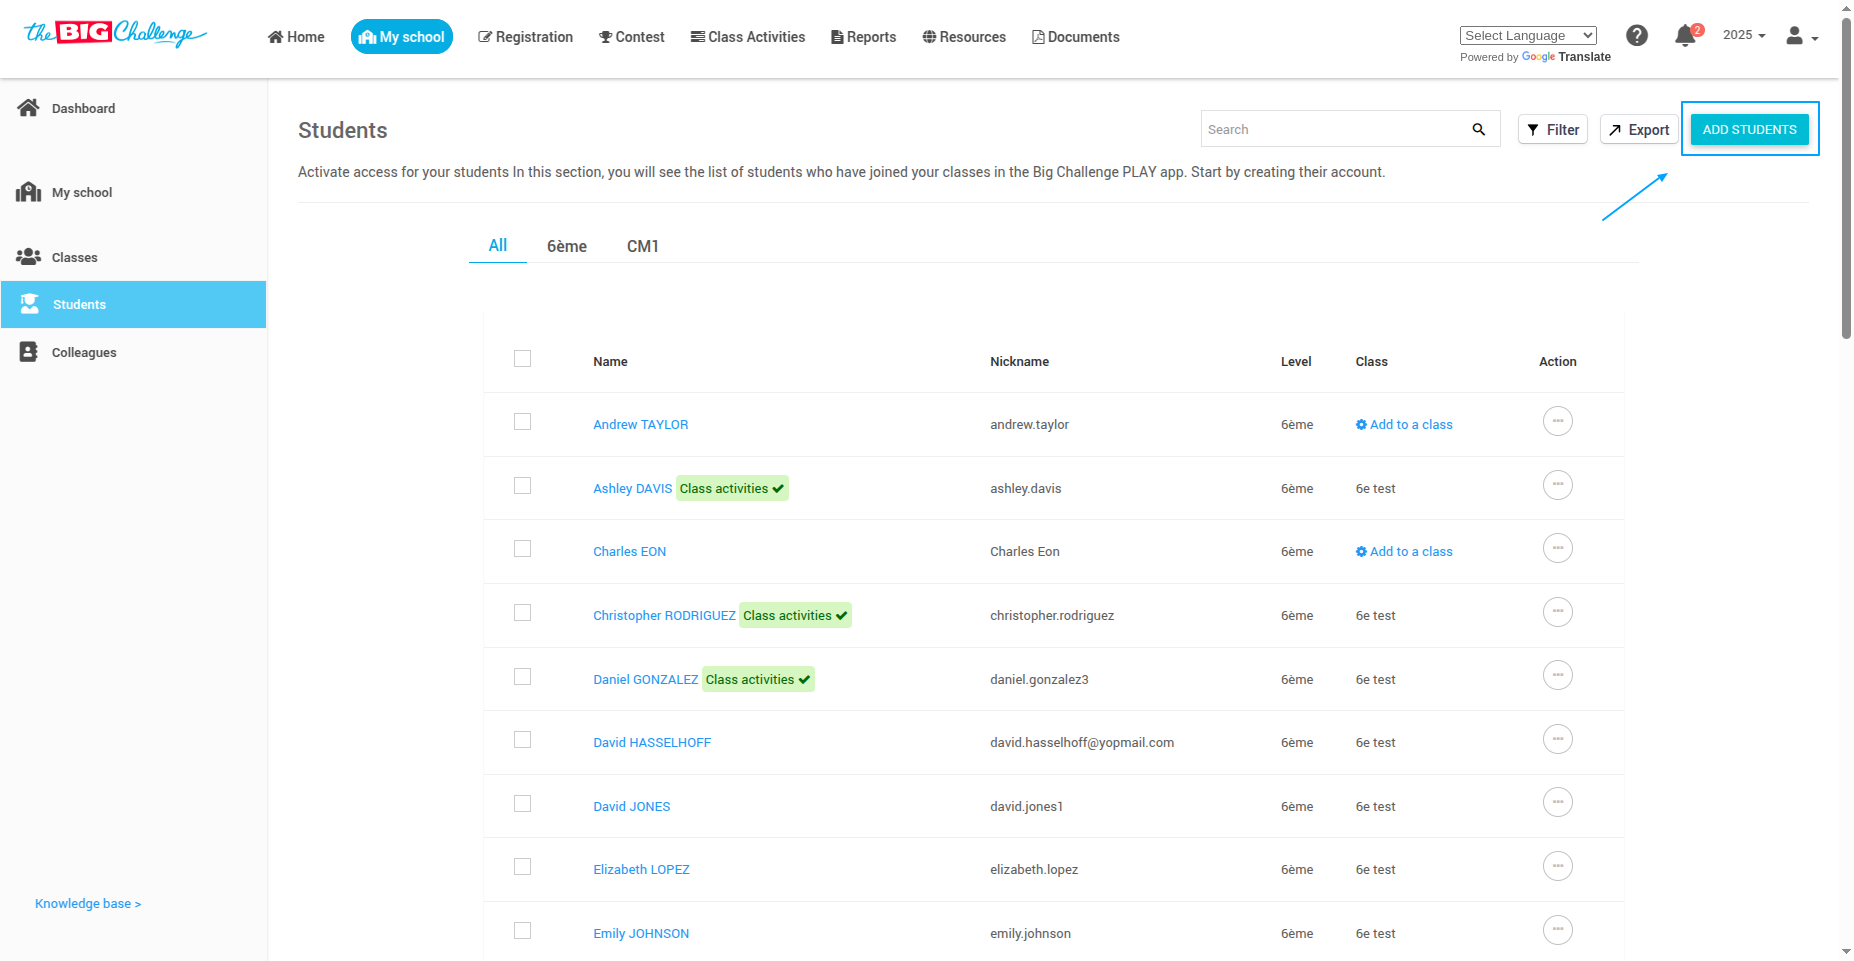
👥 Step 2: Open the Add Student Panel
On the right side of the page, locate the Your Students section and click Add a student to continue.
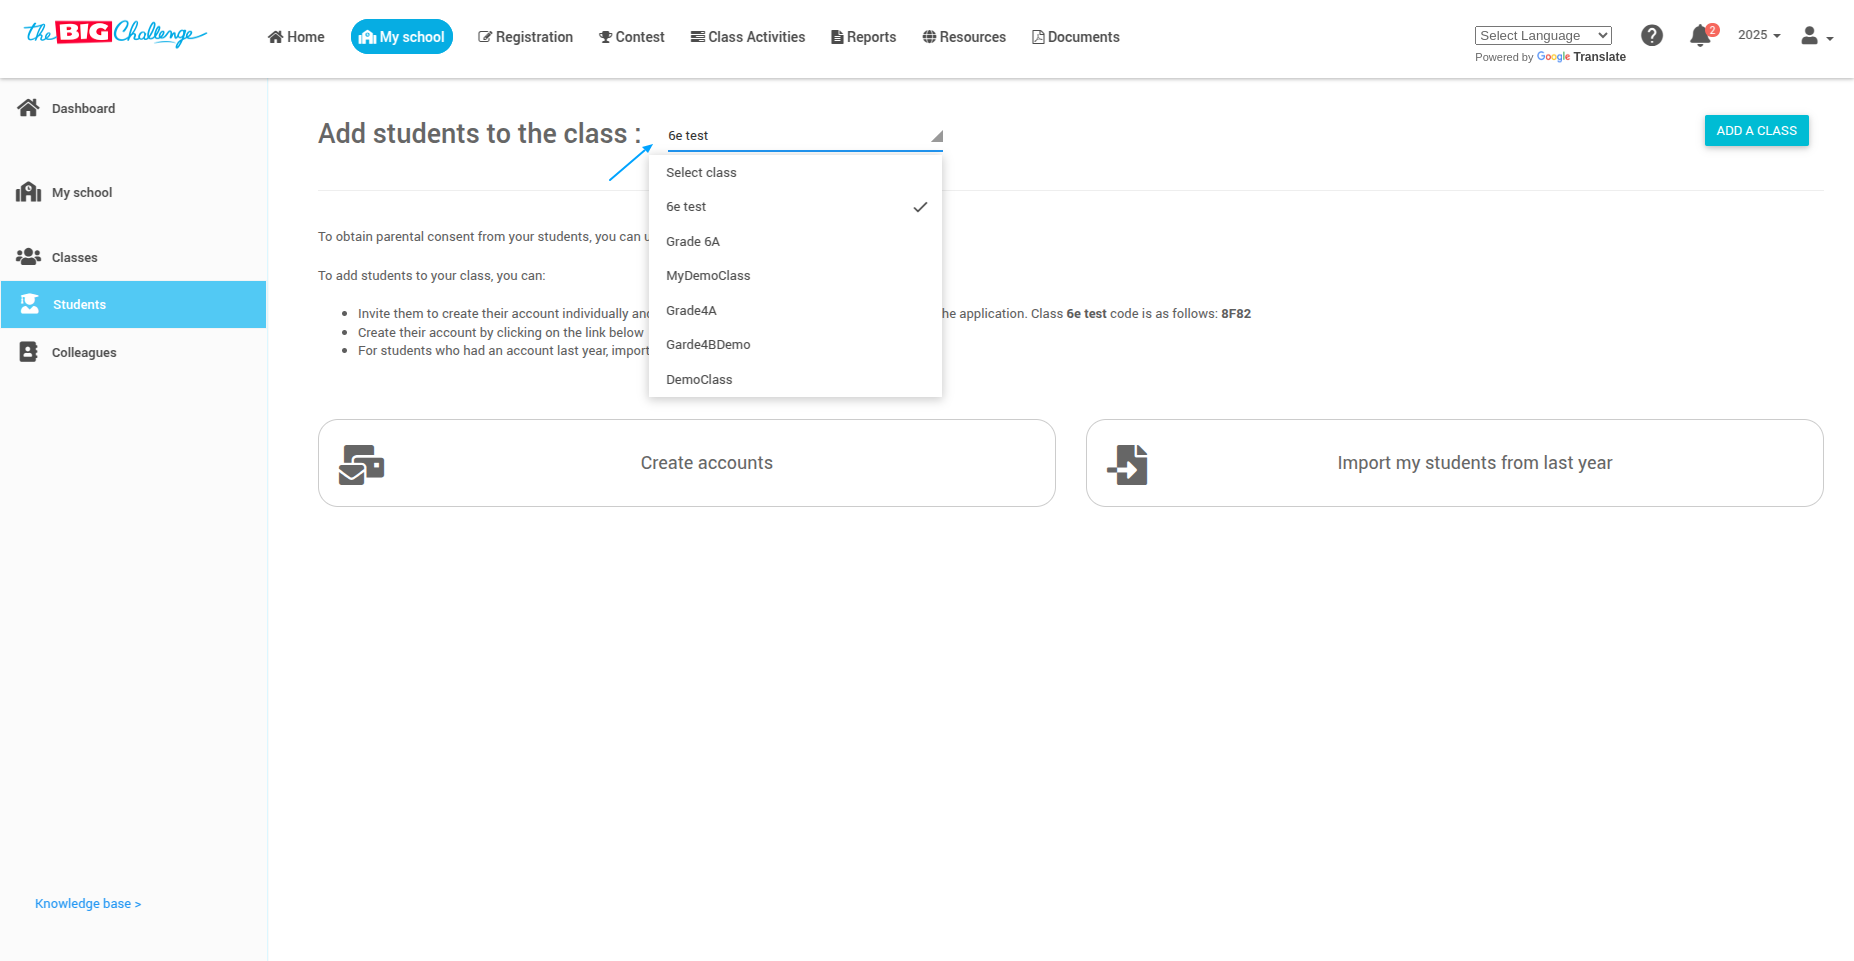
🏷️ Step 3: Select a Class
From the dropdown, select the appropriate class you'd like to add students to.
📌 Step 4: Choose a Method to Add Students
You have three options for adding students:
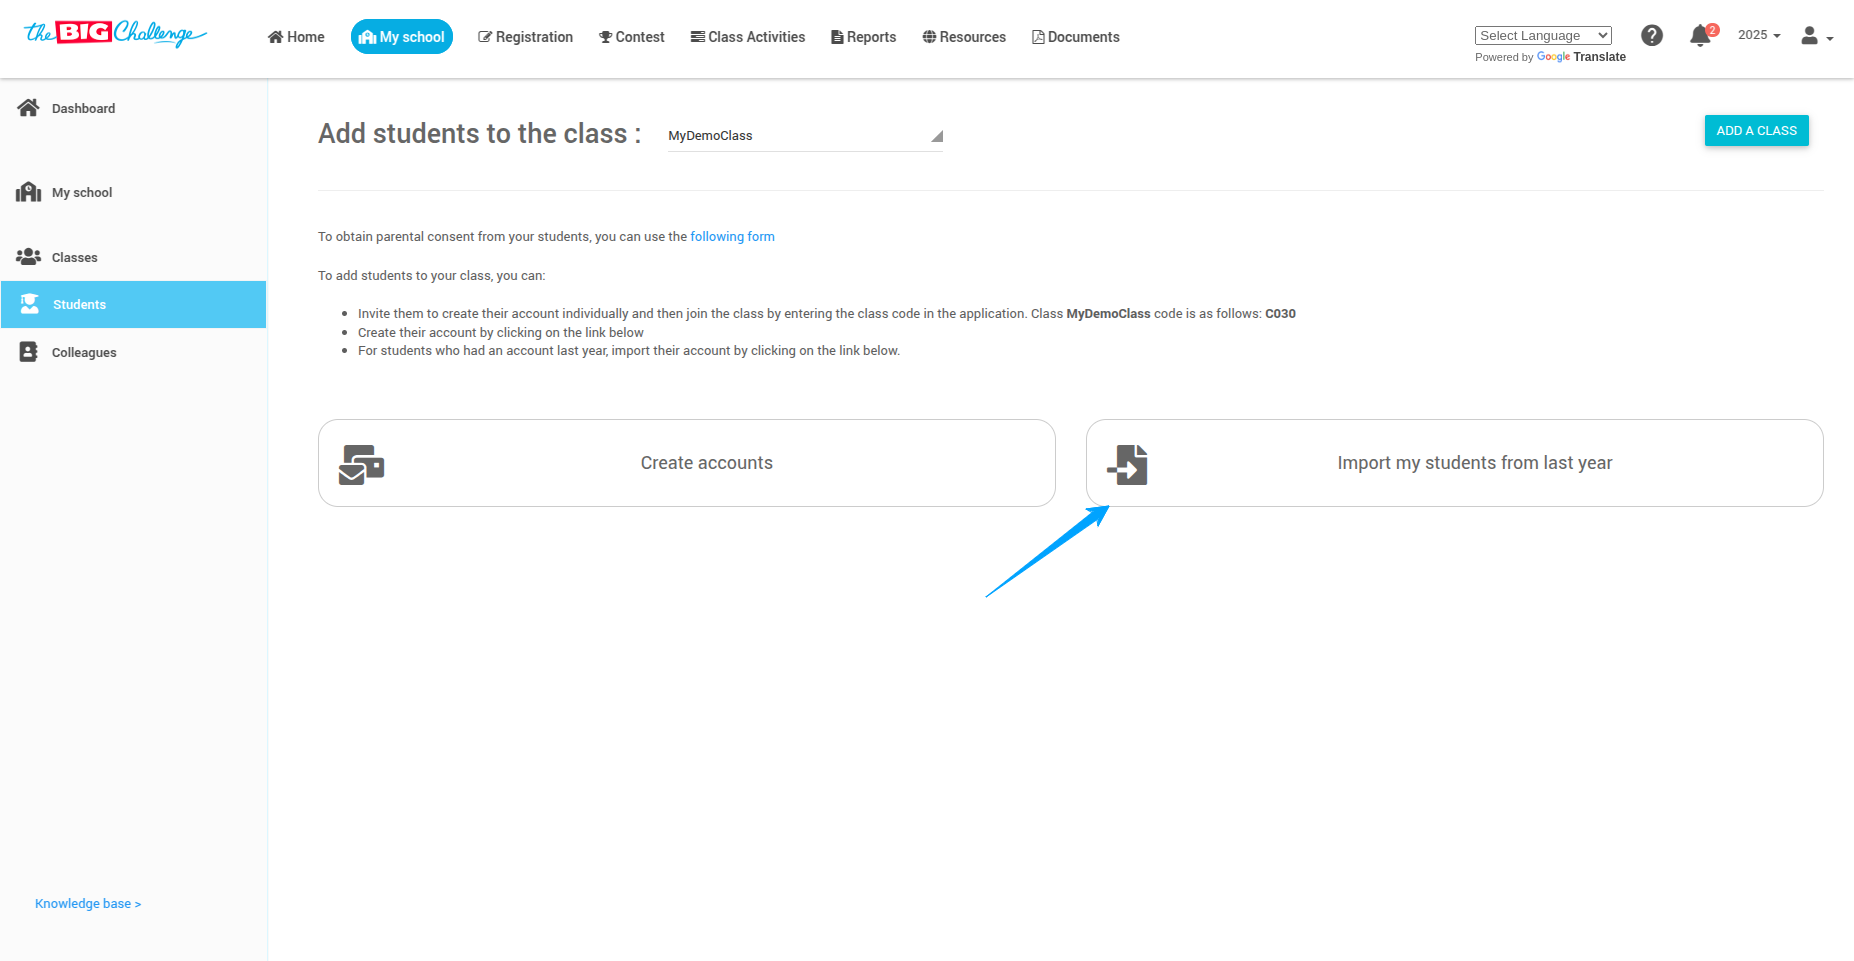
🔄 Option 1: Import Students from Last Year
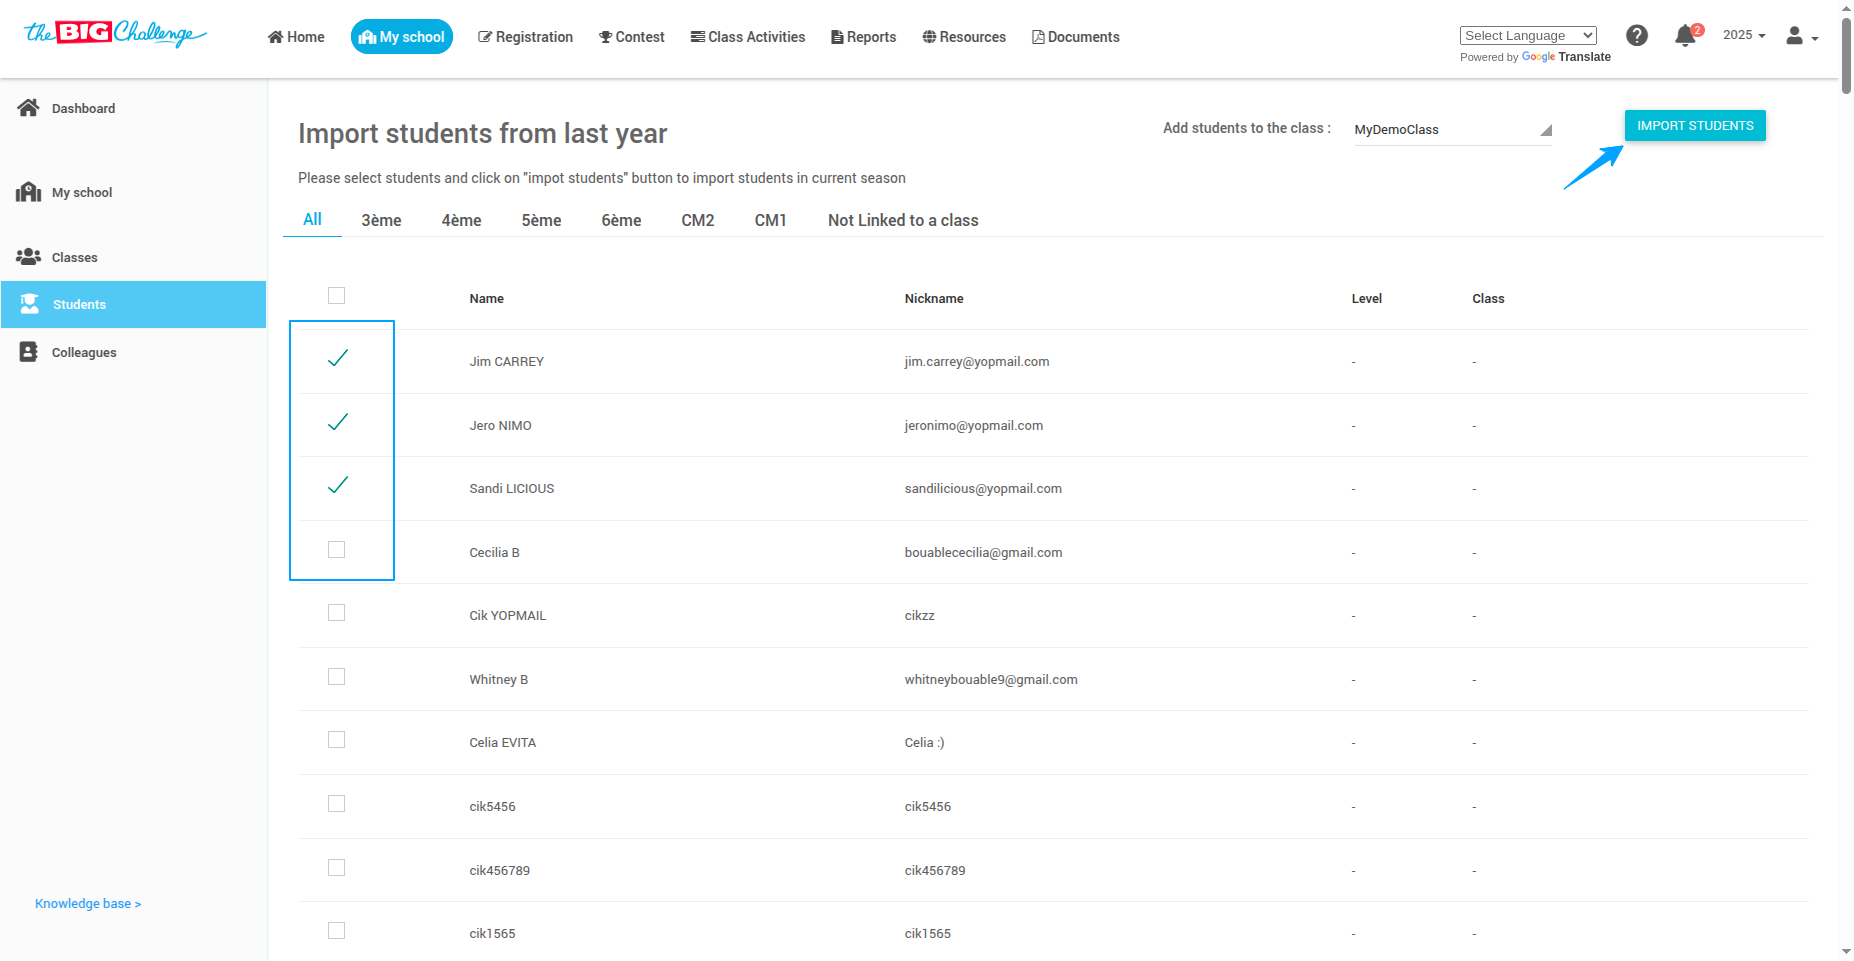
If your students had accounts last year, click Import my students from last year.
Select the students you want to import and click Import Students. Their accounts will be brought into the class.
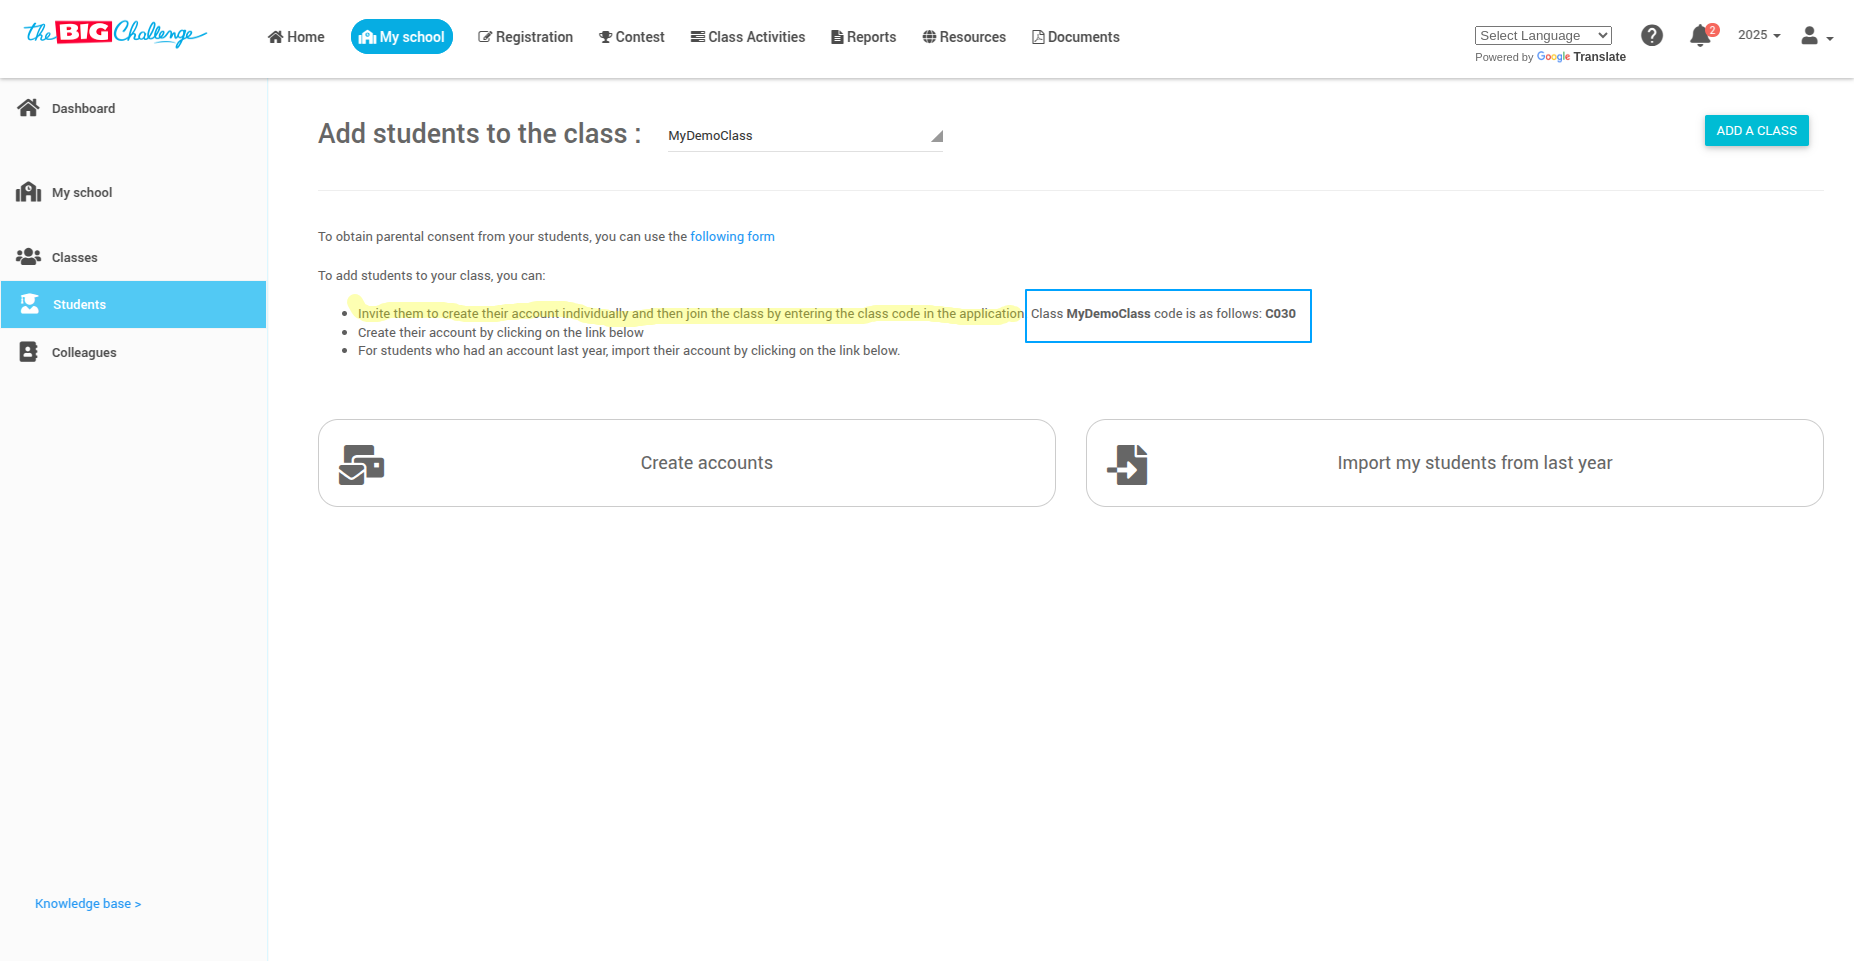
💌 Option 2: Invite Students to Join
Students can create their accounts using the class code available on the class page.
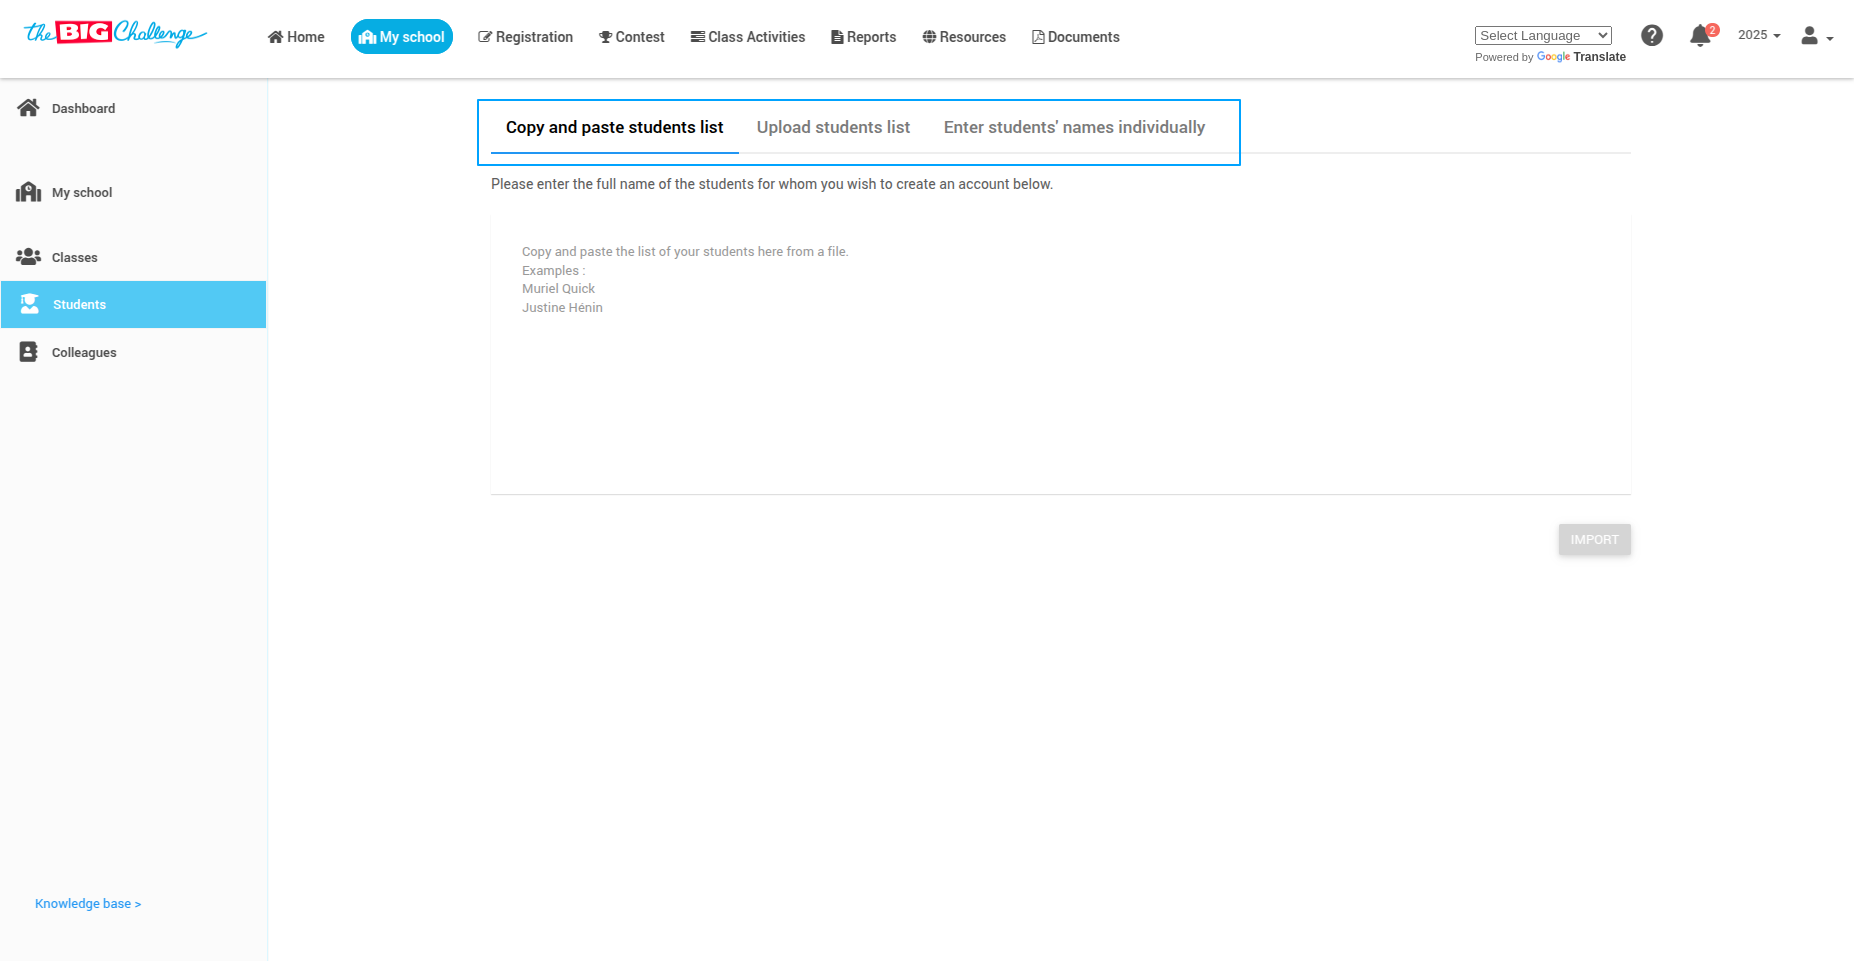
✍️ Option 3: Create Accounts Manually
Click Create account. You can:
📋 Copy and paste a list of student names
📁 Upload a file with first and last names
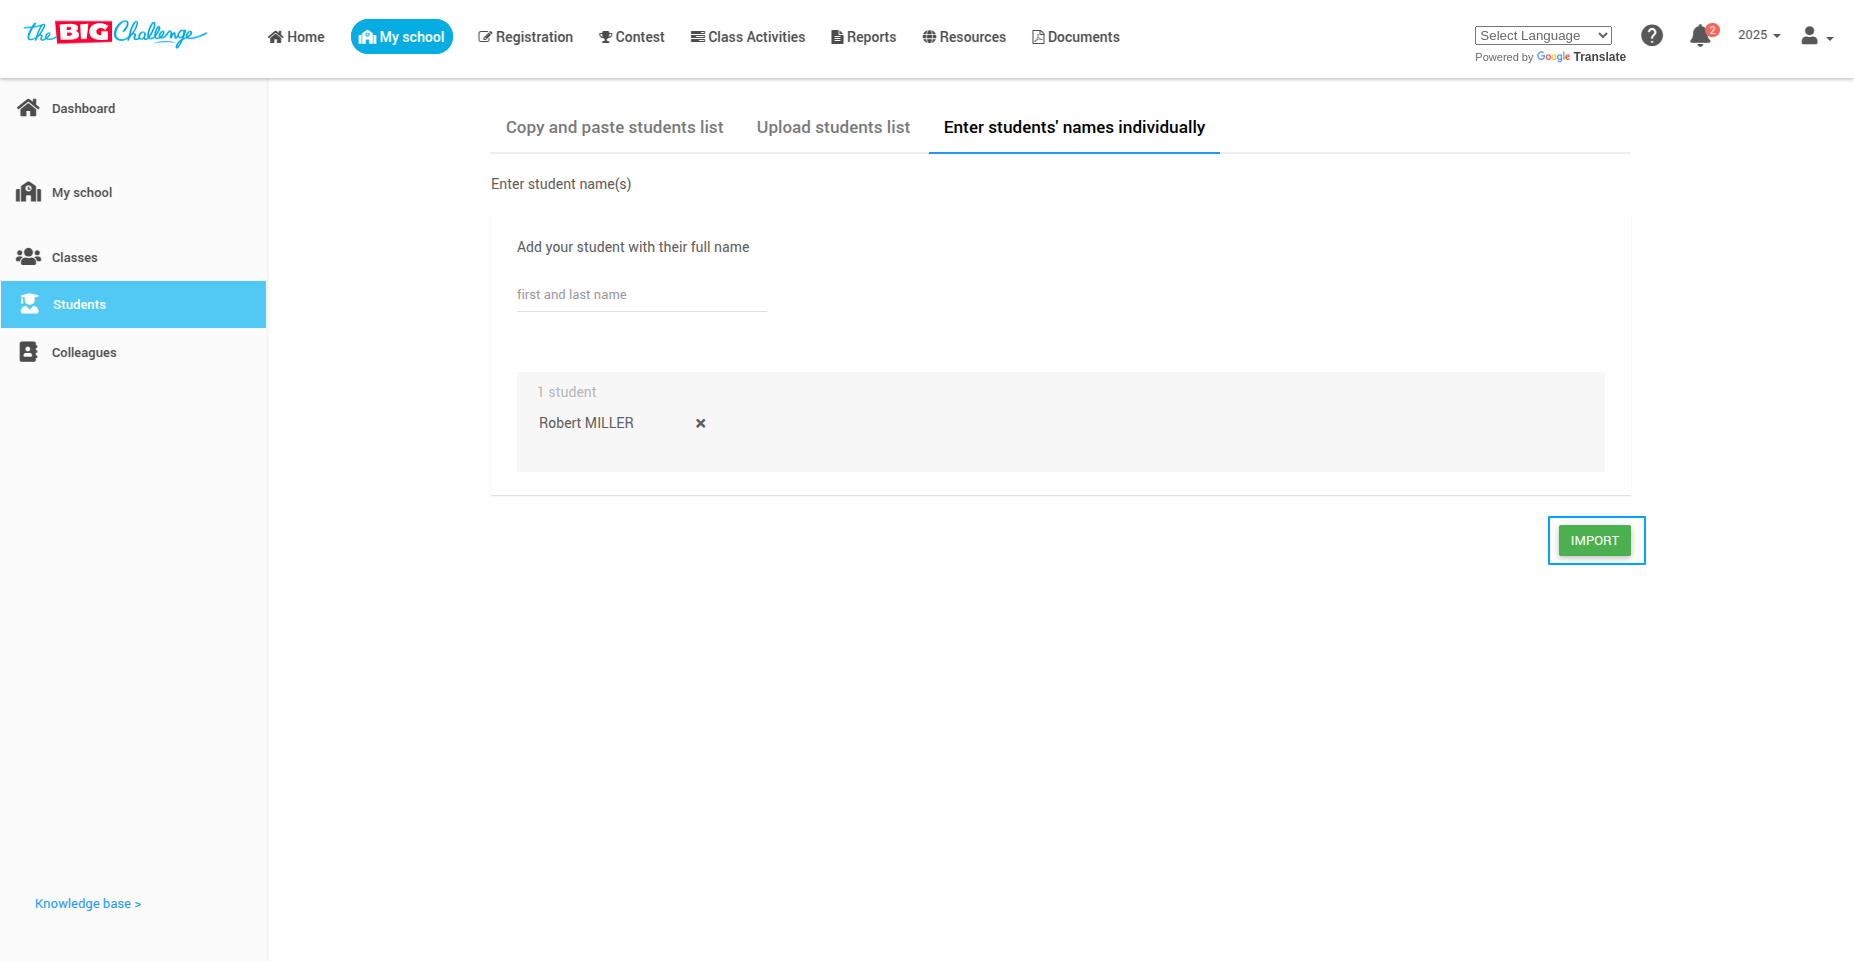
✏️ Manually enter student names one by one
📥 Step 5: Import and Enable Access
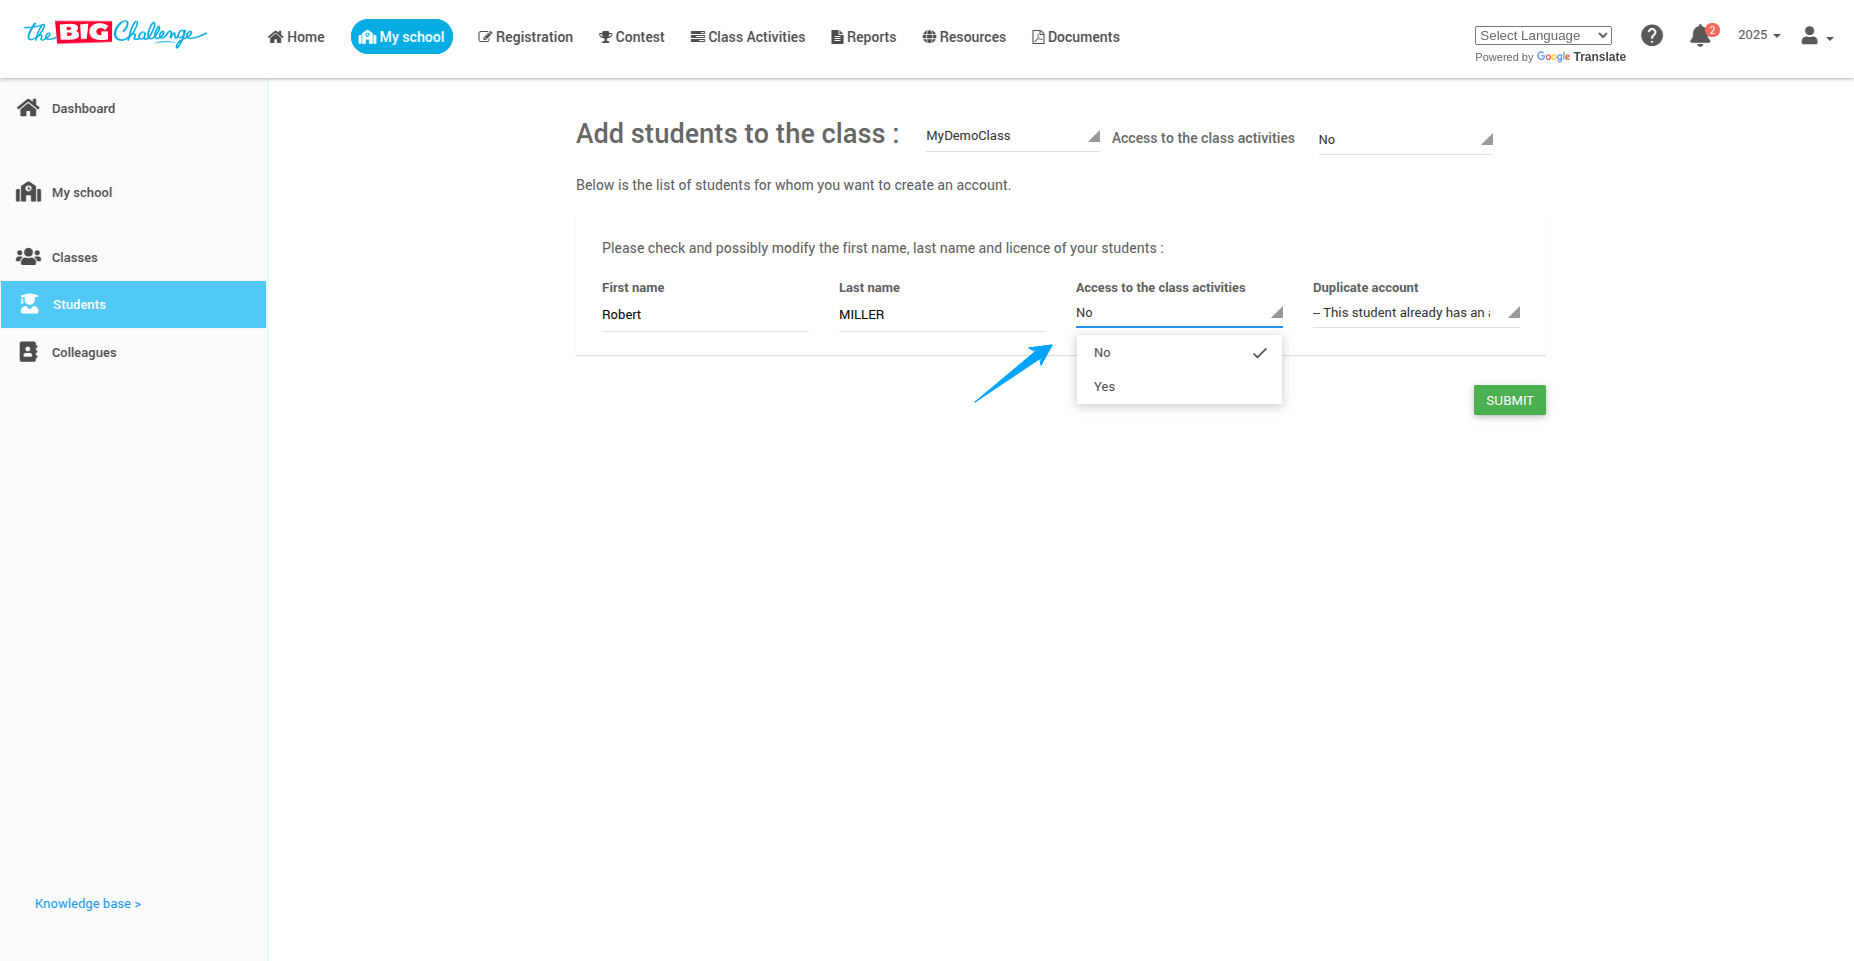
Once you've entered the names, click Import.
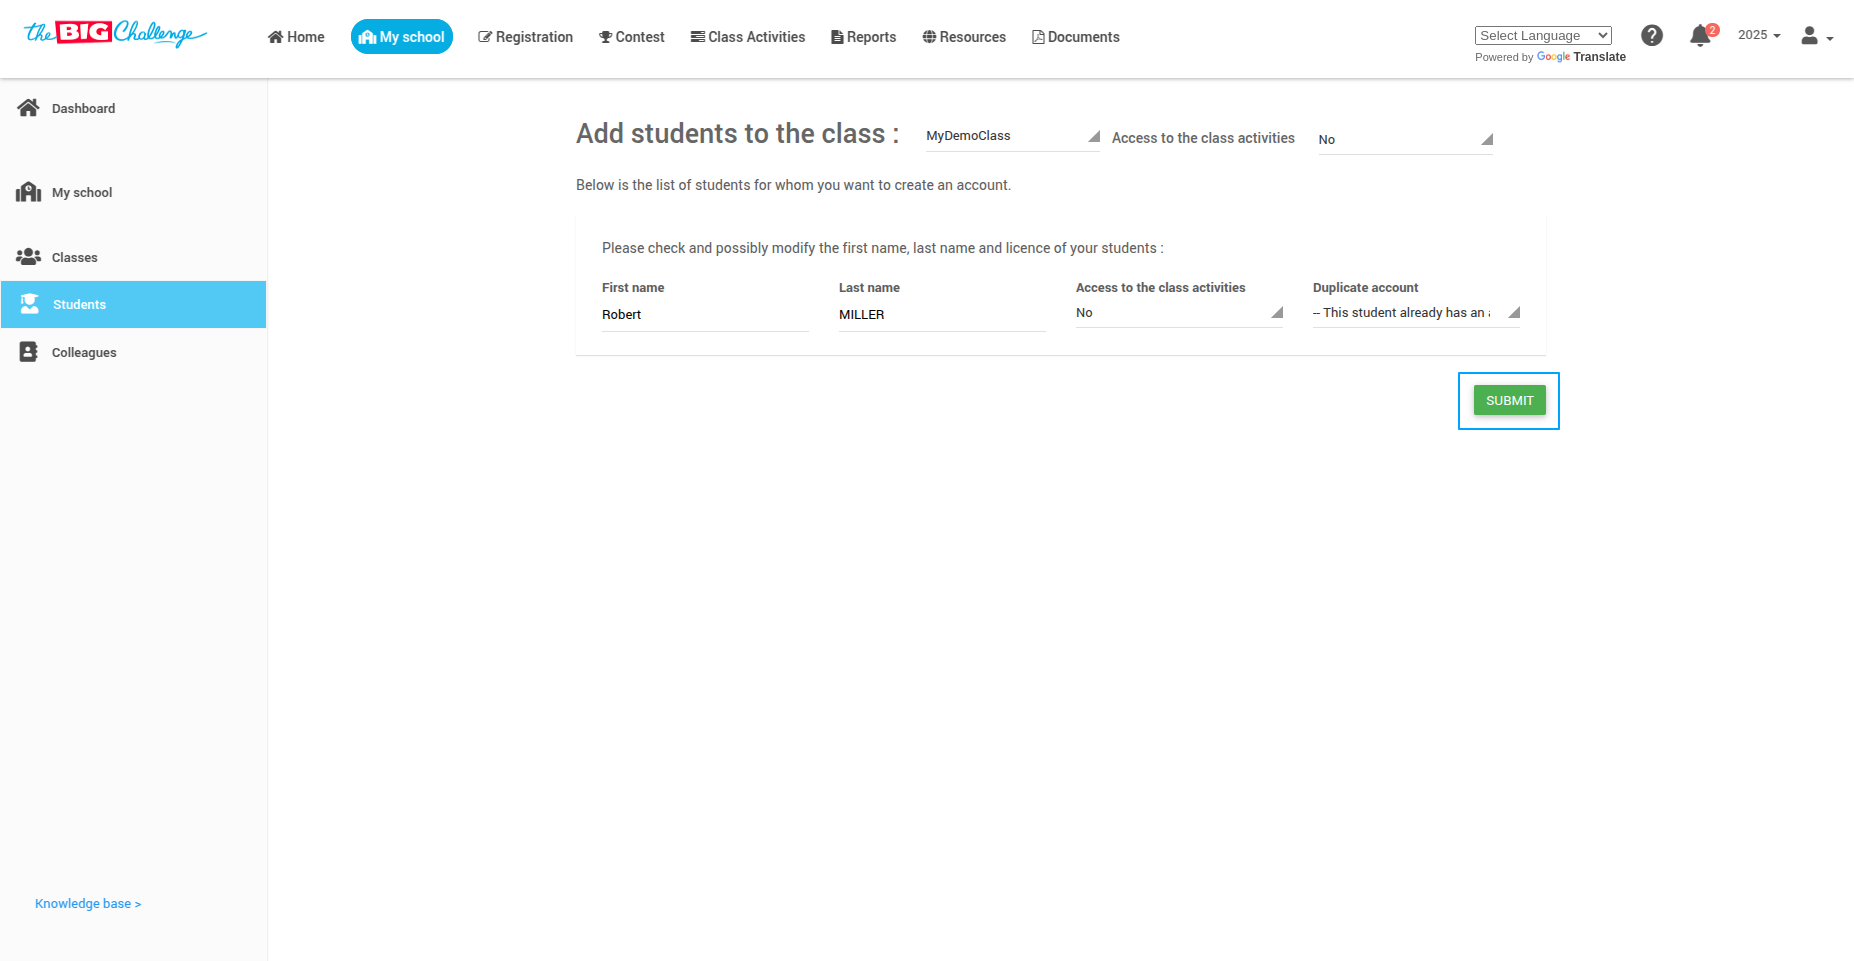
You will see the list of added students. If you've already purchased Class Activity Licenses, enable access by selecting Yes in the Access to Class Activities dropdown.
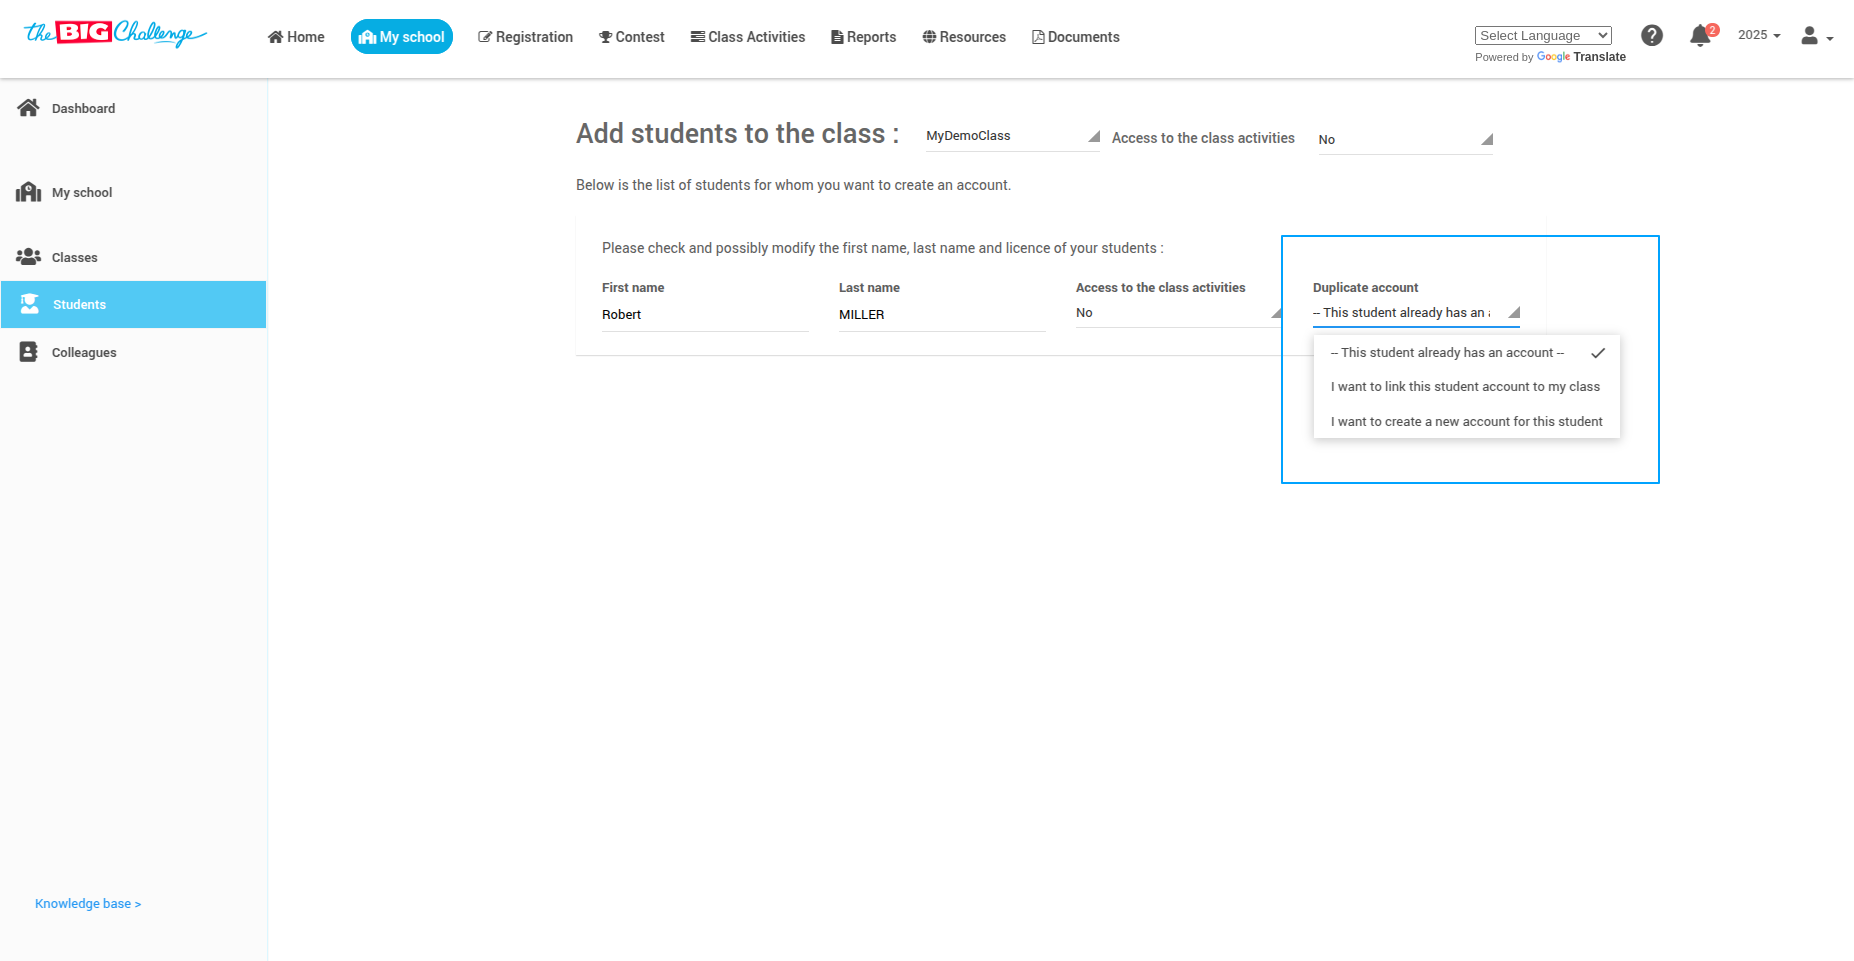
🔁 Step 6: Handle Duplicate Accounts
If a student already has an account, a message will appear. Choose either to link this account to my class, or I want to create a new account.
🔎 Step 7: Review and Submit
Carefully review your list and then click Submit.
🔐 Step 8: Download Login Instructions
Click the Download Instructions to Join button at the bottom of the student list. Share these instructions with your students to help them access their accounts easily.
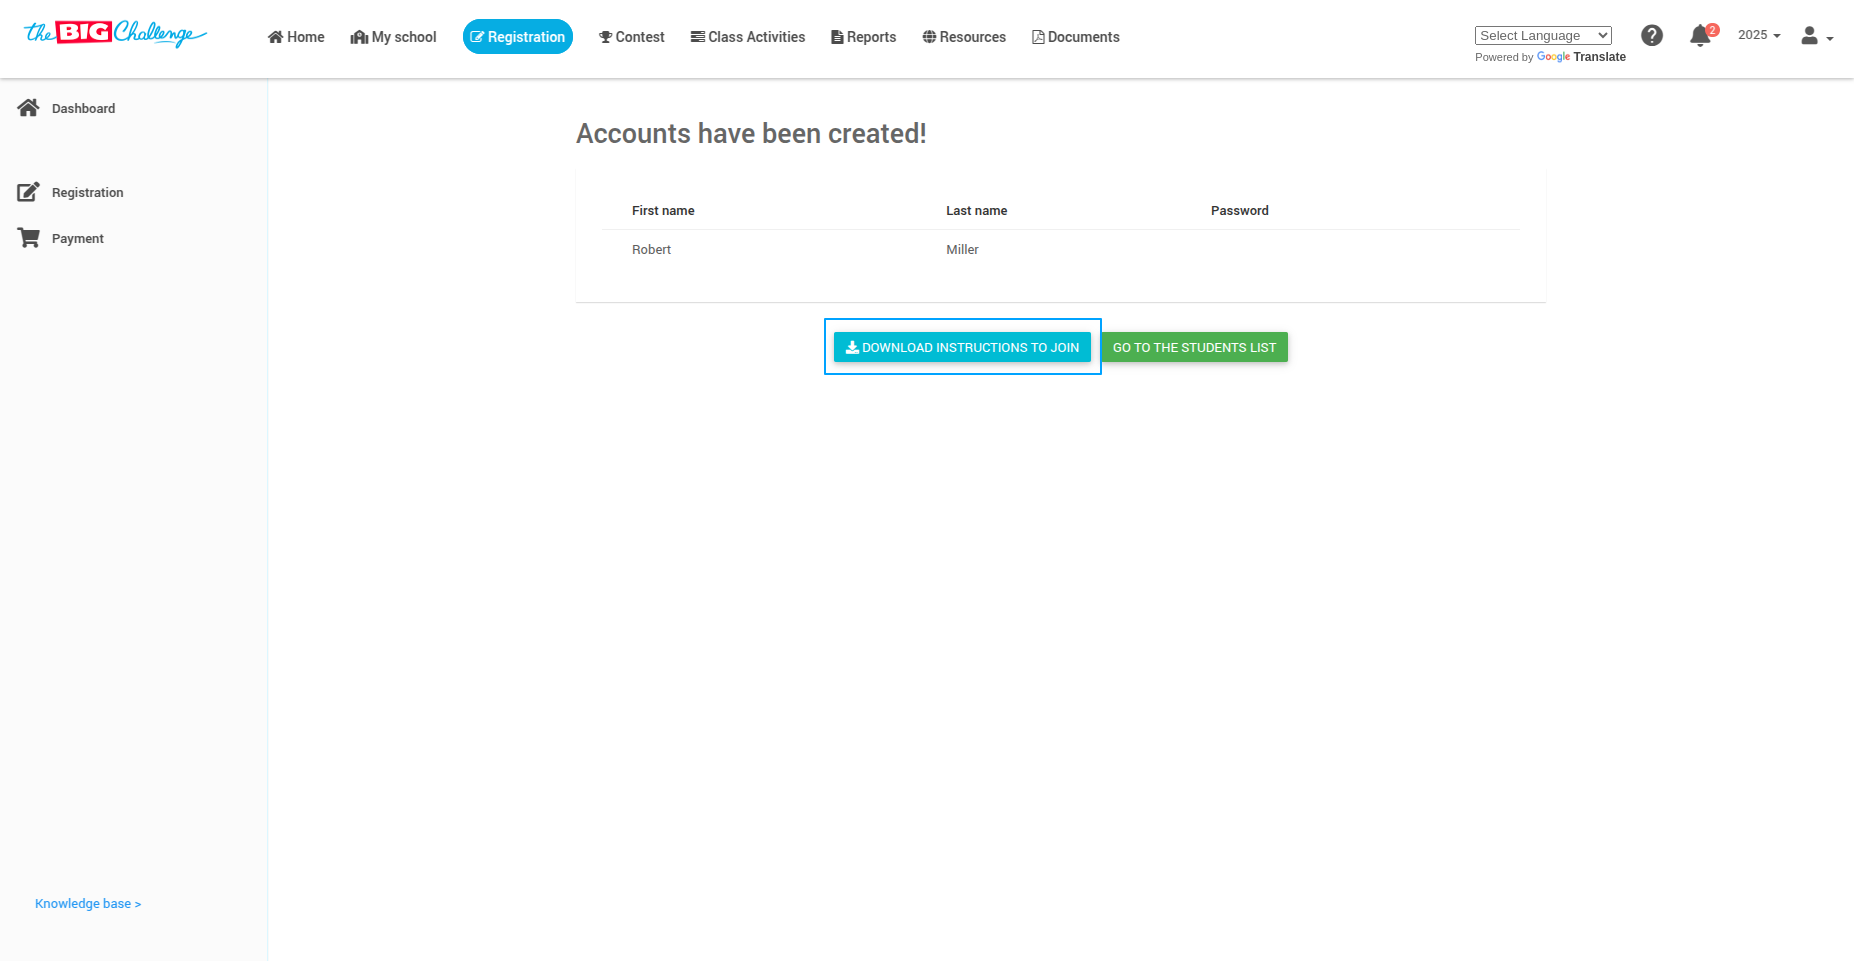
⚠️ Note: Only temporary passwords will be shown in the document. Passwords chosen by students are never displayed.
🎉 All Set!
Your students are ready to join the class and begin their learning journey.
🎥 Watch the Full Tutorial
5. 📄 Downloading Instructions to Join a Class
Welcome to The Big Challenge! This tutorial will help you share instructions with your students on how to join a class.
Steps to download the instructions
🔐 Log in to your teacher account.
🏫 Go to the "My School" tab to access your school dashboard.
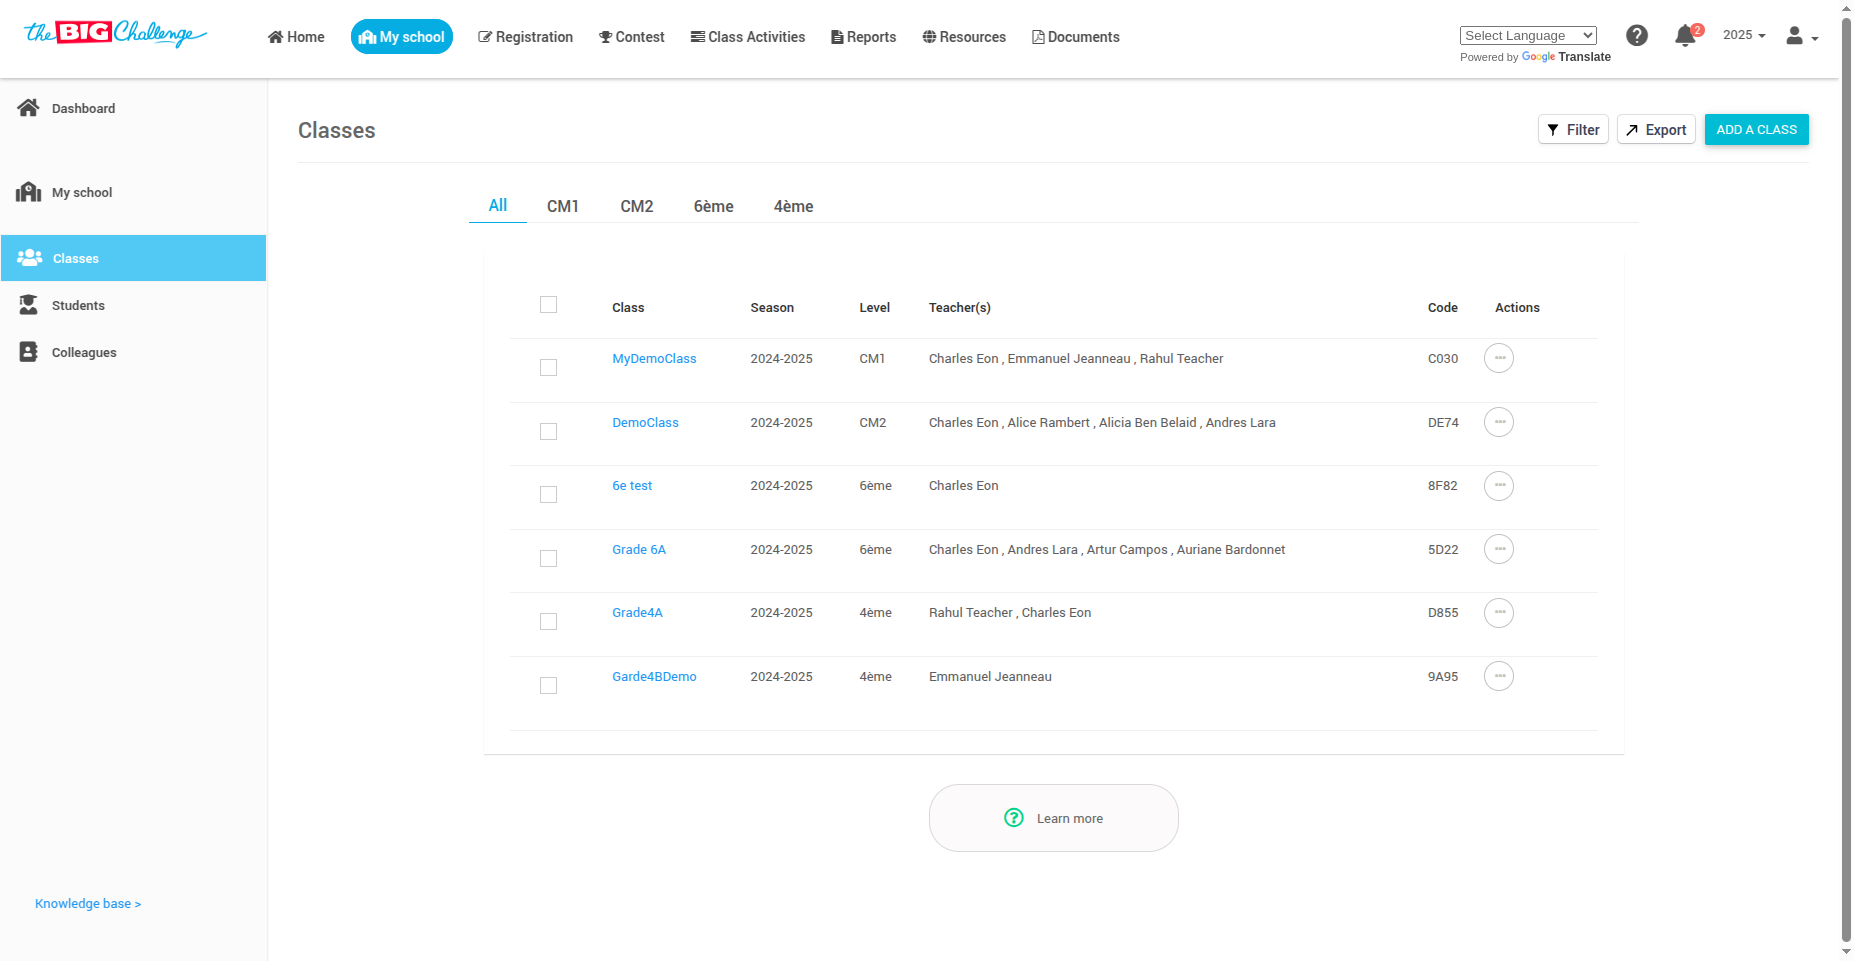
🧭 Go to the "Classes" tab in the left-hand menu.
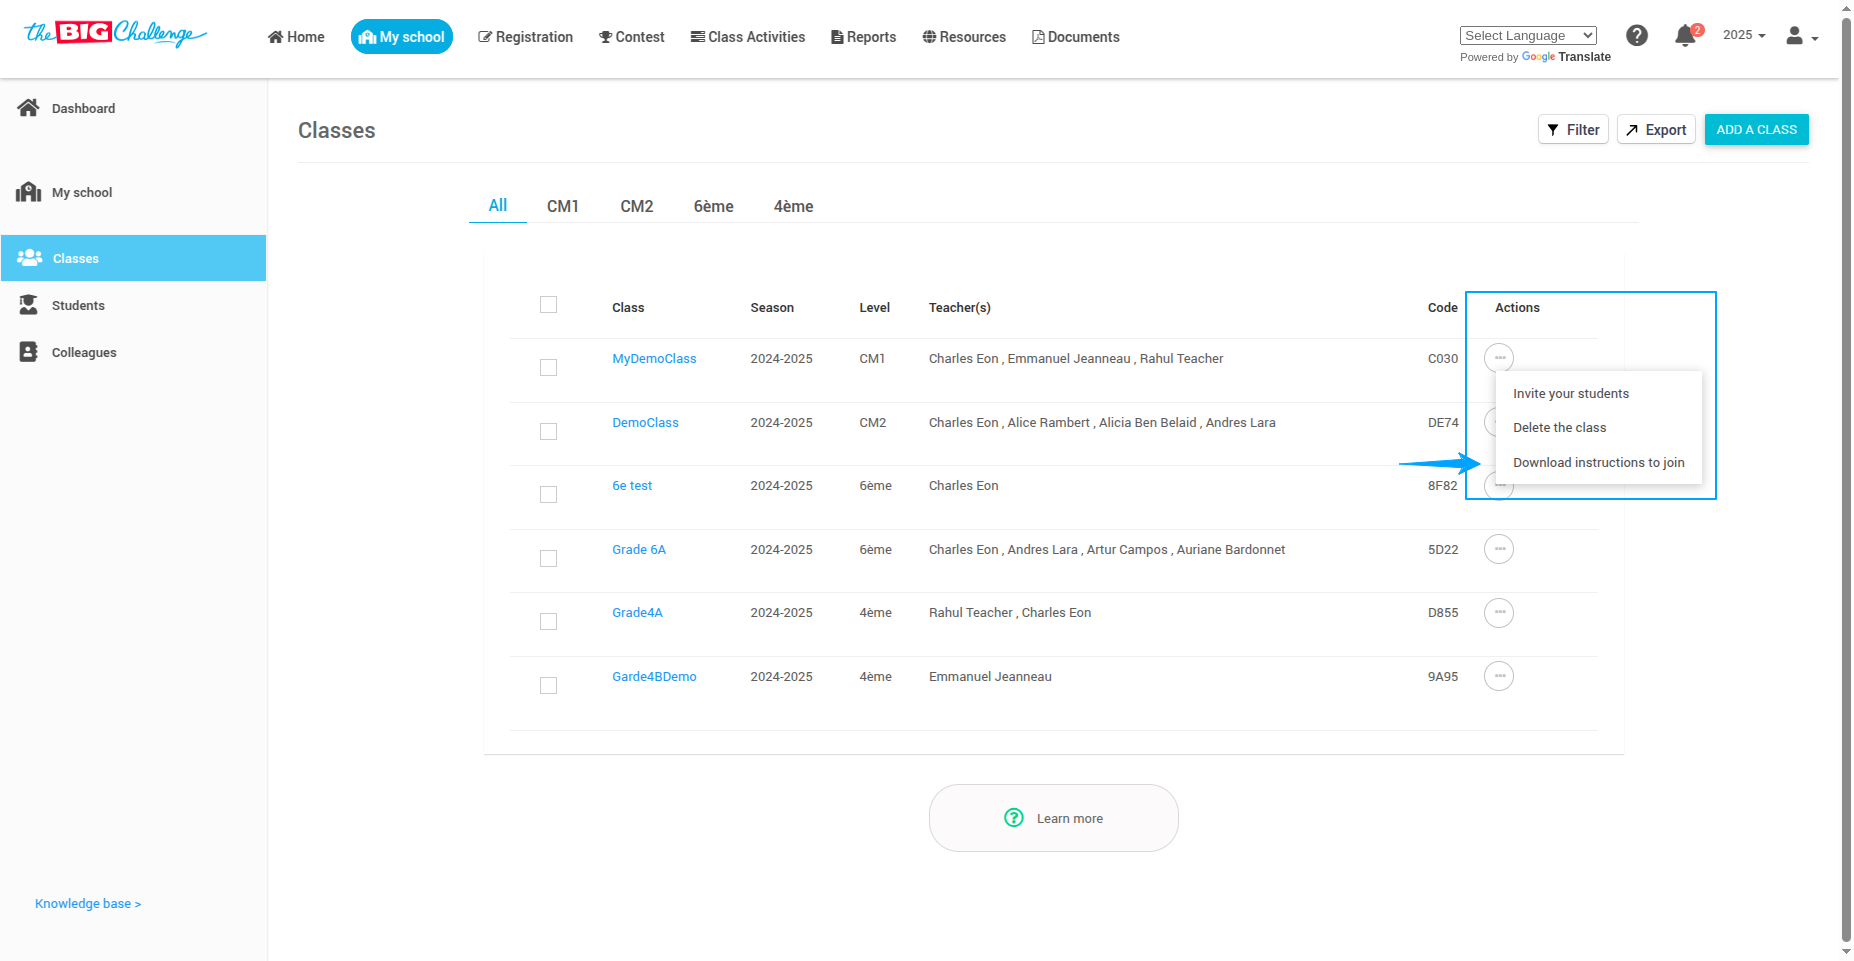
📋 Locate the class you want to work with and click the Action menu next to it.
⬇️ Select "Download Instructions to Join" from the dropdown menu.
What's included in the PDF?
🆔 Class code: Students will use this code to join the class.
📚 Step-by-step guide on how to join the class.
🔑 Temporary passwords for accounts created by the teacher (if applicable).
💡 Important Notes:
- Only temporary passwords for students created by teachers will appear.
- Passwords created or changed by students will not be shown in the document.
- Share the PDF via email, Google Classroom, or printed handouts to help students access their accounts easily.
🎯 And that's it! You've successfully downloaded and shared the instructions to help your students join the class on The Big Challenge app.
6. 🤝 Assigning a Class to a Colleague
There are two ways you can assign a teacher to a class:
➕ Add a teacher when creating or editing a class.
⚙️ Edit an existing class to add or remove teachers later.
Welcome to The Big Challenge! This guide will walk you through assigning a class to a teacher.
Steps to assign a class to a colleague
🔐 Log in to your teacher account.
🏫 Go to the "My School" tab to access your school dashboard.
🧭 Click on "Classes" to view the list of all classes.

📋 Select the class you want to assign to a teacher.
⚙️ This will take you to the Edit Class page.
Scroll down to the Teachers section to see who currently has access to the class.
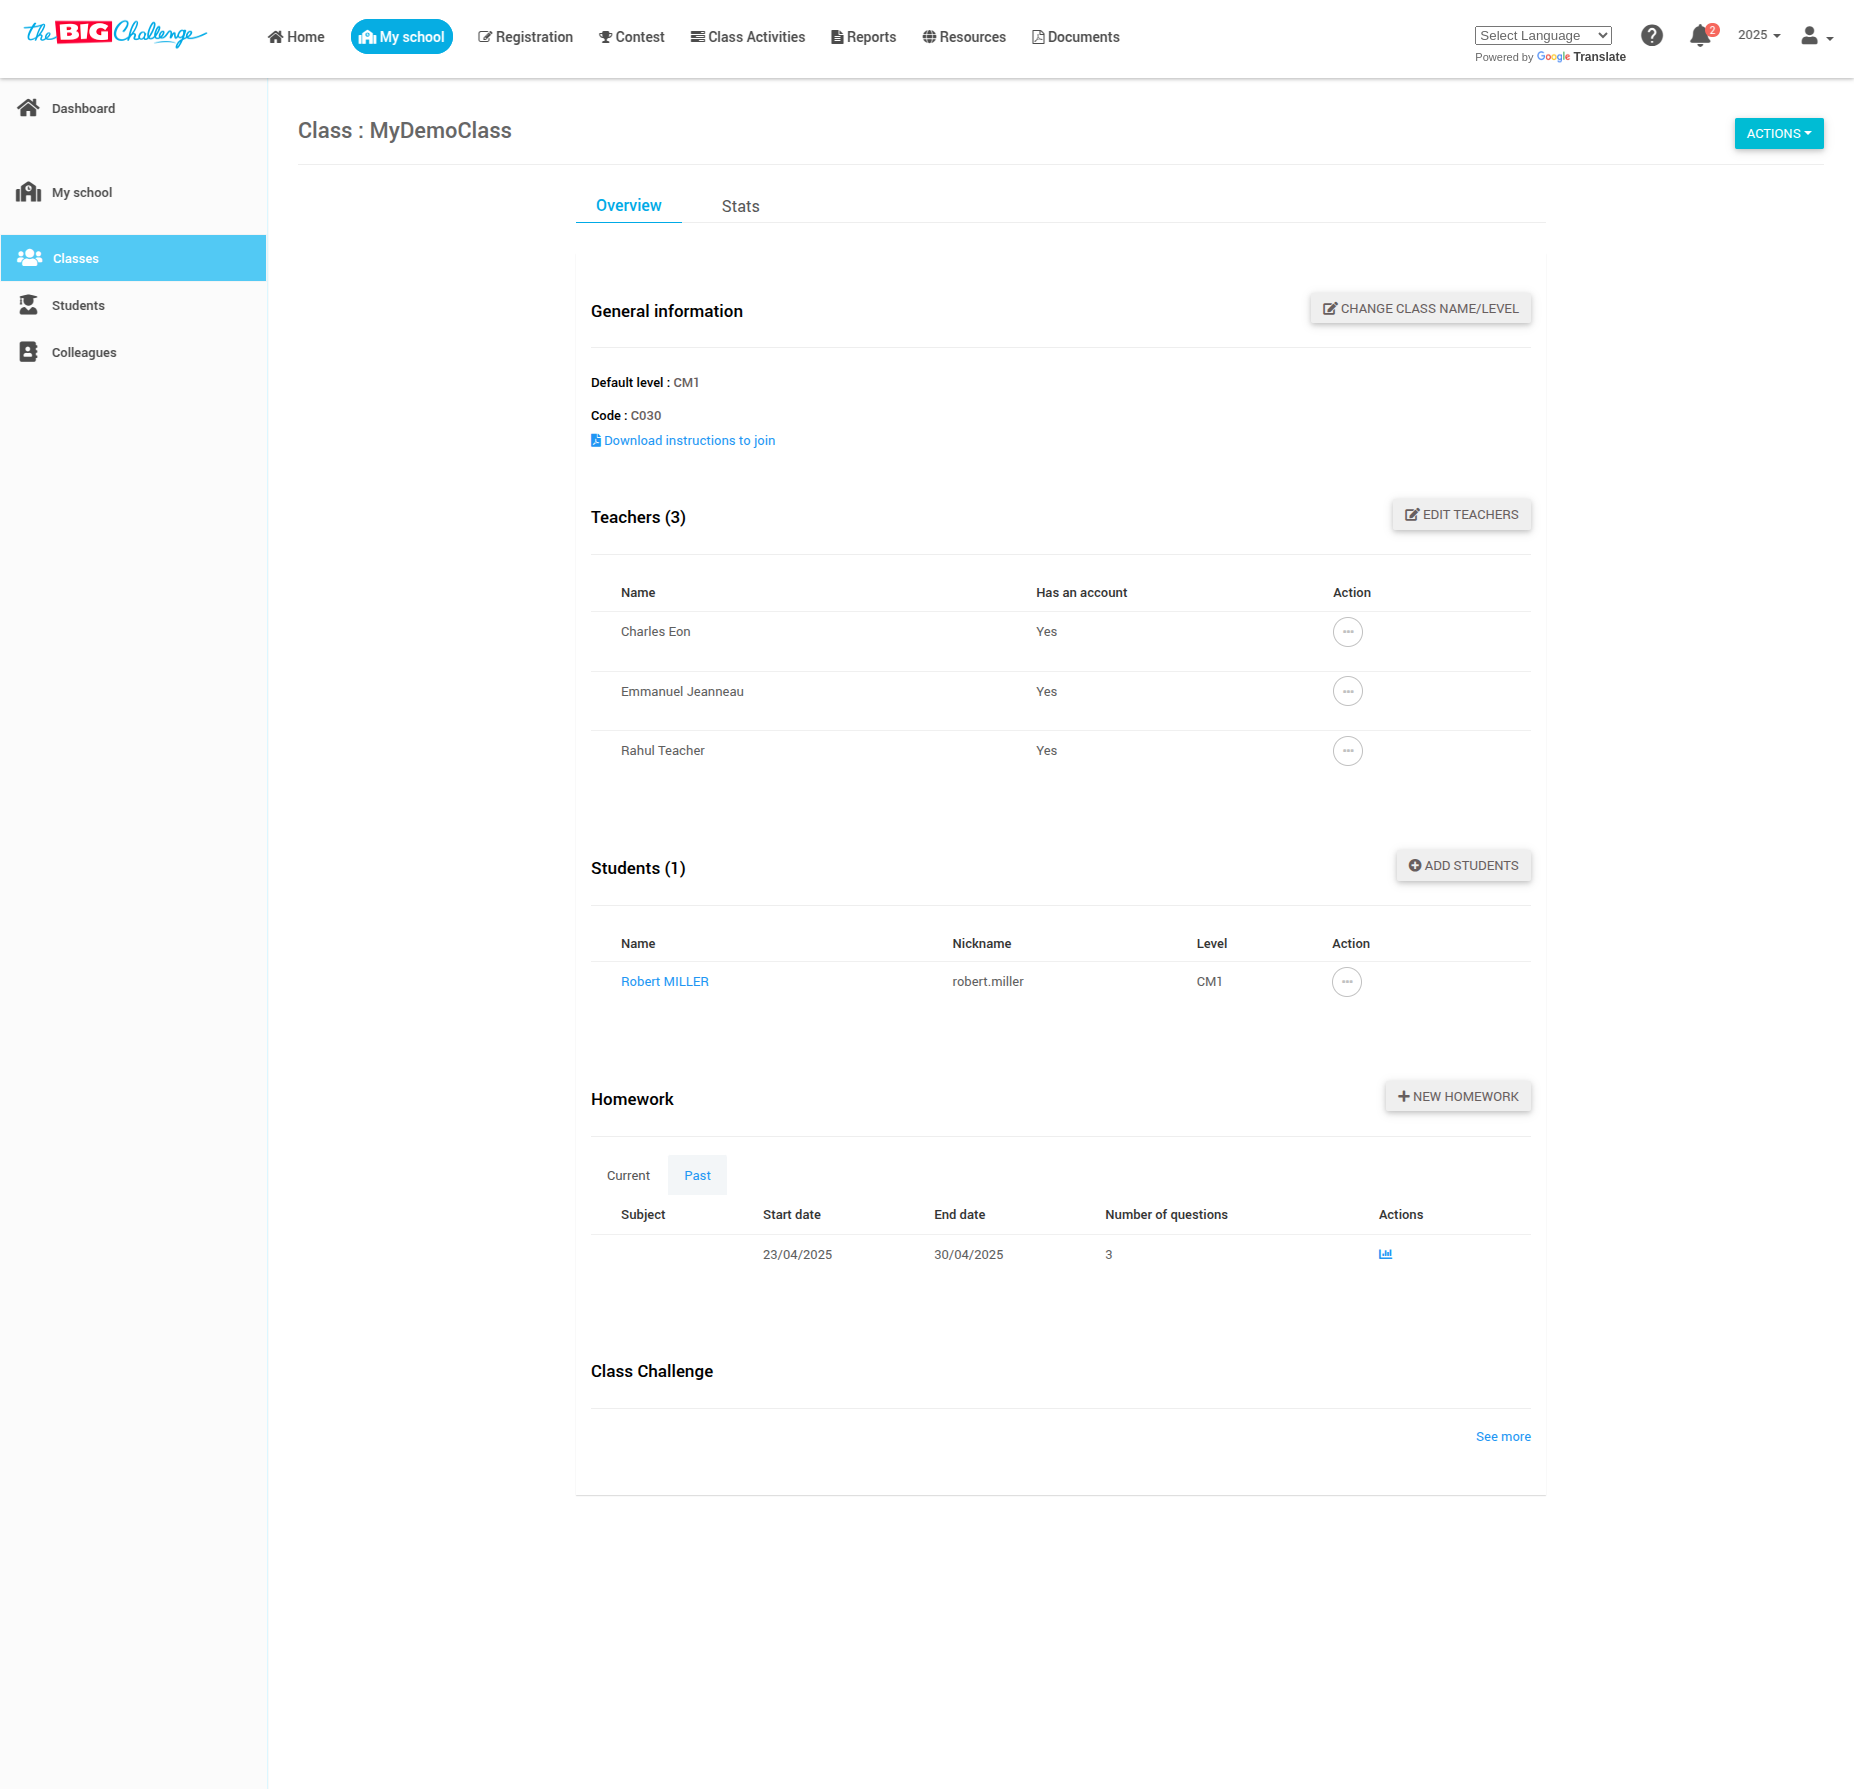
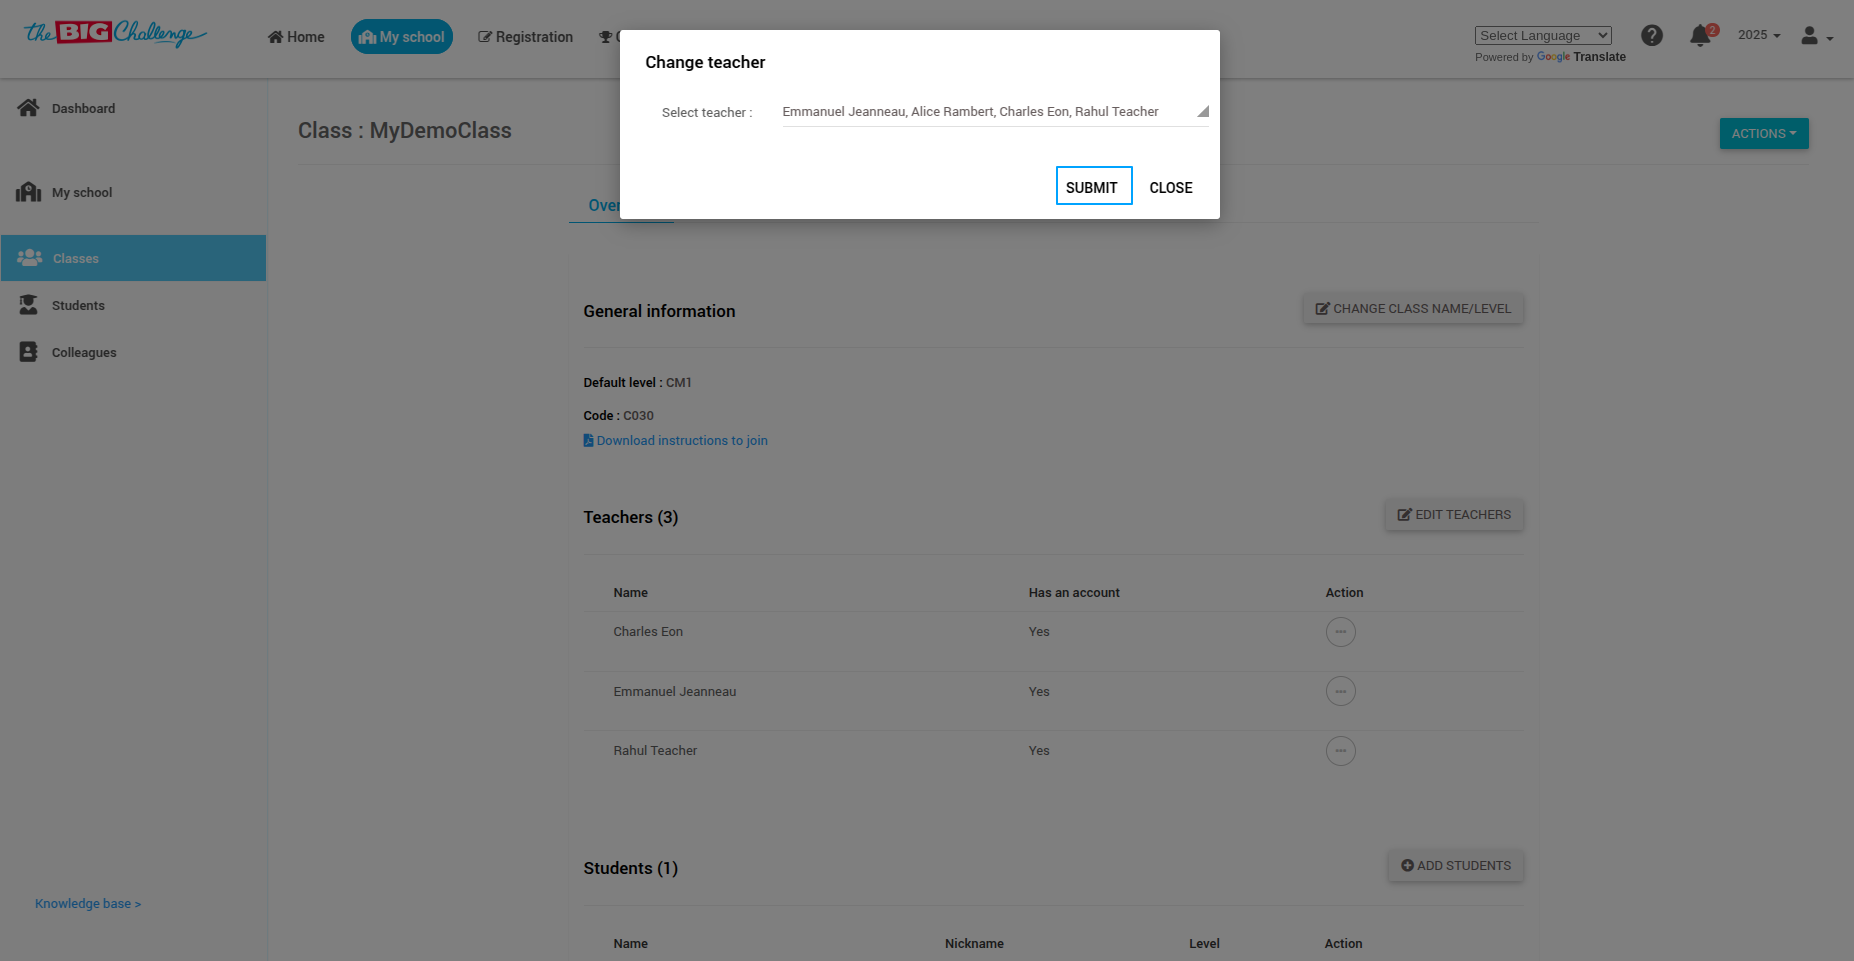
✏️ Click "Edit Teachers" to add or remove teachers.
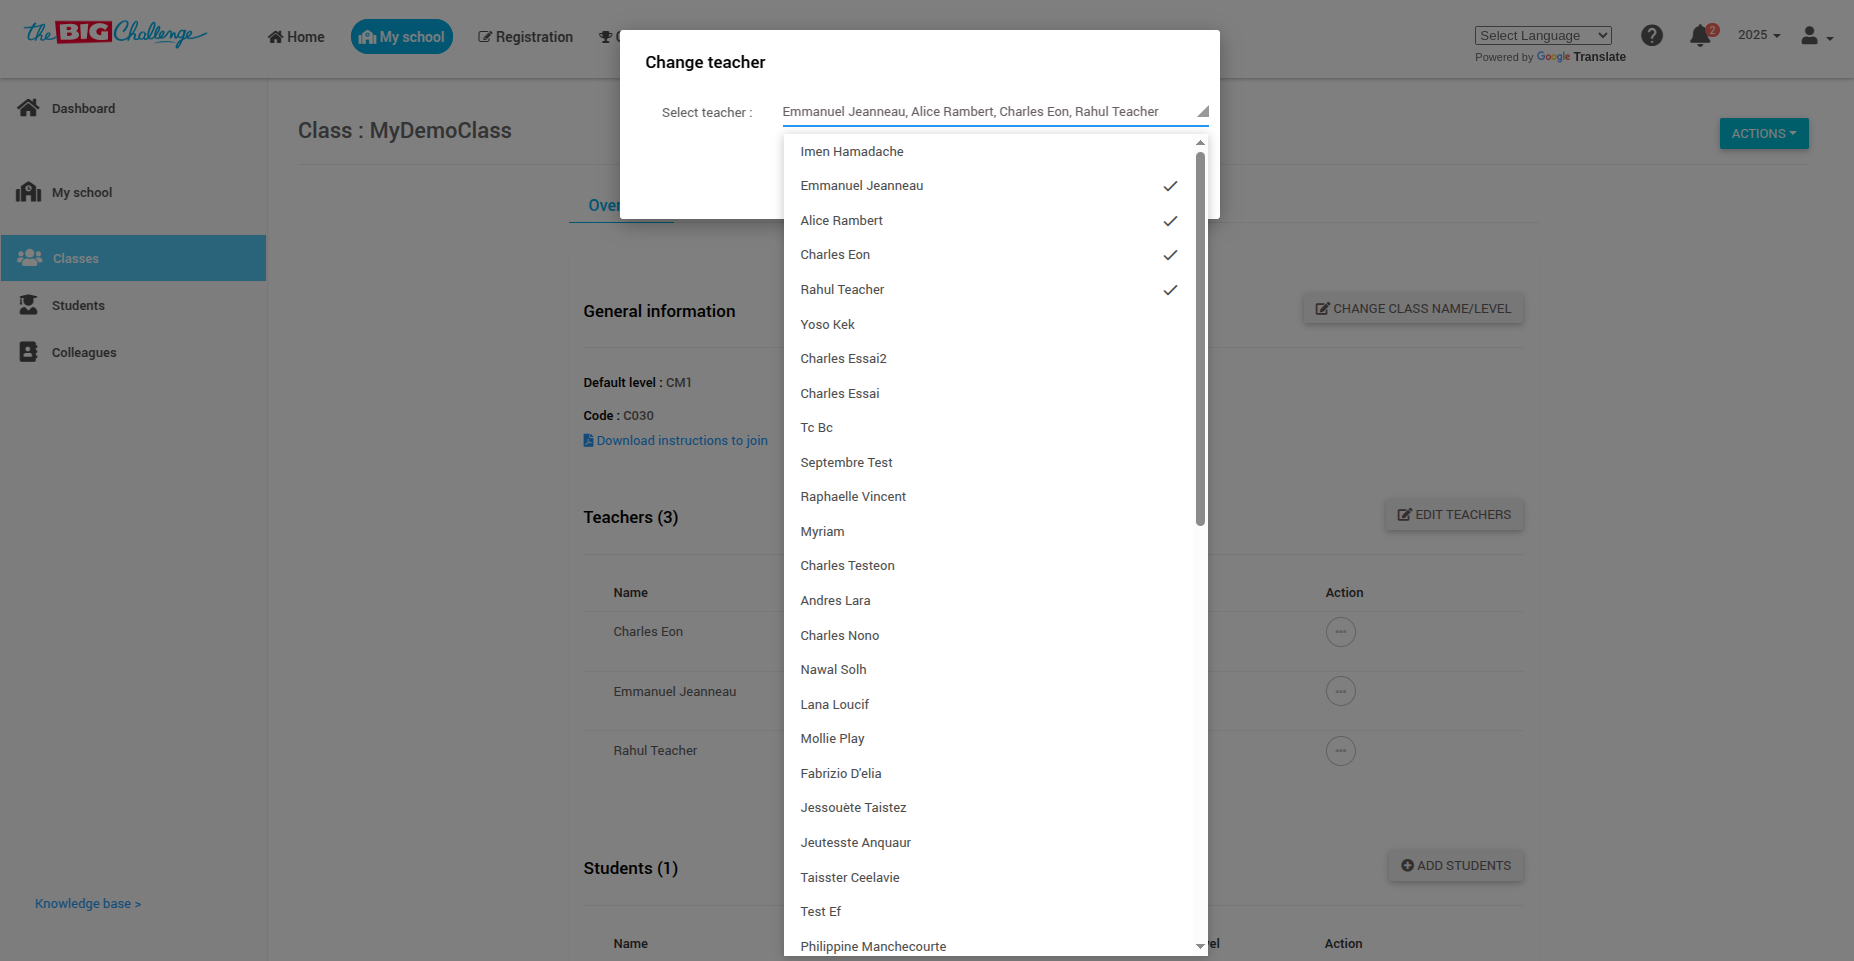
➕ To add a teacher: Check their name and click Submit.
➖ To remove a teacher: Uncheck their name and click Submit.
💡 Important note:
- Colleagues must have a user account on the platform to be assigned to a class.
- You can invite your colleagues to create an account by clicking "Colleagues" → "Invite colleagues".
🎯 And that's it! You've successfully assigned a class to a teacher.
7. 🗑️ Deleting a Class
Welcome to The Big Challenge! This guide will walk you through the steps to delete a class.
Steps to delete a class
🔐 Log in to your teacher account.
🏫 Go to the "My School" tab to access your school dashboard.
🧭 Click on "Classes" to view the list of all your classes.

📋 Locate the class you want to delete.
⚙️ Click the Action menu next to the class name.
🗑️ Select "Delete Class" from the dropdown menu.

💡 Important note:
- Deleting a class will permanently erase all related data, including student progress and assignments.
- Make sure to export any important data before proceeding.
🎯 And that's it! You've successfully deleted a class from your account.
Summary
By following the steps outlined in this guide, you can create, edit, manage, and delete classes with ease. The system allows you to organize students, track their progress, and collaborate with colleagues.
Key Takeaways
Class Creation: Easily add, edit, and delete classes.
Student Management: Upload lists of students, copy and paste names, or enter names manually.
Collaborate with Colleagues: Assign teachers to specific classes.
Class Code: Download the class join instructions in PDF format.
If you encounter any issues, refer to the tips section of each step for troubleshooting advice. For further support, contact the Big Challenge support team.